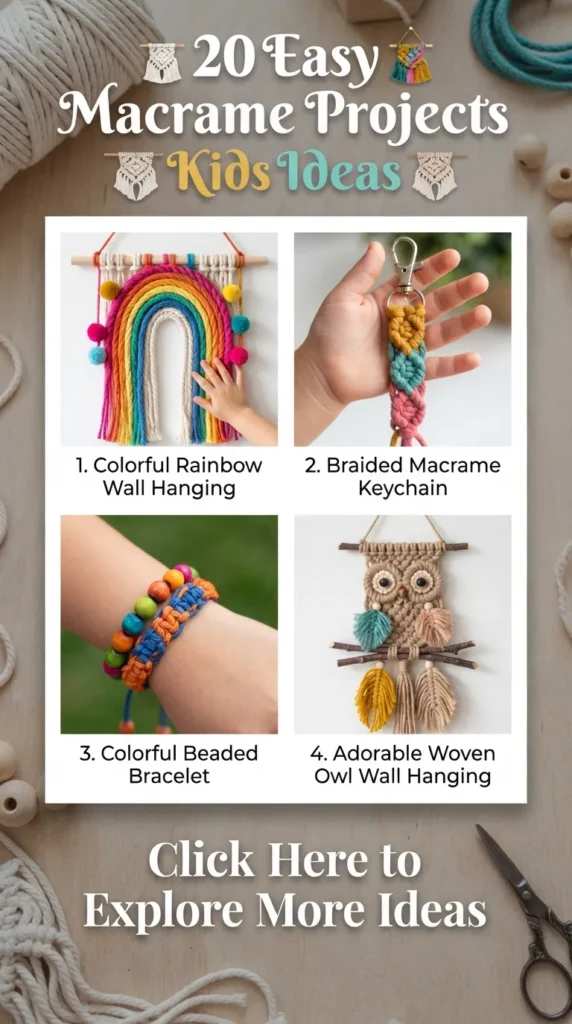
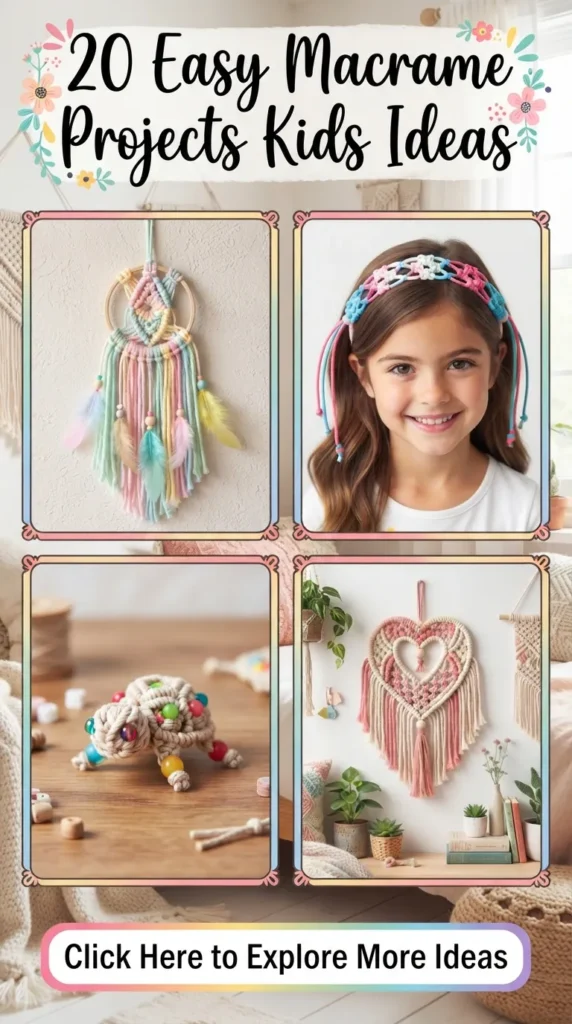
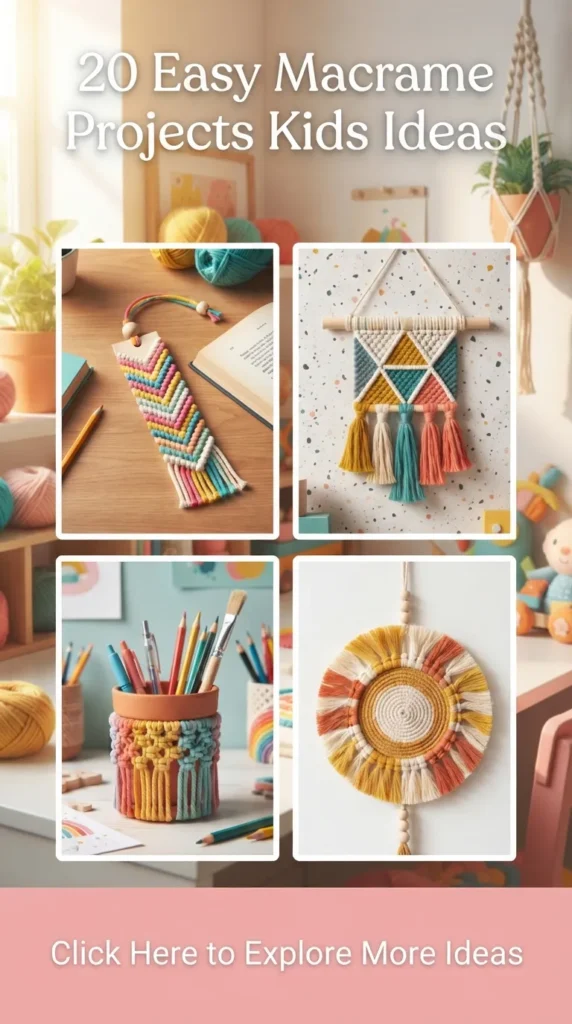
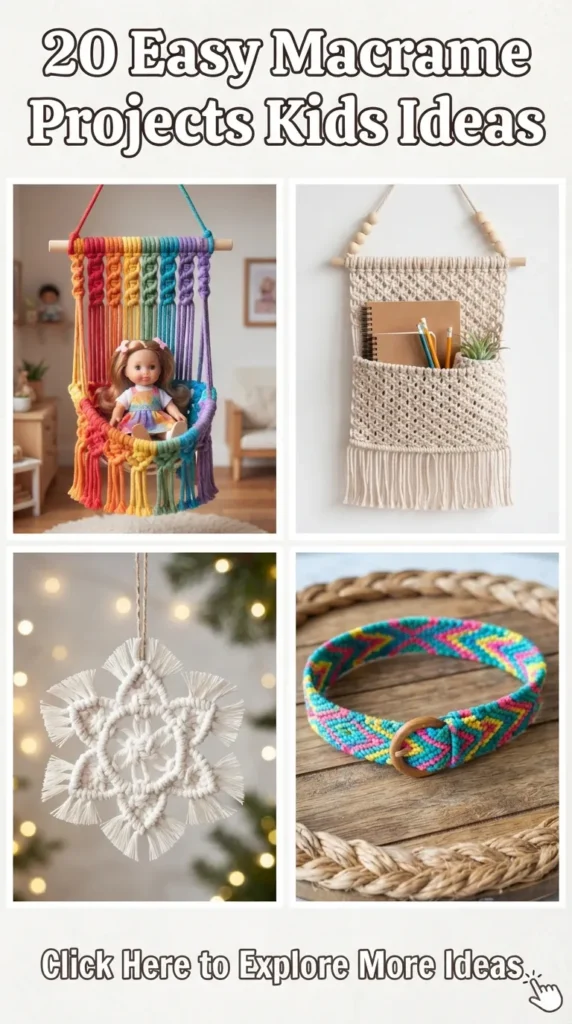
20. Textured Pocket Wall Pouch Organizer
Introduction
A practical room organizer with an open woven pocket designed to hold sunglasses, markers, notes, or small treasures right next to a child’s study desk.
       ===============================  <- Top Hanging Dowel (20cm)
       |  [SK]   [SK]   [SK]   [SK]  |
       |  [SK]   [SK]   [SK]   [SK]  |  <- Flat Back Wall Panel
       |  =========================  |
       |  |                       |  |
       |  |   [ Front Pocket ]    |  |  <- Folded / Woven Pocket Mesh
       |  |                       |  |
       |  =========================  |
       ===============================
             \\\\\\\\\ /////////        <- Base Fringe Trim
What This Idea Means
This capstone project combines flat-panel weaving with dimensional pocket construction. Children learn how to create depth by folding and securing woven panels into functional storage.
What You Need
- 1 smooth wooden craft dowel (20cm long, 10mm diameter)
- 10 lengths of 3mm 3-ply cotton cord (180cm each)
- 1 hanging cord (30cm long)
- Tapestry needle and scissors
How to Make It
- Tie the 30cm hanging cord to both ends of your dowel to create a hanger.
- Mount all 10 long cords onto the dowel using Lark’s Head knots (20 working strands).
- Tie continuous alternating Square Knots down the cords for 25cm to create a flat, solid woven rectangular panel.
- Take the bottom 8cm of the woven panel and fold it upward toward the front to form the pocket pouch.
- Thread a tapestry needle with a 40cm piece of matching cotton cord.
- Stitch the left and right outer edges of the folded flap securely to the back panel, sewing through the outer knot loops.
- Tie off your side stitching cords on the back of the panel with double knots and trim the ends.
- Trim the remaining hanging bottom cords 5cm below the pocket base and comb them out into a soft bottom fringe.
Tips and Variations
- Tip: Keep your square knots tight and close together throughout the back panel so small pens or markers won’t slip through the weave.
- Variation: Weave a strip of colorful yarn or ribbon through the front of the pocket panel to add a splash of color.
Comprehensive Project Difficulty & Materials Matrix
| Project Idea | Primary Knot Focus | Difficulty Level | Approx. Time | Recommended Cord Size |
| 1. Rainbow Wall Hanging | Cord Wrapping & Arches | Beginner | 45 Mins | 10mm Core / 3mm Wrap |
| 2. Wooden Bead Keychain | Square Knot & Lark’s Head | Absolute Beginner | 15 Mins | 3mm Single Strand |
| 3. Hanging Air Plant Pod | Diamond Mesh & Netting | Beginner | 30 Mins | 3mm Braided Cord |
| 4. Feather Wall Plaque | Half-Knot Interlocking | Beginner | 25 Mins | 4mm Single Strand |
| 5. Fringe Coaster Mat | Flat Alternating Square Knots | Easy | 40 Mins | 4mm Single Strand |
| 6. Hair Clip Barrette | Half-Square Spiral Braid | Easy | 15 Mins | 1.5mm–2mm Cord |
| 7. Spiral Friendship Stack | Continuous Half-Knot Helix | Absolute Beginner | 20 Mins | 2mm Cotton Cord |
| 8. Sweet Wall Hanging | V-Pattern Square Knots | Easy | 45 Mins | 3mm Single Strand |
| 9. Mason Jar Lantern | Cylindrical Open Netting | Easy | 35 Mins | 3mm Cotton Cord |
| 10. Tassel Bookmark | Compact Square Knot Band | Absolute Beginner | 20 Mins | 2mm Single Strand |
| 11. Minimalist Plant Hanger | 4-Arm Balanced Suspension | Easy / Intermediate | 50 Mins | 3mm Braided Cord |
| 12. Celestial Star | Wire Frame Half-Hitches | Easy | 30 Mins | 3mm Single Strand |
| 13. Picture Frame Border | Open Window Spacing | Easy | 35 Mins | 3mm Cotton Cord |
| 14. Boho Cord Belt | Extended Alternating Knots | Intermediate | 60 Mins | 4mm 3-Ply Cord |
| 15. Dreamcatcher Hoop | Mixed Fiber Lark’s Head | Absolute Beginner | 30 Mins | 3mm Cord & Ribbons |
| 16. Curtain Tiebacks | High-Tension Square Braids | Easy | 45 Mins | 4mm 3-Ply Cord |
| 17. Bottle Sling Carrier | Fitted Object Diamond Net | Intermediate | 60 Mins | 3mm Braided Cord |
| 18. Ice Cream Cone | Rope Coiling & Half-Hitches | Absolute Beginner | 25 Mins | 5mm Rope / 2mm Cord |
| 19. Hexagon Wall Tiles | Diagonal Double Half-Hitches | Intermediate | 45 Mins | 3mm Single Strand |
| 20. Pocket Wall Pouch | Flat Weaving & Assembly | Intermediate | 75 Mins | 3mm 3-Ply Cord |
Smart Safety & Clean Finishing Tips for Kids
- Ergonomic Work Stations: Always anchor hanging projects at the child’s chest level using an adjustable clothing rack or a door hook. This prevents neck strain and makes knotting more comfortable.
- Preventing Fraying While Crafting: Wrap a small piece of painter’s tape around the ends of working cords while tying. This stops the ends from unraveling before the project is finished.
- Crisp, Clean Fringe Trimming: For neat, straight fringe lines on coasters and wall hangings, press a strip of masking tape across the brushed fringe as a straight edge guide, then cut along the tape with sharp fabric scissors.
- Dust & Fiber Care: Natural cotton fiber crafts collect dust over time. Keep them fresh by gently shaking them out outdoors or using a hairdryer on its lowest, coolest setting.