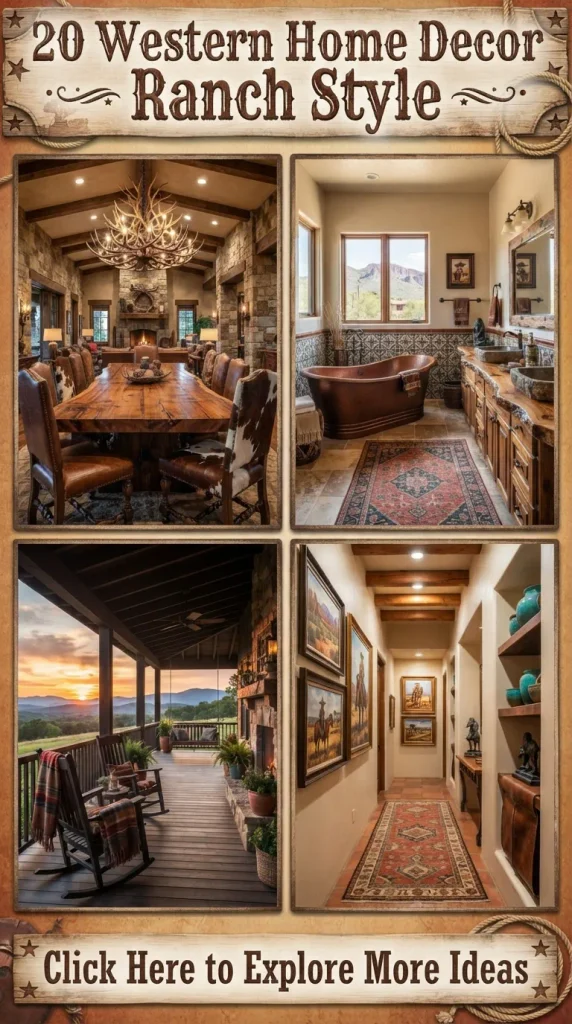
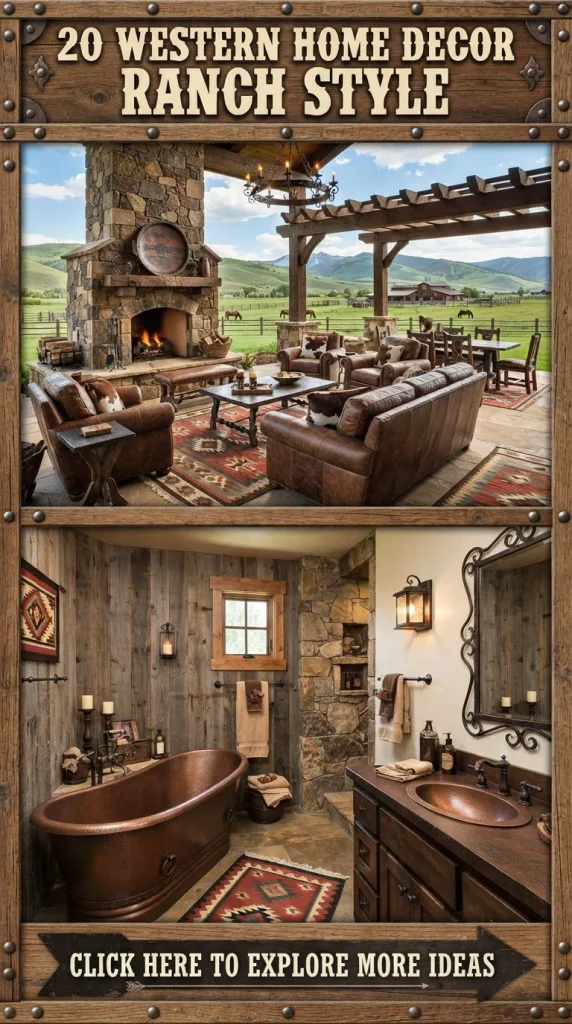
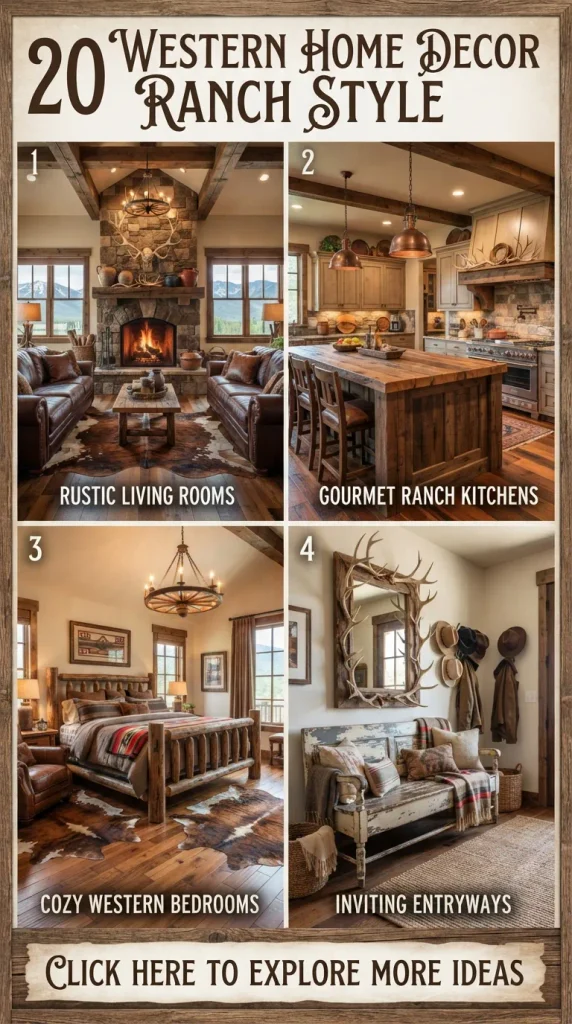
Transforming a living space into a breathtaking Western ranch sanctuary is about balancing rustic heritage with modern elegance. A true modern Western interior does not rely on cliché novelties; rather, it honors natural elements, weathered patinas, earthy color palettes, and artisan craftsmanship. This comprehensive guide explores twenty distinct aesthetic concepts designed to elevate your home into a sophisticated prairie retreat. Every section includes step-by-step creation methods, expert design tips, and creative variations to tailor the look to your personal taste.
1. Handcrafted Leather and Reclaimed Wood Accent Wall
Creating a focal wall using reclaimed barn wood paired with embossed leather tiles introduces instant warmth and texture to a living room or entryway.
- How to Make It: Source authentic weathered pine or oak planks from a local salvage yard. Sand the wood lightly to remove splinters while preserving the natural grain and age marks. Mount the planks horizontally or in a herringbone pattern onto drywall using construction adhesive and finishing nails. Intersperse custom squares of vegetable-tanned, tooled leather secured with antique brass upholstery tacks. Seal the wood with a matte, low-VOC polyurethane to protect against dust and moisture.
- Tips & Variations: Opt for white oak if you prefer a brighter, more contemporary Scandinavian-Ranch hybrid. For a moodier aesthetic, dark walnut paired with charcoal-dyed leather creates a striking contrast. Ensure your wall anchors align with studs if you plan to hang heavy decor items later.
- Materials Needed: Reclaimed wood planks, tooled leather tiles, brass tacks, construction adhesive, finishing nails, matte wood sealer.

2. Artisan Woven Wool Blanket Ladder Display
A handcrafted blanket ladder keeps textiles organized while serving as a sculptural piece of wall art that celebrates traditional weaving techniques.
- How to Make It: Select four straight branches of cedar or juniper measuring roughly six feet in length, or mill square-cut pine posts for a cleaner silhouette. Cut two vertical uprights and four to five rungs. Join the rungs to the uprights using pocket-hole screws or traditional mortise-and-tenon joints for superior stability. Sand the entire structure smooth, then apply a rich Danish oil to highlight the wood’s natural undertones. Lean the finished ladder at a fifteen-degree angle against a prominent wall and drape vintage Pendleton or hand-spun Navajo wool blankets over the rungs.
- Tips & Variations: Wrap the top joints with heavy-duty jute rope or harness leather strips for an added layer of equestrian-inspired detail. If utilizing raw branches, ensure the bark is thoroughly dried and treated to prevent insect activity.
- Materials Needed: Cedar branches or pine lumber, pocket-hole screws, Danish oil, jute twine, sandpaper.
3. Hand-Forged Wrought Iron Antler Chandelier
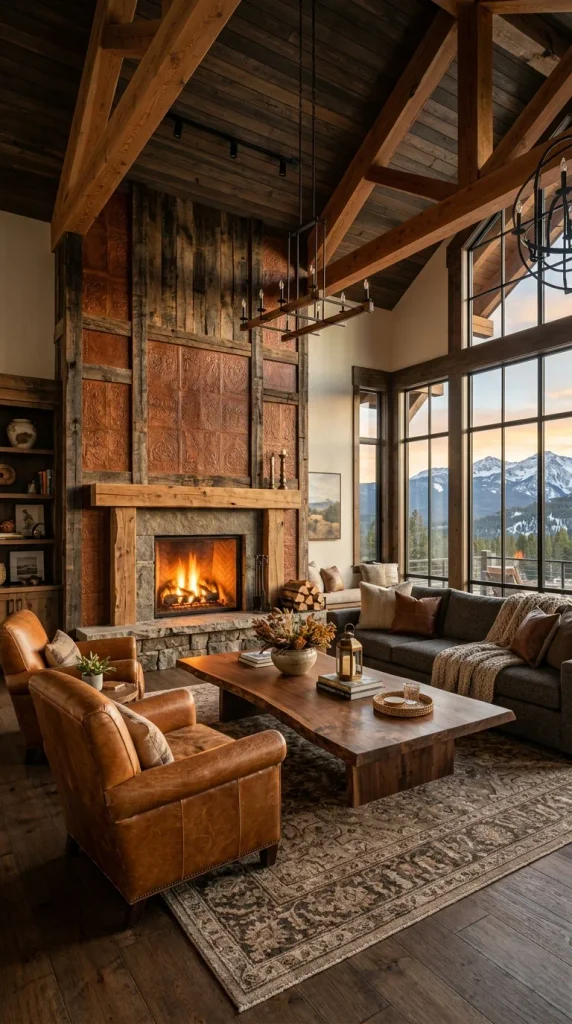
An architectural lighting fixture crafted from dark forged iron and subtle rustic elements commands attention and establishes the overarching mood of a great room.
- How to Make It: Construct a robust ceiling mounting plate rated for heavy weights. Fabricate a circular or wagon-wheel frame using heavy-gauge steel welded by an experienced smith, or source a pre-fabricated iron armature. Wrap sections of the frame in hand-forged scrollwork or faux-antler castings finished with multi-layered acrylic paints to achieve an organic, weathered bone appearance. Wire the fixture with medium-base sockets encased in amber Edison glass bulbs. Suspend the entire assembly securely from ceiling joists using heavy iron chain links.
- Tips & Variations: Replace traditional Edison bulbs with frosted candle-style LED bulbs for a softer, more diffused evening glow. For a streamlined industrial ranch look, omit the antler motifs entirely and focus strictly on matte-black iron riveted bands.
- Materials Needed: Wrought iron ring, heavy chain, electrical wiring kit, amber Edison bulbs, mounting hardware, metal primer and paint.

4. Vintage Saddle Leather Accent Chairs
Investing in or upcycling distressed leather armchairs infuses a study, den, or reading nook with timeless equestrian sophistication.
- How to Make It: Locate a sturdy mid-century or traditional wooden armchair frame with solid bones. Strip away outdated fabric upholstery and inspect the internal webbing and springs, replacing worn coil springs with high-density foam and durable burlap backing. Upholster the frame in full-grain, aniline-dyed saddle leather that exhibits natural range marks and scars. Finish the seams with heavy-duty waxed saddle-stitch thread, and secure the edges using hand-hammered antique brass tacks. Treat the leather with a nourishing mink oil balm to achieve a supple, buttery hand-feel.
- Tips & Variations: Choose cognac or caramel leather tones for a warm, inviting atmosphere, or deep chocolate brown for a moody, masculine library vibe. Pair the chair with a matching leather ottoman for maximum comfort.
- Materials Needed: Vintage armchair frame, full-grain aniline leather, high-density foam, waxed thread, upholstery tacks, mink oil.
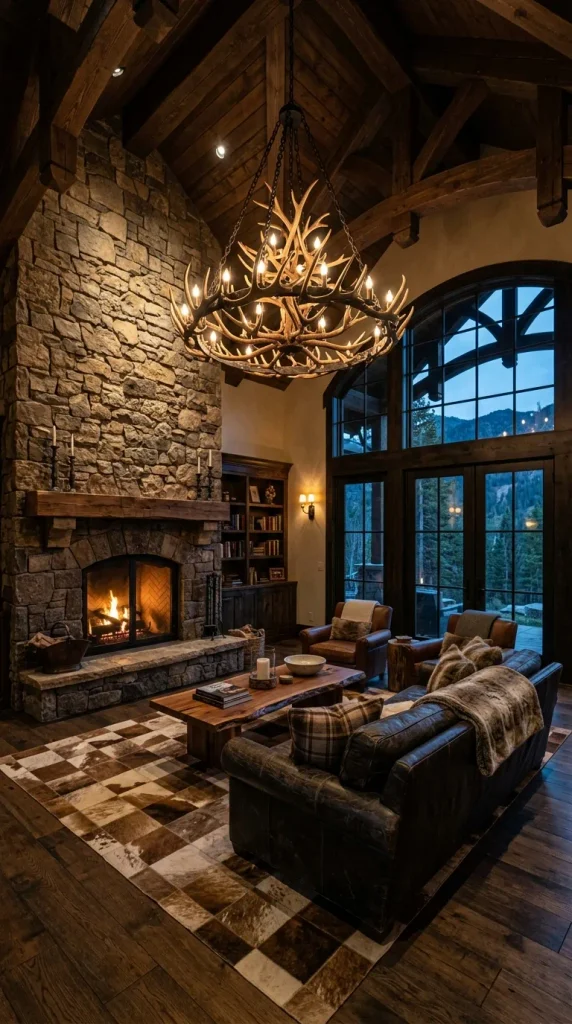
5. Raw Edge Live-Edge Walnut Dining Table
A dining table fashioned from a continuous slab of live-edge walnut serves as the natural gathering heart of a ranch-style home.
- How to Make It: Source a kiln-dried walnut slab featuring natural live edges and captivating grain patterns. Plane and sand the top surface progressively from 80-grit up to 320-grit sandpaper until silky smooth. Fill any natural knots or fissures with black epoxy resin for structural integrity and visual interest. Fabricate trapezoid-shaped legs from raw structural steel tubing, painting them with a matte black rust-inhibitive coating. Fasten the wooden slab to the steel base using threaded inserts and expansion clips to allow for natural seasonal wood movement. Apply a hard-wax oil finish to accentuate the deep chocolate hues.
- Tips & Variations: If walnut is unavailable, white ash or mesquite offer exceptional grain characteristics and high durability. Keep the edges completely bark-free and sanded round for a softer, splinter-free touch point during meals.
- Materials Needed: Live-edge walnut slab, black epoxy resin, steel tubing legs, threaded inserts, hard-wax oil, random orbital sander.
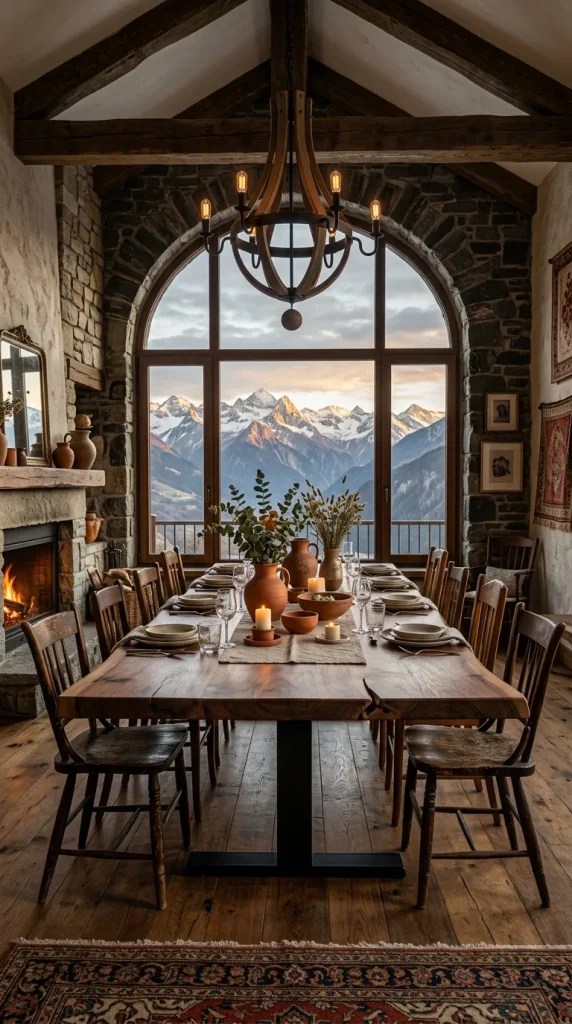
6. Heritage Cowhide Patchwork Area Rug
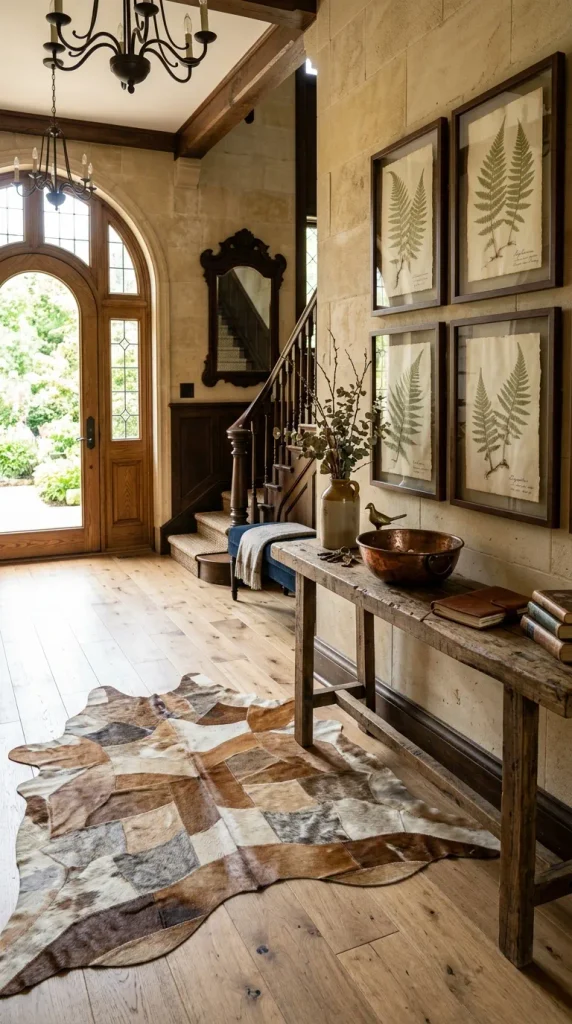
Layering textures underfoot anchors a room, and a custom cowhide patchwork rug brings authentic Southwestern character to hardwood flooring.
- How to Make It: Collect ethically sourced, chrome-tanned cowhide pelts in varying natural shades—ranging from brindle and tricolor to solid ivory and charcoal. Cut the pelts into uniform geometric shapes, such as squares, hexagons, or diamonds, using a heavy-duty rotary cutter and a steel straightedge. Arrange the pieces in a balanced, asymmetrical gradient pattern on a large canvas backing. Bond the leather pieces to the backing using heavy-duty contact cement, then reinforce the perimeter with a leather binding tape stitched securely with an industrial walking-foot sewing machine.
- Tips & Variations: Restrict the color palette to shades of cream, taupe, and espresso for a serene, minimalist approach. Layer the finished patchwork rug over a larger, neutral jute or sisal rug to create visual depth and warmth.
- Materials Needed: Assorted cowhide pelts, canvas backing fabric, contact cement, leather binding tape, heavy-duty rotary cutter.
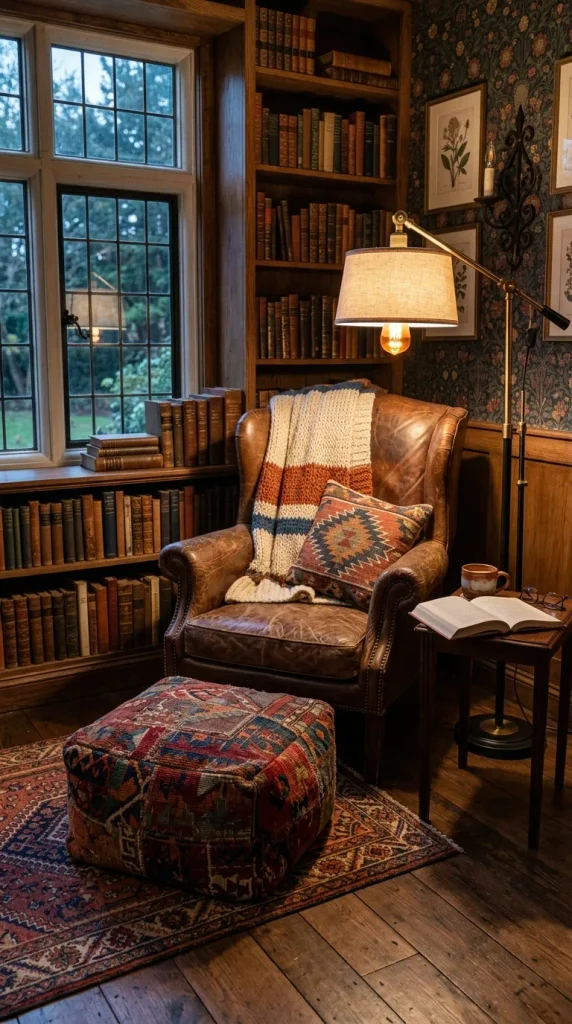
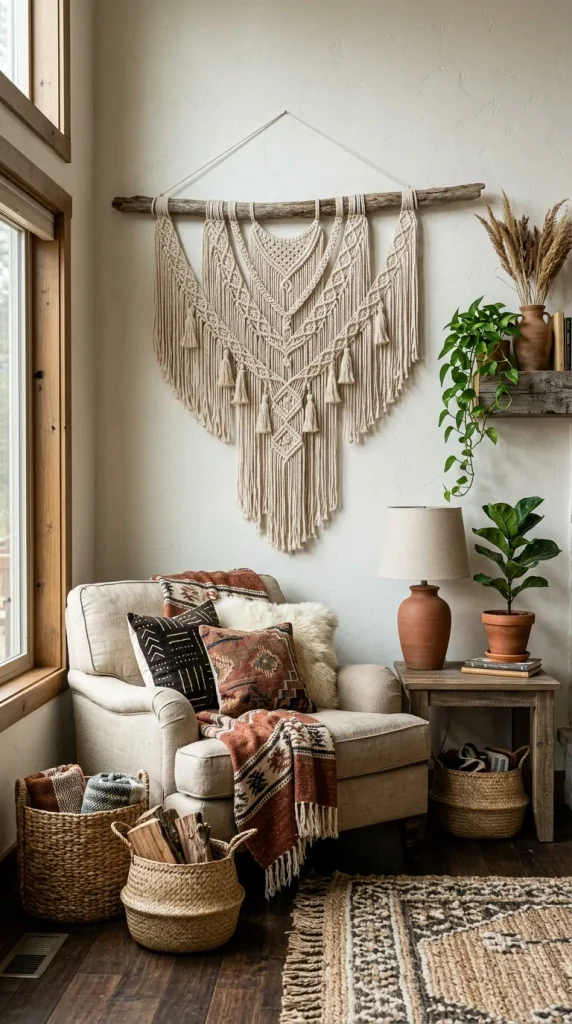
7. Distressed Plaster and Exposed Beam Ceiling
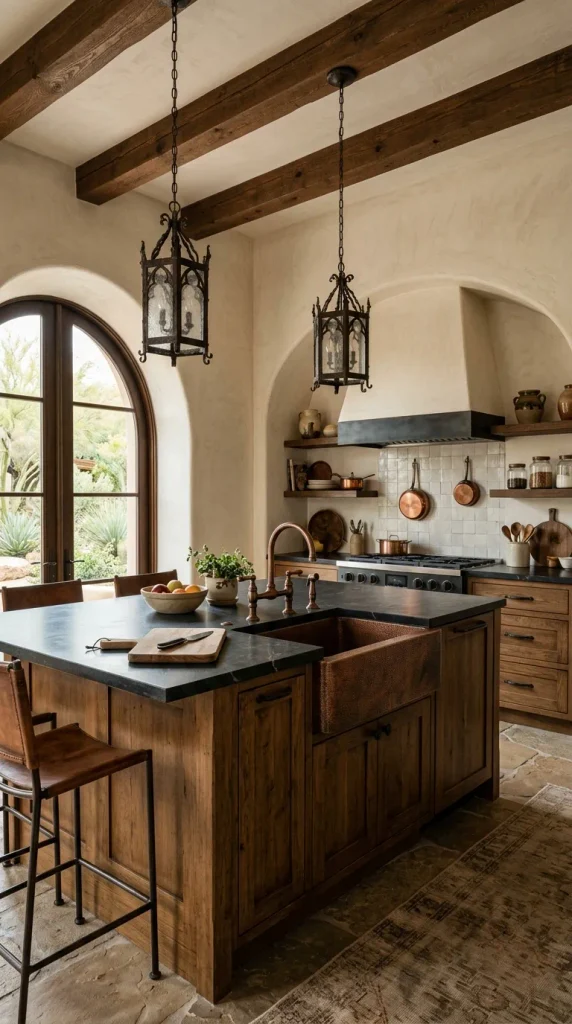
Mimicking traditional adobe and historic ranch architecture through textured wall finishes and exposed timber rafters creates instant historic authenticity.
- How to Make It: Install faux or structural box beams made from reclaimed box-joined lumber across the ceiling at regular intervals, anchoring them firmly into ceiling framing. Apply a thick layer of tinted lime wash or Venetian plaster over drywall surfaces using a flexible stainless steel trowel. Create gentle undulations and trowel marks to mimic the hand-applied character of historic plaster homes. Finish the surface with a clear matte sealer to prevent dusting while preserving the chalky, organic matte appearance.
- Tips & Variations: Use a warm off-white or soft alabaster plaster shade to maximize natural light reflection in smaller rooms. Darkly stained beams provide a sharp, dramatic contrast against crisp white plaster.
- Materials Needed: Reclaimed timber beams, joint adhesive, Venetian plaster or lime wash, steel trowel, matte wall sealer.
8. Hand-Thrown Terracotta and Ceramic Pottery Vignettes
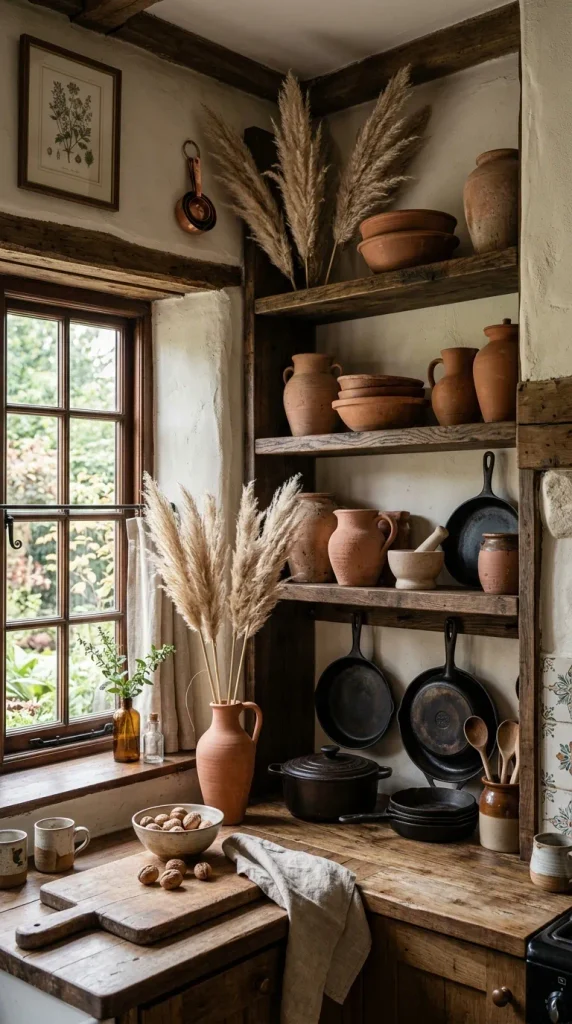
Displaying earthy, unglazed terracotta vessels and hand-thrown ceramics on open wooden shelves celebrates ancient crafting traditions.
- How to Make It: Gather clay vessels of varying heights, mouth diameters, and neck profiles. If working with raw, porous terracotta, leave select pieces unglazed while treating others with white milk paint or mineral washes for a dipped aesthetic. Arrange the pottery in odd-numbered groupings on floating reclaimed wood shelves supported by iron brackets. Fill select vessels with dried pampas grass, rabbit tails, or native prairie botanicals to introduce organic vertical lines into the space.
- Tips & Variations: Incorporate vintage copper pitchers or cast-iron cookware into the display to vary the material textures. Distress painted ceramics lightly with fine sandpaper around the rims to simulate natural aging.
- Materials Needed: Terracotta pots, ceramic vases, milk paint, floating wooden shelves, iron brackets, dried prairie grasses.
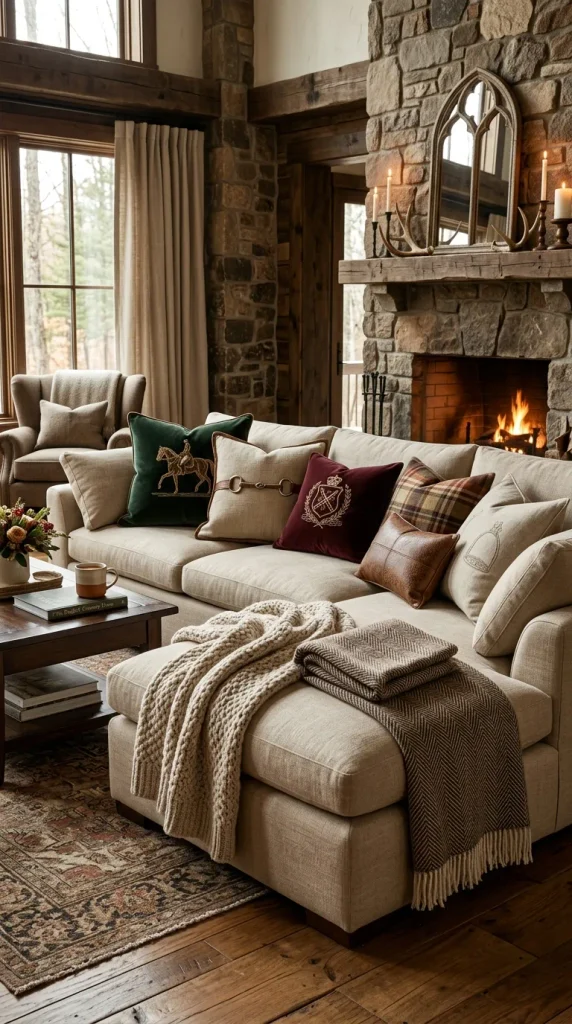
9. Equestrian Saddle-Stitch Velvet and Linen Pillows
Mixing tactile textiles like heavy linen, buttery leather, and plush velvet elevates a rustic leather sofa into a luxurious lounging oasis.
- How to Make It: Cut heavy-weight natural linen and rich caramel velvet into tailored rectangular pillow covers. Construct a contrasting central band on each cover using remnant bridle leather fastened with decorative brass rivets. Insert a concealed nylon zipper along the bottom seam for effortless cleaning. Stuff each cover with an oversized down-feather pillow insert to ensure a plump, high-end chop in the center.
- Tips & Variations: Experiment with southwestern geometric Kilim patterns printed on heavy woven cotton for accent pillows. Stick to a cohesive color palette drawn from the desert landscape: terracotta, sage, sand, and charcoal.
- Materials Needed: Linen fabric, velvet fabric, leather scraps, brass rivets, invisible zippers, down pillow inserts, sewing machine.
10. Cast-Iron and Brass Horseshoe Hearth Accessories
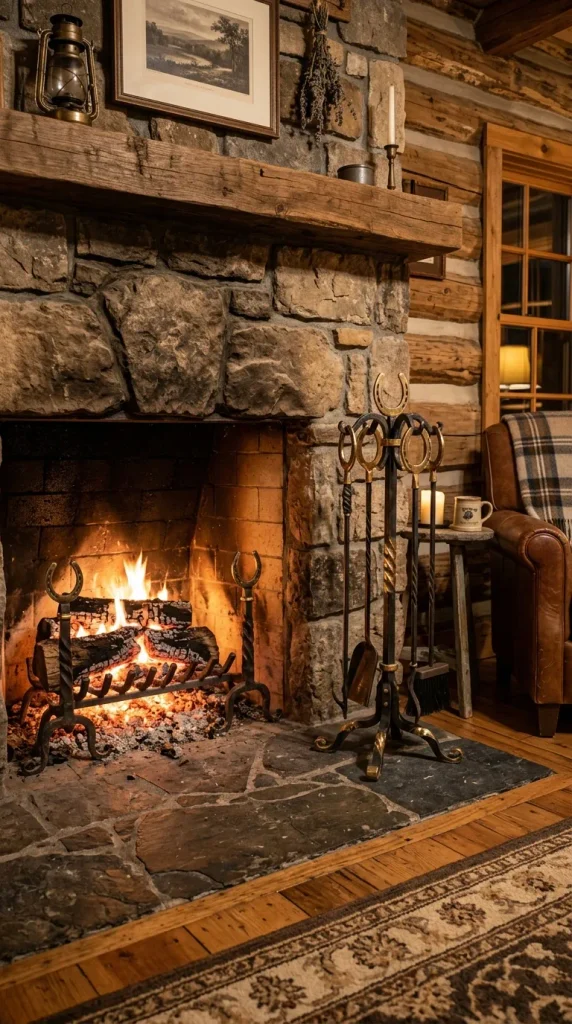
Elevating utilitarian fireplace tools into display-worthy art pieces enhances the rustic focal point of any Western living room.
- How to Make It: Forge or source a heavy steel hearth stand featuring welded horseshoe details and a weighted circular base. Fabricate companion fireplace tools—poker, shovel, broom, and tongs—using solid steel shafts welded to forged brass handles. Polish the brass accents to a soft, brushed luster while leaving the steel components blackened with high-heat stove paint. Mount the entire set neatly beside the stone hearth on a slate tile hearth pad.
- Tips & Variations: Incorporate authentic vintage horseshoes into the tool handles for a personalized touch of structural history. Keep the metal maintenance simple by wiping down components with a light coat of linseed oil periodically.
- Materials Needed: Steel stock, solid brass rods, vintage horseshoes, high-heat black paint, welding equipment, slate hearth pad.
11. Botanical Pressed Ferns in Vintage Wood Frames
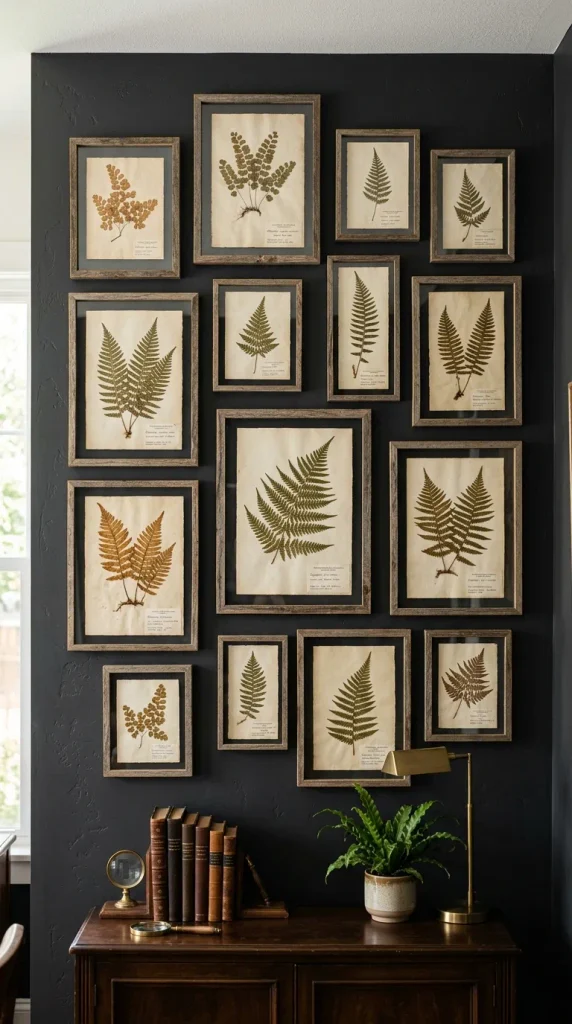
Framing scientific illustrations of native flora and pressed desert botanicals brings the organic beauty of the outdoor range indoors.
- How to Make It: Forage hardy ferns, sagebrush leaves, and prairie grasses, pressing them flat between heavy books for three to four weeks until completely dehydrated. Arrange the pressed specimens meticulously onto heavy-weight cotton watercolor paper using tiny dabs of archival glue. Construct floating picture frames from narrow strips of weathered barn wood fitted with double-pane glass. Secure the botanical artwork between the glass sheets so the wall color shows through the transparent background, creating a weightless visual effect.
- Tips & Variations: Group a collection of six uniform frames in a grid formation above a console table for a striking gallery wall impact. Use handwritten calligraphy beneath each specimen to label the botanical species names.
- Materials Needed: Pressed botanicals, watercolor paper, archival glue, weathered wood frame molding, double-pane glass.
12. Hand-Knotted Macrame and Driftwood Wall Hanging
Integrating textile art with salvaged natural elements softens rigid architectural lines and introduces bohemian Western warmth.
- How to Make It: Secure a smooth, weathered piece of driftwood washed ashore from a local river or lake. Measure and cut numerous strands of natural cotton cord measuring roughly four times your desired finished length. Attach the cords to the driftwood using foundational lark’s head knots. Execute intricate square knots, alternating half-hitches, and diagonal clove hitches to form a cascading geometric tapestry. Trim the bottom fringe evenly into a sweeping V-shape using sharp fabric shears.
- Tips & Variations: Dye sections of the cotton cord in natural indigo or avocado pit baths before knotting to create a subtle ombre color gradient. Incorporate raw wooden beads interspersed within the upper knotwork rows for added dimension.
- Materials Needed: Driftwood branch, natural cotton macrame cord, sharp fabric shears, optional natural dye materials.
13. Distressed Vintage Kilim Ottoman Pouf
A tailored ottoman covered in authentic flat-woven wool Kilim rugs provides versatile extra seating and a rich burst of geometric color.
- How to Make It: Construct a sturdy internal timber box frame or a high-density foam cylinder to serve as the supportive core. Stitch vintage wool Kilim rug fragments together using a heavy-duty upholstery needle and waxed nylon thread to form a seamless outer casing. Upholster the foam or wooden core with the stitched Kilim shell, reinforcing all stress seams with double-stitching. Add a heavy-duty zipper along the base for easy removal and cleaning, and finish the bottom with low-profile wooden bun feet.
- Tips & Variations: Fill the interior with dense poly-fill batting for a firmer seating surface, or use shredded memory foam for a more relaxed, sink-in lounge feel. Protect the wool surface from staining with a specialized fabric protector spray.
- Materials Needed: Vintage Kilim fragments, high-density foam or timber frame, upholstery thread, heavy zipper, wooden feet.
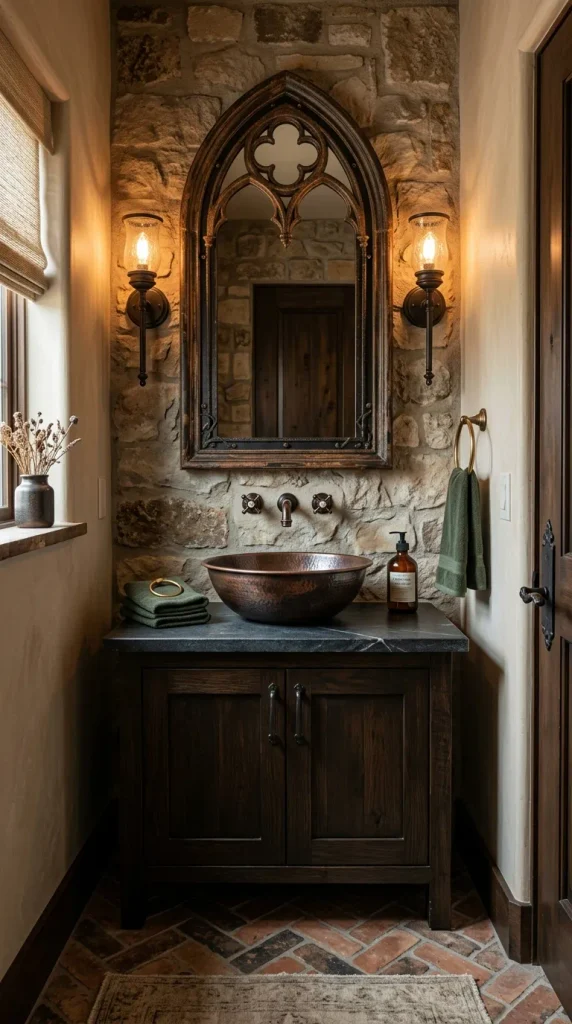
14. Hand-Beaten Copper Basin and Stone Vanity
Transforming a powder room into a rustic sanctuary begins with a hand-hammered copper sink basin set atop a reclaimed stone or timber vanity.
- How to Make It: Build a vanity cabinet using reclaimed thick pine timbers fitted with an undershelf for linen storage. Cut a precise circular opening in a polished slab of travertine or soapstone to receive a drop-in, hand-hammered raw copper basin. Install an antique oil-rubbed bronze wall-mounted faucet with cross-handle valves above the basin. Seal the stone countertop with an impregnating sealer to protect against water spots, and allow the copper to develop a natural living patina over time.
- Tips & Variations: Pair the copper basin with artisan terracotta floor tiles in a herringbone pattern to complete the earthy Southwestern aesthetic. Avoid harsh chemical cleaners on the copper to preserve its evolving organic finish.
- Materials Needed: Reclaimed timber vanity, soapstone or travertine slab, hand-hammered copper sink, oil-rubbed bronze faucet, stone sealer.
15. Galvanized Metal and Edison Bulb Pendant Cluster
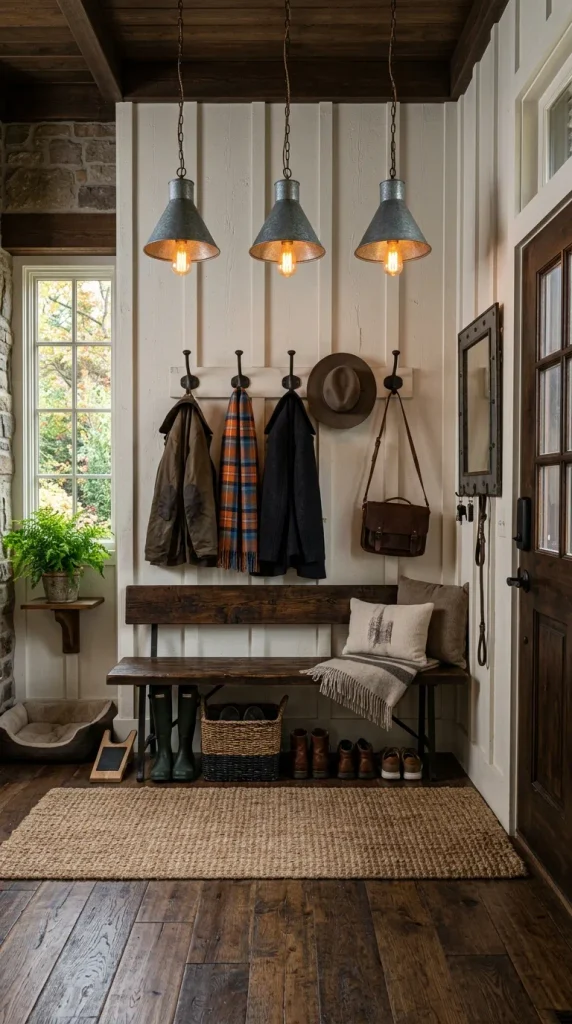
Channeling industrial ranch utility into lighting design provides a functional, striking overhead statement for kitchen islands or mudrooms.
- How to Make It: Source vintage agricultural galvanized steel funnels, feed scoops, or milk strainer cones to use as custom light shades. Drill a central aperture through the base of each metal vessel to accommodate a standard threaded lamp cord grip. Wire brass-plated lamp sockets to twisted black fabric-wrapped electrical cords, securing the shades with internal locking washers. Suspend the cluster at varying heights from a ceiling canopy plate, and fit each socket with an amber-tinted tubular Edison filament bulb.
- Tips & Variations: Mix different vintage galvanized vessel shapes within the same cluster for an eclectic, curated farmhouse look. Connect the fixture to a wall dimmer switch to easily transition from task lighting to ambient evening mood lighting.
- Materials Needed: Vintage galvanized metal items, fabric-wrapped electrical cord, brass lamp sockets, Edison bulbs, ceiling mounting canopy.
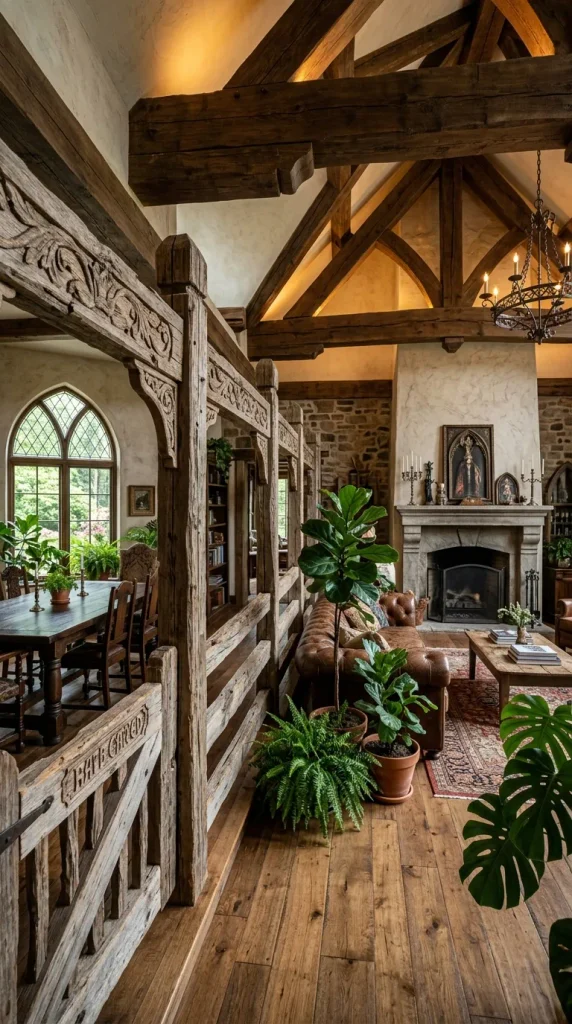
16. Hand-Carved Wooden Corral Fence Partition
Dividing open-plan living spaces with a sculptural partition fashioned to resemble rustic ranch fencing maintains spatial flow while adding privacy.
- How to Make It: Mill thick posts and horizontal rails from rough-sawn cedar or pine lumber, distressing the surfaces with a hammer and chain to simulate years of weathering. Construct a modular post-and-rail partition frame that fastens securely between the floor and ceiling joists. Notch the vertical posts so the horizontal rails slot through cleanly, securing them with large wooden dowels or decorative iron bolts. Leave the wood entirely unfinished for a raw, chalky patina, or apply a weathered gray stain.
- Tips & Variations: Weave climbing indoor plants like pothos or string-of-hearts through the wooden rails to merge natural greenery with structural woodwork. Integrate LED strip lighting along the base of the partition for a dramatic nighttime uplighting effect.
- Materials Needed: Cedar or pine posts and rails, woodworking tools, wooden dowels, iron bolts, weathered gray wood stain.
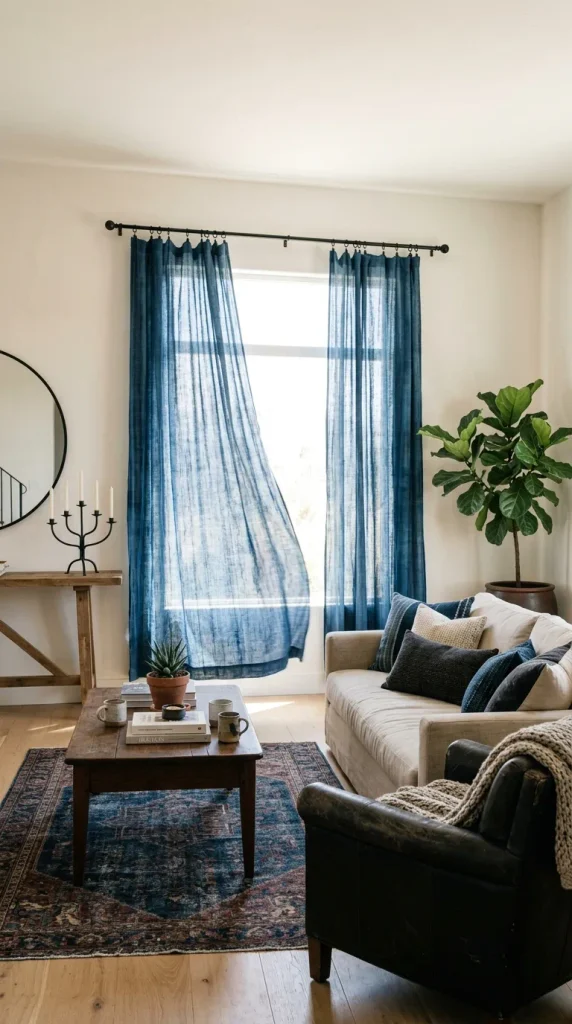
17. Hand-Dyed Indigo Linen Window Draping
Softening harsh desert sun glare with flowing, hand-dyed natural indigo linen panels brings effortless elegance to large ranch home windows.
- How to Make It: Purchase pure Belgian linen fabric panels in a crisp natural flax color. Prepare an organic indigo vatted dye bath and submerge folded sections of the linen panels using Shibori resist-dyeing techniques with wooden clamping blocks to create geometric patterns. Rinse the fabric thoroughly in cold water and tumble dry on low to achieve a relaxed, crinkled texture. Install a heavy black iron curtain rod featuring forged spear finials, and hang the linen panels using matching iron clip rings.
- Tips & Variations: Allow the drapery panels to puddle slightly onto the hardwood floor for a romantic, unpretentious aesthetic. Layer light-filtering linen sheers behind heavier blackout panels for optimal light control throughout the day.
- Materials Needed: Belgian linen panels, organic indigo dye kit, wooden clamping blocks, iron curtain rod, iron clip rings.
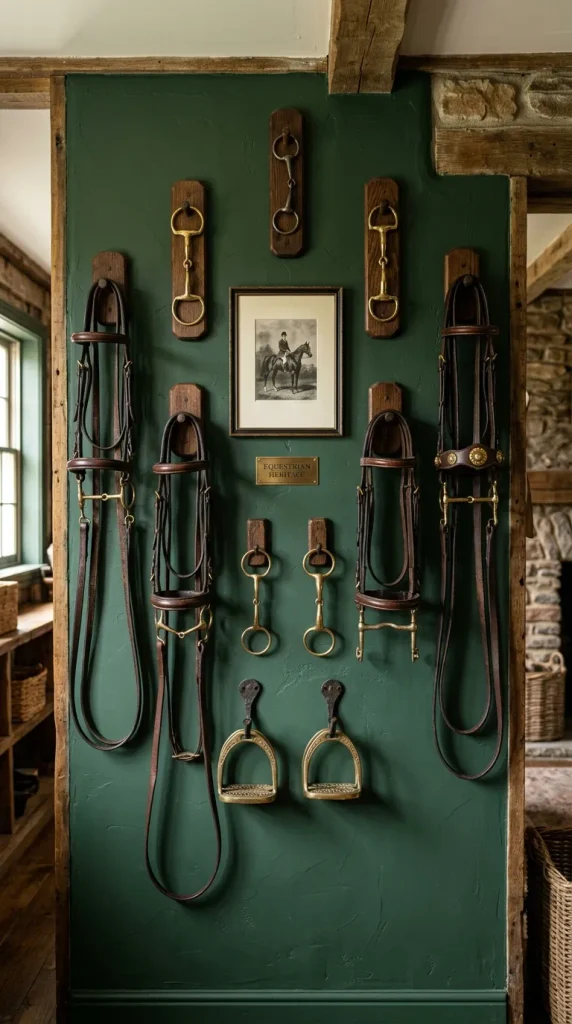
18. Vintage Equestrian Bridle and Harness Gallery Wall
Curating a collection of vintage leather bridles, stirrups, and reins into an artistic gallery wall honors deep ranching heritage.
- How to Make It: Collect vintage leather tack, cast-iron stirrups, and brass bits from antique auctions and specialty tack shops. Clean the dry leather thoroughly using saddle soap, then condition it generously with neatsfoot oil to restore flexibility and deep luster. Mount custom-turned wooden pegs into the drywall at varying heights. Hang the bridles and harnesses artistically over the pegs, allowing the leather straps to drape naturally and create dynamic sculptural lines against the wall.
- Tips & Variations: Paint the accent wall behind the tack collection in a deep, moody heritage shade like forest green or charcoal to make the rich leather tones pop. Frame vintage equestrian competition ribbons alongside the hardware for added storytelling depth.
- Materials Needed: Vintage leather bridles and stirrups, saddle soap, neatsfoot oil, wooden wall pegs, mounting hardware.
19. Hand-Tufted Wool Southwestern Accent Bench
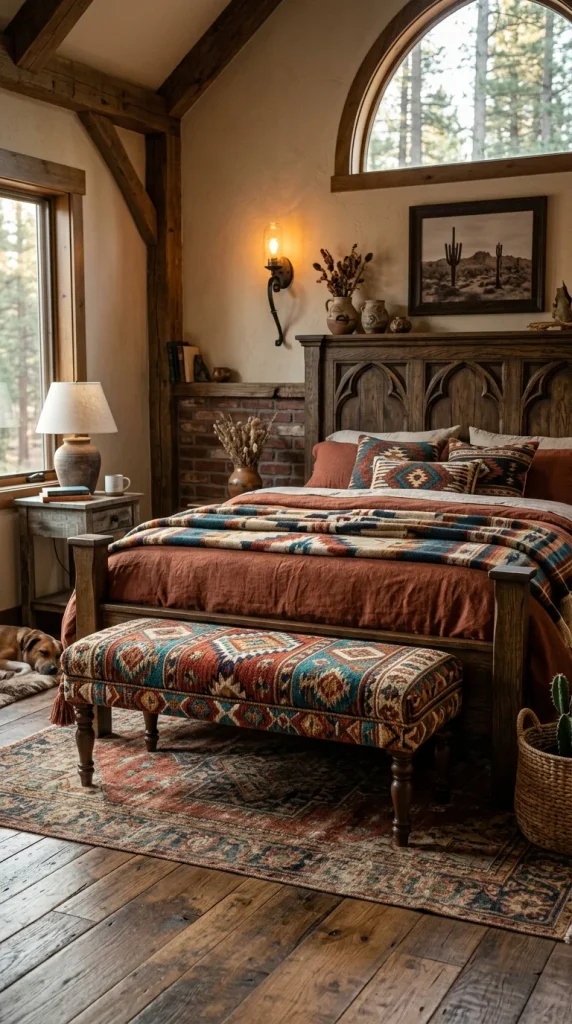
Placing a bespoke wool-upholstered bench at the foot of a bed or in an entryway provides functional seating infused with vibrant Southwestern textile art.
- How to Make It: Build a low-profile bench frame from solid white oak featuring tapered mid-century legs. Construct a comfortable upholstered top using multi-density foam layered over webbing. Wrap the cushion in an authentic hand-woven Southwestern wool blanket featuring bold geometric diamonds and terraced steps. Secure the fabric tightly to the wooden frame underneath using a pneumatic staple gun, and finish the underside with a clean cambric dust cover.
- Tips & Variations: Choose a textile featuring rich rust, turquoise, and mustard tones to instantly warm up a neutral bedroom design. Treat the wool upholstery with a stain-resistant spray to protect against daily wear and tear.
- Materials Needed: White oak lumber, upholstery foam, webbing, authentic Southwestern wool blanket, pneumatic staple gun, cambric fabric.
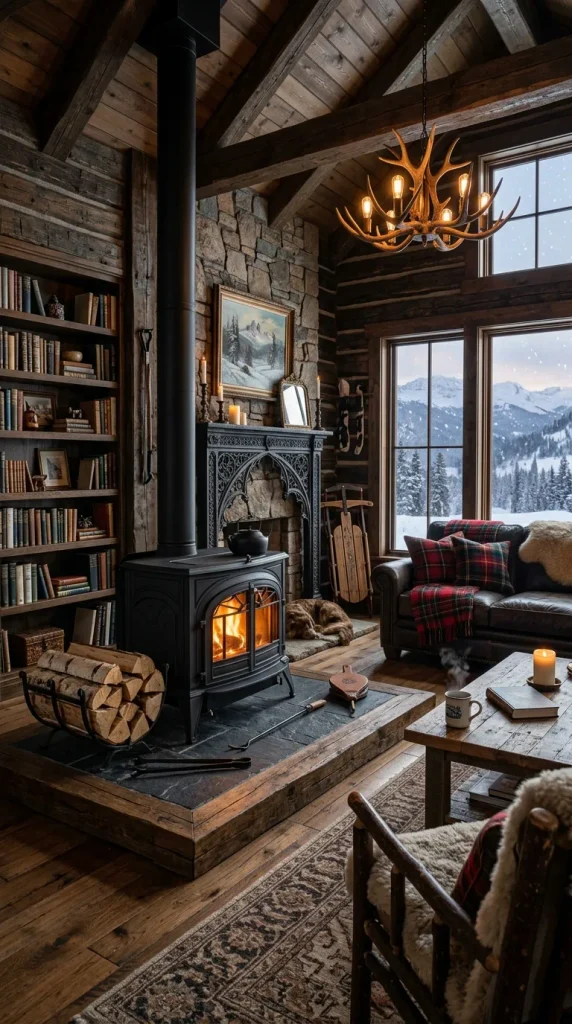
20. Antique Cast-Iron Wood Stove Fireplace Hearth
Anchoring a living space with a restored antique cast-iron wood-burning stove provides cozy functional warmth and undeniable historic charm.
- How to Make It: Source a vintage cast-iron wood stove from manufacturers like Jotul or Buck Stove. Disassemble the stove, clean away old soot and rust using wire brushes, and apply a fresh coat of high-temperature matte black stove polish. Construct a non-combustible hearth pad utilizing dark slate tiles bordered with reclaimed timber. Vent the stove safely through an insulated double-wall stainless steel chimney system installed by a certified professional through your roof or exterior wall.
- Tips & Variations: Stack neatly cut firewood in a geometric metal rack directly beside the stove to create an inviting visual texture. Place a heavy brass kettle on top of the stove to add ambient humidity to dry winter air.
- Materials Needed: Vintage cast-iron wood stove, high-temp stove polish, slate tiles, timber hearth border, professional chimney venting kit.