Infuse a recipient’s wardrobe, drawers, or luggage with subtle luxury by crafting delicate handmade paper envelopes stuffed with dried organic lavender, crushed rose petals, and scented botanicals. They double as exquisite stationery for future letters.
- Materials & Tools Needed: Handmade cotton rag paper envelopes or sheets, dried lavender flowers, dried rose petals, a few drops of organic essential oil (lavender or sandalwood), a needle, embroidery floss, and a rubber stamp.
- Step-by-Step Construction:
- Stamp a delicate botanical illustration or monogram onto the front flap of your handmade paper envelope using archival ink.
- Mix your dried lavender and rose petals in a bowl and infuse them with 3-4 drops of essential oil.
- Fill the envelope with the fragrant botanical blend.
- Seal the envelope shut, and use your needle and contrasting embroidery floss to cross-stitch a decorative border along the edges, ensuring the contents are securely locked inside while allowing the gentle scent to diffuse through the porous paper fibers.
- Pro Tips for an Aesthetic Finish: Tie the finished scented sachet with a rustic length of raw unspooled linen twine and tuck a sprig of fresh rosemary beneath the knot.
- Creative Variations: Shape the paper into tiny pyramid pouches instead of flat envelopes, hanging them inside closets like artisanal air fresheners.
16. Custom Hand-Painted Watercolor Calendar
A desk calendar is a daily companion for an entire year. By hand-painting a unique watercolor botanical illustration for each month on thick archival paper and mounting it on a sleek wooden display block, you give a gift of functional art that transforms every single month.
- Materials & Tools Needed: 12 sheets of heavy watercolor cardstock (cut to 5×7 inches), professional watercolor paints, fine paintbrushes, black archival ink pen, a miniature wooden block stand with a vertical slit, and calendar date templates.
- Step-by-Step Construction:
- Cut your 12 watercolor cards to identical dimensions.
- Paint a unique, delicate seasonal botanical or abstract watercolor splash at the top of each card (e.g., spring cherry blossoms for April, warm pumpkins for October, pine boughs for December). Let dry thoroughly.
- Use a fine black archival pen and a ruler to letter or print the clean, minimalist calendar date grid for that specific month below your painting.
- Stack the 12 finished monthly cards chronologically and place them proudly onto your handmade wooden display block stand.
- Pro Tips for an Aesthetic Finish: Leave generous white borders around your watercolor paintings to give the calendar a clean, gallery-ready aesthetic.
- Creative Variations: Include meaningful dates already marked on the calendar grids—such as birthdays, anniversaries, and shared milestones of you and your recipient.
17. Floating Paper Hot Air Balloon Mobile
Evoking a sense of childlike wonder and adventurous wanderlust, this whimsical hanging decor piece features miniature 3D hot air balloons constructed from patterned paper panels, complete with tiny woven paper baskets dangling below.
- Materials & Tools Needed: Patterned craft paper, cardstock templates for balloon gores (panels), strong sewing thread, tiny miniature craft baskets or folded cardstock boxes, hot glue, and a wooden suspension ring.
- Step-by-Step Construction:
- Cut 6 to 8 identical curved teardrop “gore” panels out of your patterned craft paper for each hot air balloon.
- Fold each panel down its center vertical axis.
- Glue the folded edges of adjacent panels back-to-back in a sequential circle until a complete 3D spherical hot air balloon shape is formed around a central hanging thread.
- Suspend a tiny miniature craft basket underneath each paper balloon using four short lengths of fine thread attached to the base seams.
- Hang your completed hot air balloons at staggered heights from a suspended wooden ring.
- Pro Tips for an Aesthetic Finish: Mix vintage map-print paper with soft pastel stripes and gold foil cardstock for an enchanting, storybook-inspired aesthetic.
- Creative Variations: Stuff tiny LED micro-bulbs inside the paper balloons so they glow warmly like miniature lanterns when hung in a nursery or cozy reading nook.
18. Intricate Kirigami Snowflake Window Garland
Kirigami—the art of folding and cutting paper—creates breathtakingly complex, lace-like fractal patterns. Stringing together an assortment of masterfully cut crystalline snowflakes into a delicate vertical garland brings the magical crispness of an enchanted winter forest indoors.
- Materials & Tools Needed: Crisp white tracing paper or translucent parchment squares, precision detail scissors or a craft knife, metallic silver thread, and a fine needle.
- Step-by-Step Construction:
- Fold a square piece of translucent parchment paper in half diagonally, then into thirds and quarters to create a tight triangular wedge (standard snowflake folding technique).
- Using precision detail scissors or a craft knife, cut intricate geometric slots, curves, and negative spaces along the folded edges of the wedge.
- Carefully unfold the paper to reveal a symmetrical, lace-like geometric snowflake. Repeat to create 10 to 15 unique snowflakes.
- Thread your silver metallic cord through the top points of the snowflakes, spacing them evenly to form a stunning vertical winter garland ready to hang in a window frame.
- Pro Tips for an Aesthetic Finish: Press your cut snowflakes flat under a heavy book overnight so they hang perfectly straight without curling edges.
- Creative Variations: Spray the finished snowflakes lightly with repositionable adhesive and sprinkle ultra-fine iridescent white glitter over them for a frosty, sparkling finish.
19. Botanical Pressed Leaf Tea Light Luminaries
When candlelight filters through translucent parchment paper embedded with real botanical foliage, the room glows with a warm, amber ambiance. These cylinder tea light luminaries make breathtaking table centerpieces or thoughtful hostess gifts.
- Materials & Tools Needed: Heavy translucent parchment paper or vellum, pressed autumn leaves or delicate ferns, double-sided tape, glass votive cups, and battery-operated LED tea lights (never use real flames with paper).
- Step-by-Step Construction:
- Cut a wide rectangular strip of translucent vellum paper to fit around your glass votive cup with a slight overlap.
- Arrange an artful, balanced composition of pressed leaves across the center of the vellum strip, adhering them with tiny dabs of clear glue.
- Wrap the decorated vellum strip into a cylinder shape around the glass votive cup, securing the overlapping ends cleanly with double-sided tape.
- Place a safe battery-operated LED tea light inside the glass cup, and watch as the botanical silhouettes illuminate brilliantly through the parchment walls.
- Pro Tips for an Aesthetic Finish: Use autumn-harvested maple or beech leaves in deep rust, amber, and gold hues for the most spectacular warm glow when backlit.
- Creative Variations: Punch decorative borders along the top and bottom rims of the parchment cylinder using a paper-craft edge punch for an extra touch of elegance.
20. Hand-Cut Paper Pop-Up Anniversary Cake Card
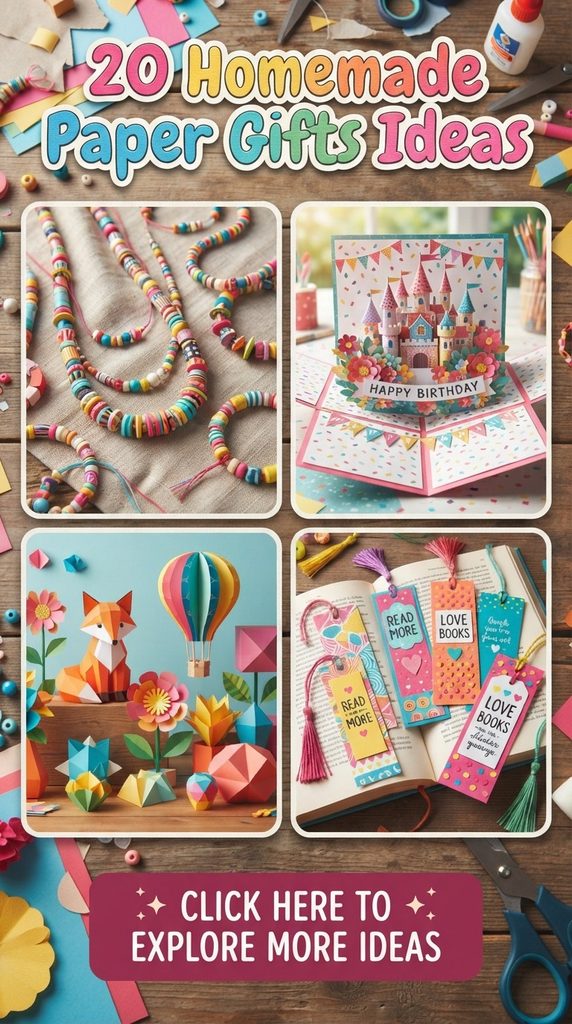
Every celebration deserves cake, even if it’s made of paper. This delightful greeting card features a multi-tiered birthday or anniversary cake that pops up in luscious 3D layers complete with tiny paper candles and frosting flourishes when opened.
- Materials & Tools Needed: Heavy cardstock in ivory, pastel pink, and gold foil; precision craft knife; scoring tool; craft glue; and fine metallic gel pens.
- Step-by-Step Construction:
- Score and fold a heavy ivory cardstock sheet in half to form the outer card base.
- On a separate sheet of pastel pink cardstock, construct a tiered cake structure incorporating internal V-fold mechanisms that align with the card’s center fold crease.
- Cut decorative frosting drips and candle silhouettes out of gold foil cardstock and glue them onto the tiers of your pop-up cake.
- Secure the base tabs of the pop-up cake structure to the interior center crease of your ivory card base so that the cake erects majestically when the card opens.
- Write a heartfelt greeting on the surrounding white cardstock panels using a fine metallic gold gel pen.
- Pro Tips for an Aesthetic Finish: Add tiny quilled paper coils on top of the cake tiers to mimic piped buttercream frosting swirls.
- Creative Variations: Customize the number of candles on the cake to match the exact milestone year of the birthday or anniversary being celebrated.
More Ideas to Come in Future Additions