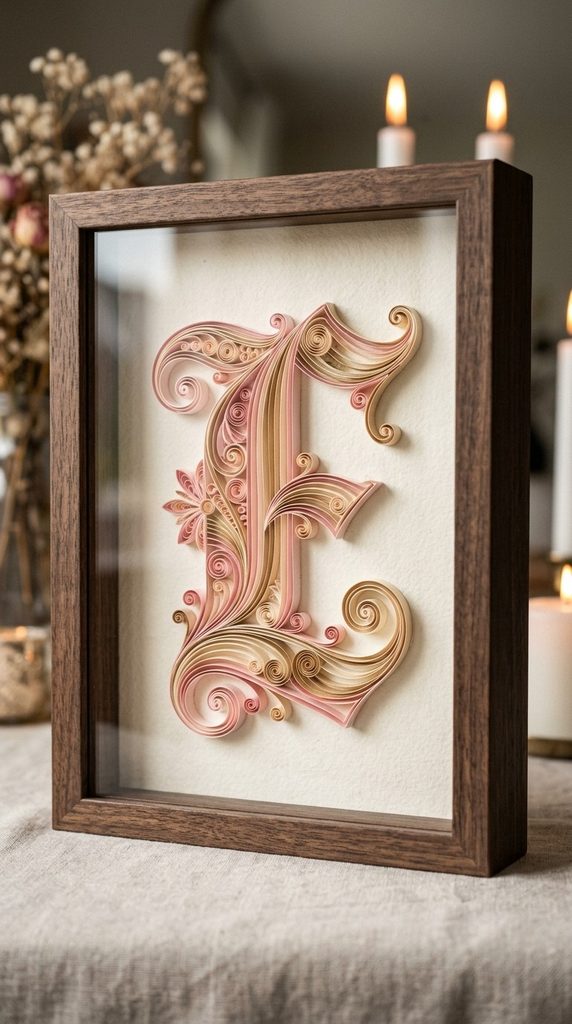
Paper quilling—the art of rolling, shaping, and gluing narrow strips of paper together to create decorative designs—reaches new heights when scaled up into a bold, modern monogram. The resulting piece has incredible depth, casting dynamic shadows as the light shifts throughout the day.
- Materials & Tools Needed: Quilling paper strips (3mm or 5mm width in coordinating tones), a slotted quilling tool, white wood glue or PVA, a deep-set shadow box frame, and a large printed template of your recipient’s initial.
- Step-by-Step Construction:
- Print out your chosen letter in a clean, elegant serif font, matching the interior dimensions of your shadow box. Place it on your work surface.
- Insert the end of a paper strip into your slotted quilling tool and roll it tightly into a disk. Release it slightly to let it expand into a loose coil, secure the end with a tiny dot of glue, and pinch the edges to form teardrops, marquises, or C-scrolls.
- Fill the interior outline of the printed letter template by gluing your rolled and shaped paper coils tightly side-by-side, creating a dense, mosaic-like paper tapestry.
- Once the entire letter is filled and completely dry, carefully peel or lift the paper structure away from the template backing.
- Mount your finished quilled monogram onto a contrasting piece of textured linen cardstock inside the shadow box.
- Pro Tips for an Aesthetic Finish: Stick to an ombre color palette (e.g., varying shades of dusty rose, cream, and champagne gold) to give the monogram a sophisticated, multidimensional look.
- Creative Variations: Instead of a single monogram, quill a birth flower, a favorite animal silhouette, or a pair of interlocking wedding rings for newlyweds.
6. Cinematic Pop-Up Botanical Greenhouse Card