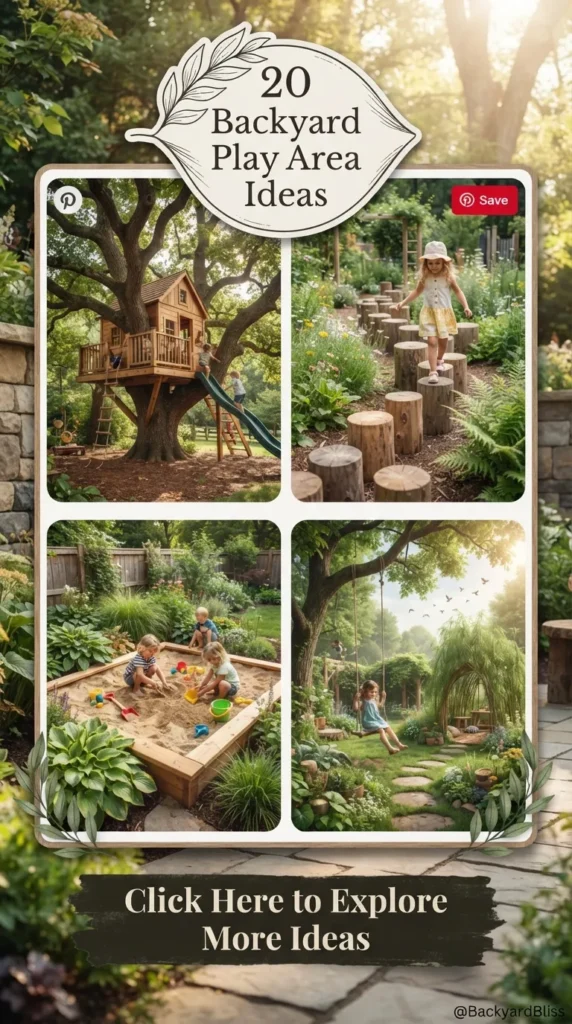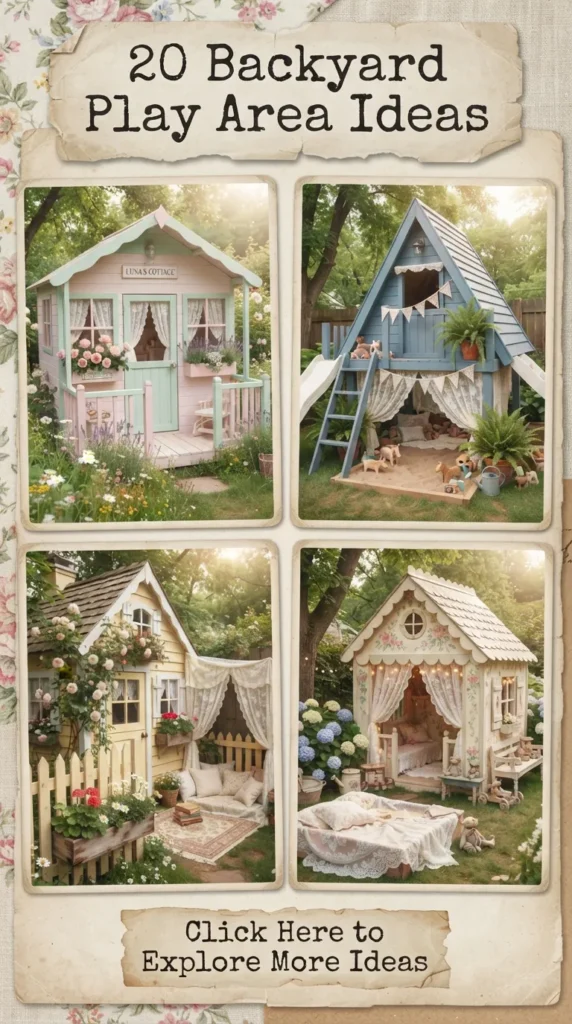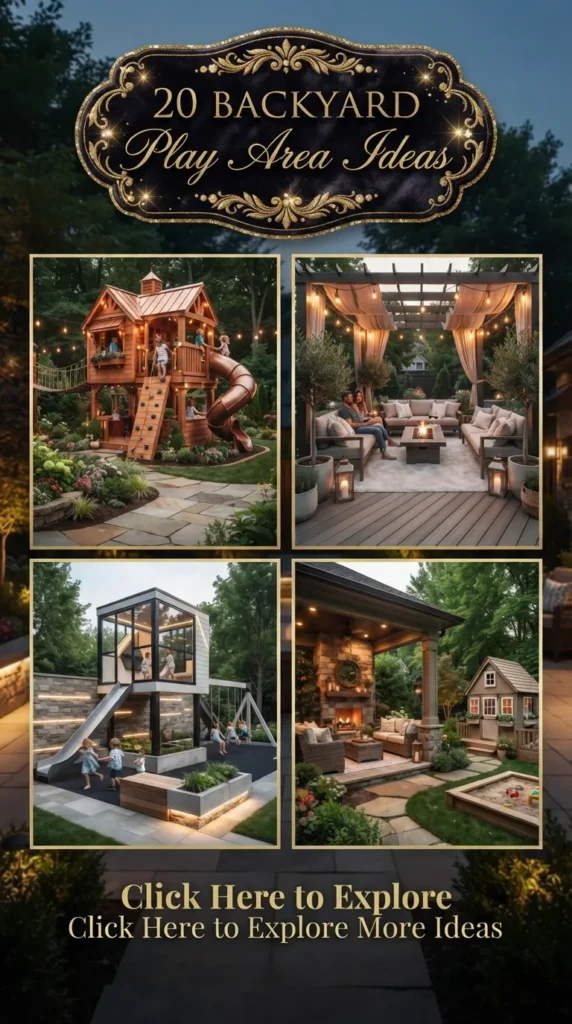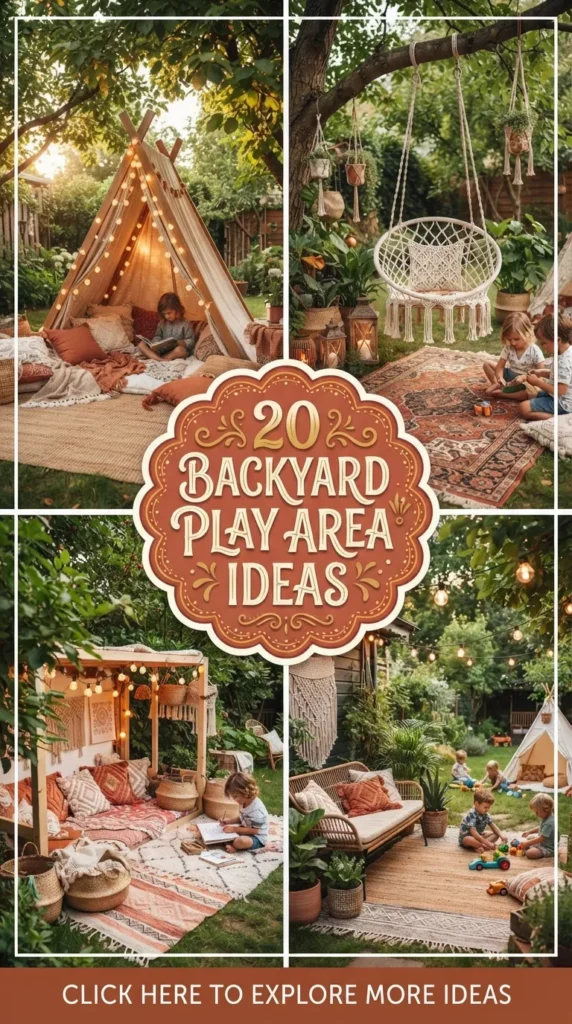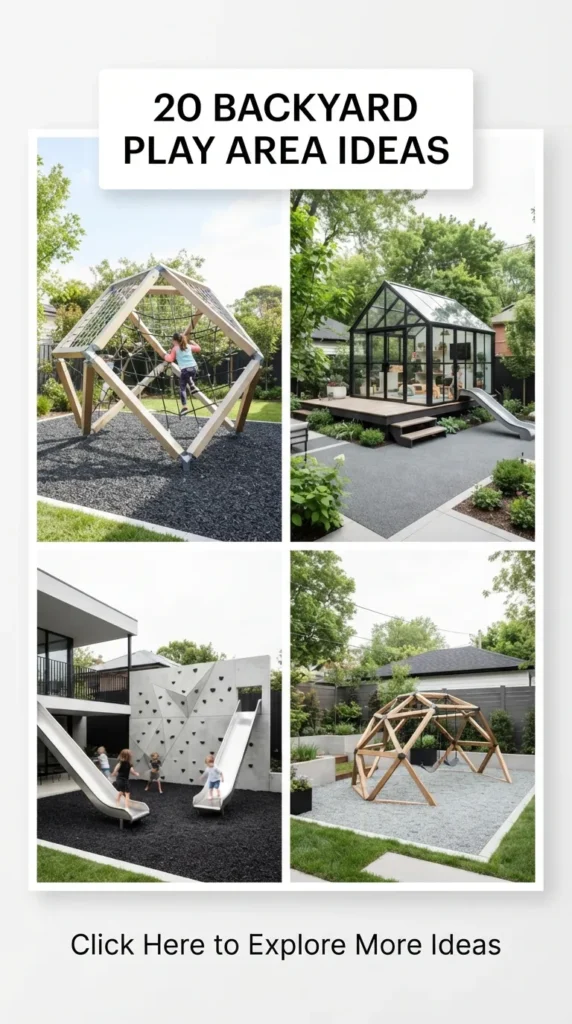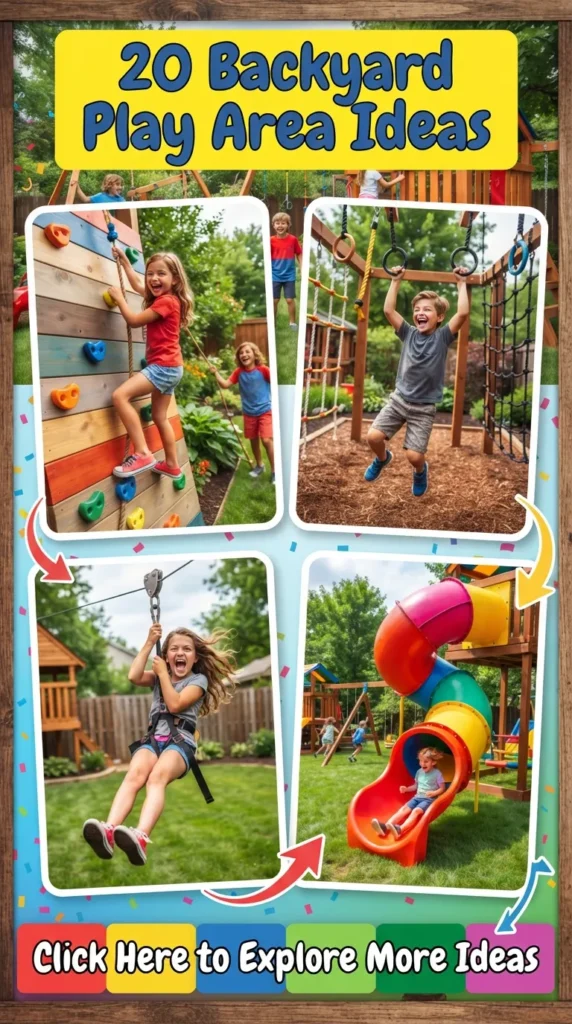
A backyard play area no longer needs to be an eyesore of garish primary-colored plastic and rusted metal towers. Modern landscape architecture and family-focused design have evolved, proving that children’s play spaces can harmonize seamlessly with high-end exterior decor. By utilizing natural timbers, weather-resistant metals, organic textures, and integrated landscaping, you can create a backyard play zone that delights children while maintaining the sophisticated aesthetic of your home.
Whether you are designing a compact urban courtyard play corner, a sprawling woodland adventure zone, or a resort-style family playground, this comprehensive guide explores 20 exquisite backyard play area ideas. Each concept features a detailed introduction, an exploration of its design philosophy, step-by-step guidance on how to execute it, essential tips and variations, and the exact materials needed. At the conclusion of this article, you will find a curated collection of high-resolution visual prompts designed to inspire your next outdoor renovation project.


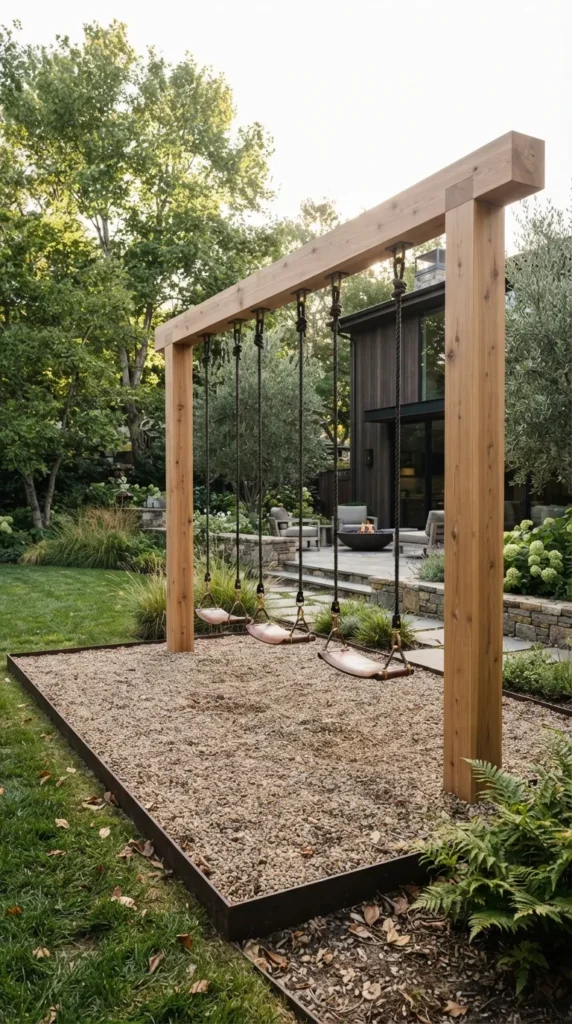
1. Modern Minimalist Wooden Swing Set
Introduction
The traditional backyard swing set gets a sophisticated upgrade through clean architectural lines, durable untreated cedar or redwood timbers, and luxurious leather or canvas sling seats.
What This Idea Means
This design philosophy champions structural simplicity, natural materials, and timeless aesthetic restraint. It avoids neon colors and bulky hardware, ensuring the swing set looks like a piece of custom outdoor furniture.
How to Make It
- Structural Engineering: Pour deep concrete pier footings and anchor heavy 6×6 cedar support beams to create a rock-solid, safe overhead beam frame.
- Hanging Hardware: Attach heavy-duty stainless steel swing hangers equipped with smooth nylon bushings to eliminate squeaking.
- Seat Selection: Hang genuine leather strap swings or heavy-duty natural canvas bucket seats using color-matched marine-grade ropes.
- Ground Surfacing: Install a clean border of weathered steel landscape edging filled with rounded pea gravel or engineered wood fiber mulch beneath the swing footprint.
Tips and Variations
- Tip: Treat exterior cedar timbers annually with a clear UV-resistant penetrating oil to preserve their warm golden hue over time.
- Variation: Replace one traditional swing with a circular macrame web-net swing for shared lounging and swinging.
Needs to Make That Thing
- Heavy 6×6 cedar or redwood framing timbers
- Stainless steel swing hangers and marine-grade ropes
- Leather or canvas swing seats
- Pea gravel safety surfacing and steel edging
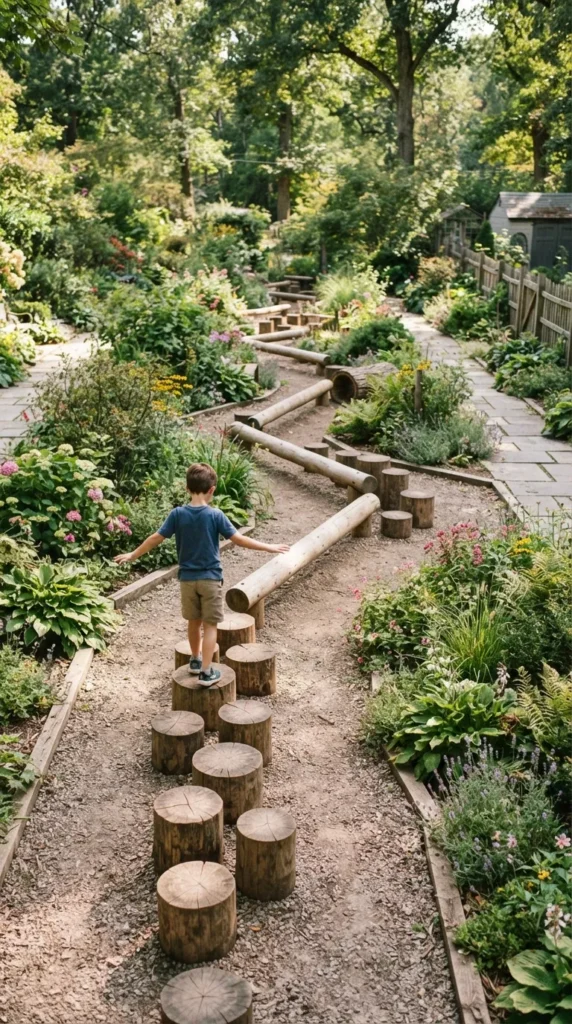
2. Natural Log Balancing Course & Obstacle Path
Introduction
Encouraging gross motor development and imaginative woodland play doesn’t require manufactured equipment. A natural log balancing course utilizes fallen tree rounds and debarked logs to create a rustic backyard obstacle path.
What This Idea Means
This concept celebrates biophilic design, unstructured play, and tactile connection with nature. It transforms a sloped or unused corner of the yard into an adventurous forest trail.
How to Make It
- Sourcing Logs: Procure sturdy hardwood logs (such as locust, oak, or cedar) cut into varied heights and lengths from a local arborist.
- Debarking and Sanding: Strip remaining bark and sand down rough splinters to ensure child-safe surfaces across all stepping rounds.
- Buried Stabilization: Dig post holes and bury the base of each vertical log or horizontal beam firmly in compacted gravel and soil to ensure zero wobble.
- Path Layout: Arrange stepping rounds, low balancing beams, and stepping stones in an engaging winding pathway through garden beds.
Tips and Variations
- Tip: Coat the base of buried logs with a non-toxic wood preservative to prevent premature ground-rot.
- Variation: Add climbing ropes suspended from a sturdy tree branch alongside the log balancing beam for extra stability and upper-body engagement.
Needs to Make That Thing
- Seasoned hardwood log rounds and beams
- Compacted gravel base for anchoring
- Non-toxic wood preservative and orbital sander
- Sisal climbing ropes (optional)
3. Bohemian Wicker & Macrame Teepee Lounge
Introduction
A cozy outdoor retreat tucked under the shade of a weeping willow or mature oak, this bohemian teepee lounge provides a quiet nook for reading, daydreaming, and relaxed outdoor storytelling.
What This Idea Means
This design honors textile softness, nomadic charm, and intimate personal spaces. It creates a tranquil shaded harbor that bridges indoor lounging with outdoor whimsy.
How to Make It
- Frame Construction: Tie five tall bamboo poles or smooth birch poles together at the top using heavy-duty jute twine to form a stable teepee cone skeleton.
- Fabric Draping: Wrap woven macrame panels or natural cotton canvas fabric around the frame, leaving an open arched entryway.
- Flooring Foundation: Layer thick outdoor waterproof floor cushions, faux sheepskin rugs, and neutral boho throw pillows inside the teepee base.
- Ambient Lighting: Hang battery-operated fairy string lights or a solar-powered rattan lantern from the apex of the bamboo poles.
Tips and Variations
- Tip: Pack cushions away in a waterproof deck box during heavy rainstorms to prevent mildew and fabric degradation.
- Variation: Plant climbing jasmine or star jasmine at the base of the teepee poles to let living vines climb and cover the structure over time.
Needs to Make That Thing
- Long bamboo or birch teepee poles
- Heavy jute twine and woven macrame fabric panels
- Outdoor floor cushions and faux sheepskin rugs
- Battery-operated fairy string lights
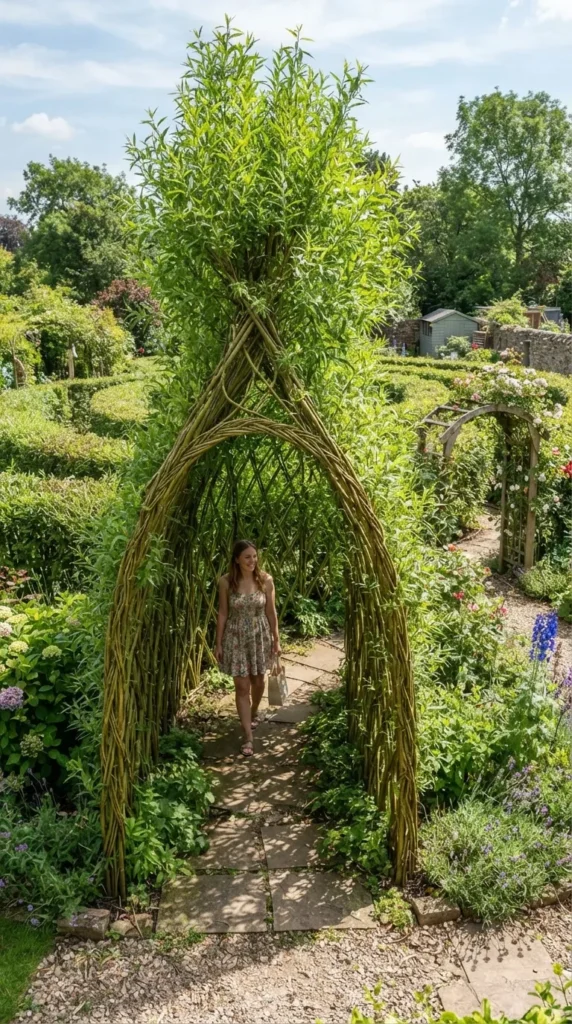
4. Living Willow Tunnel and Secret Garden Maze
Introduction
Growing architecture creates a magical play environment that changes with the seasons. A living willow tunnel uses freshly cut willow whips planted directly into the ground to weave an organic, leafy green corridor.
What This Idea Means
This concept celebrates horticultural art, living architecture, and exploratory discovery. It immerses children in a secret botanical world that encourages curiosity and imaginative hide-and-seek.
How to Make It
- Sourcing Whips: Purchase dormant live willow rods (salix varieties) in late winter or early spring before budding begins.
- Trench Preparation: Dig parallel trenches in damp soil, spacing them roughly three feet apart to form the tunnel width.
- Planting and Weaving: Insert willow whips into the ground at sharp angles, crossing them diagonally in a lattice pattern and tying intersections with soft garden twine.
- Maintenance: Water regularly and trim new side shoots during summer to encourage strong upward growth and canopy thickening.
Tips and Variations
- Tip: Plant climbing nasturtiums or sweet peas at the base of the living willow tunnel for bursts of colorful seasonal flowers.
- Variation: Design the willow structure into a spiraling maze rather than a straight tunnel for extended exploratory play.
Needs to Make That Thing
- Live dormant willow rods (whips)
- Garden spade and organic compost soil
- Soft jute garden twine for binding
- Soaker hose irrigation system
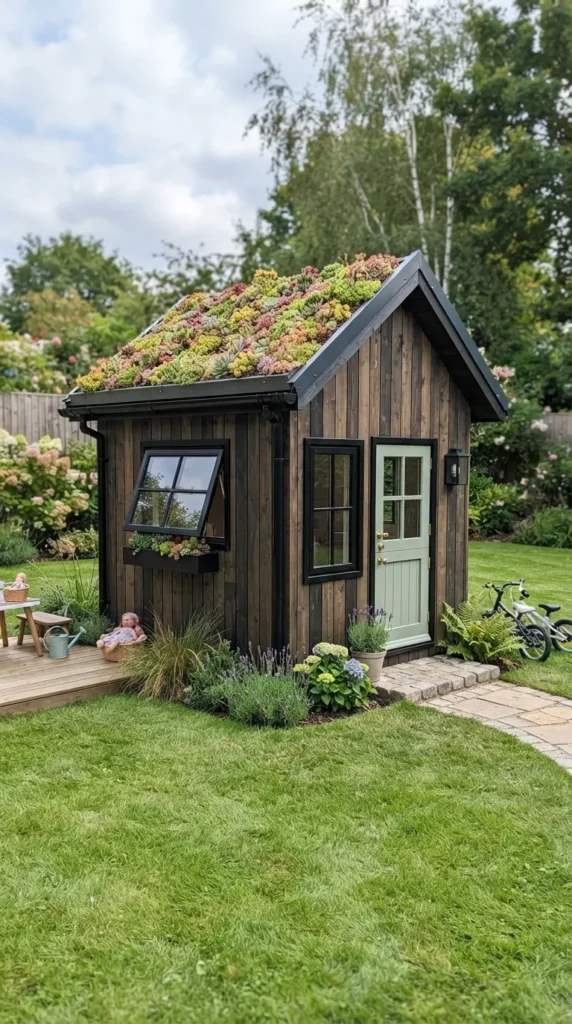
5. Modern Scandinavian Playhouse with Green Roof
Introduction
Abandoning the chaotic colors of traditional plastic playhouses, this modern Scandinavian playhouse features clean black-framed windows, natural cedar siding, and a living sedum green roof.
What This Idea Means
This design philosophy prioritizes architectural sophistication, sustainability, and miniature home luxury. It ensures the playhouse complements the main modern residence rather than clashing with it.
How to Make It
- Foundation & Framing: Build a sturdy pressure-treated wood floor frame elevated on concrete blocks, followed by wall framing and cedar siding.
- Green Roof Installation: Construct a low-slope roof frame fitted with a root-barrier waterproof membrane, drainage mat, and lightweight sedum planting trays.
- Windows & Doors: Install miniature tempered glass casement windows and a custom Dutch door painted in a sophisticated muted hue (like sage green or charcoal).
- Interior Finishing: Paint the interior walls in crisp white, add miniature minimalist furniture, and hang battery-powered wall sconces.
Tips and Variations
- Tip: Sedum plants require minimal watering once established, making them an ideal drought-tolerant choice for green roofs.
- Variation: Add a small wrap-around wooden deck outside the playhouse entrance complete with miniature modern patio chairs.
Needs to Make That Thing
- Pressure-treated framing lumber and cedar siding
- Waterproof root-barrier membrane and sedum roof mats
- Miniature tempered glass windows and Dutch door
- Exterior paint and interior decor accessories
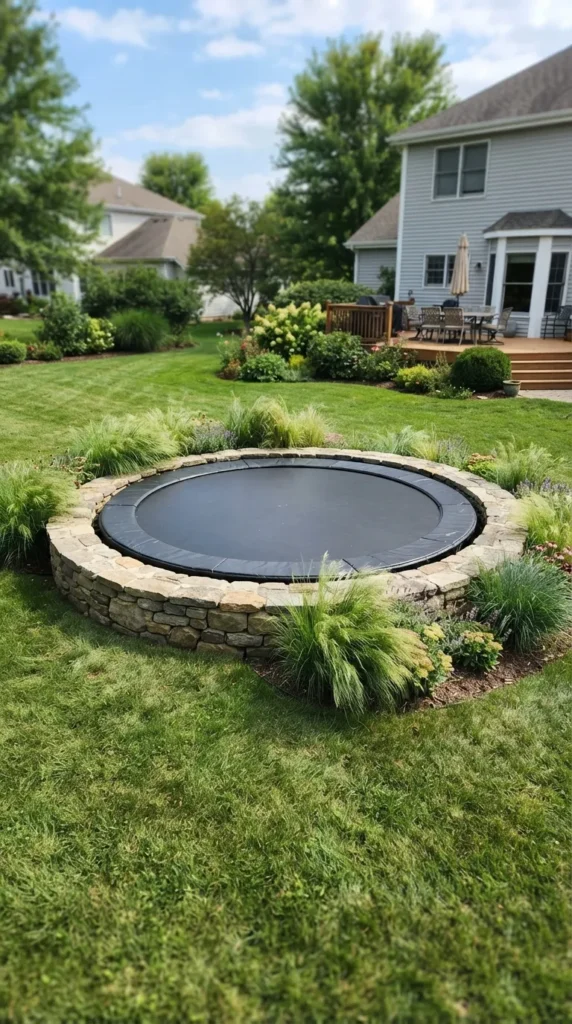
6. Submerged Trampoline with Stone Retaining Ring
Introduction
Trampolines are notorious backyard eye-sores that block horizon views. Sinking a trampoline flush into the lawn and framing it with natural stone creates a sleek, safe, and visually unobtrusive bouncing zone.
What This Idea Means
This concept focuses on landscape integration, improved safety, and horizon preservation. It removes the intimidating high ladder climb while blending the bouncing surface into the lawn.
How to Make It
- Excavation: Dig a bowl-shaped pit matching the exact diameter and depth specifications of your chosen trampoline frame.
- Retaining Wall: Build a dry-stacked natural stone or concrete block retaining ring around the perimeter of the pit to prevent soil collapse.
- Drainage Installation: Install a sub-surface drainage sump pump or gravel drainage layer at the bottom of the pit to prevent standing rainwater pooling beneath the mat.
- Frame Placement: Lower the flush-mount trampoline frame onto the retaining ring, securing safety pads and netting flush with the surrounding grass.
Tips and Variations
- Tip: Leave a small ventilation gap around the perimeter retaining wall to allow proper airflow beneath the bouncing mat for optimal bounce performance.
- Variation: Plant soft ornamental grasses around the outer perimeter stone ring to seamlessly soften the transition from lawn to trampoline.
Needs to Make That Thing
- Flush-mount engineered inground trampoline kit
- Excavator equipment and retaining wall stones
- Sub-surface drainage gravel and sump pump system
- Safety padding and perimeter mesh
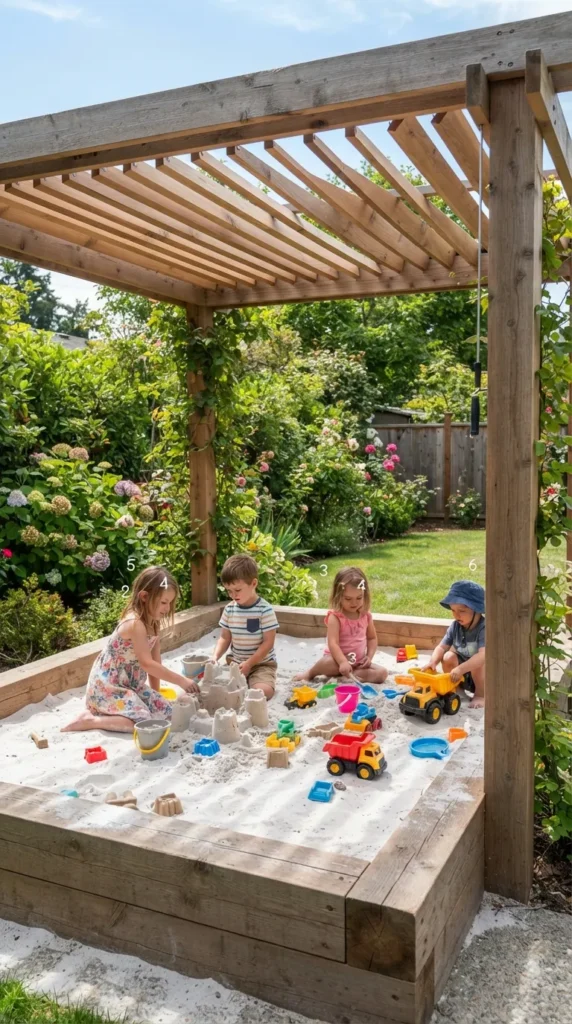
7. Integrated Sandpit with Cedar Pergola Cover
Introduction
A sandpit is a childhood staple, but baking under the midday sun is not. A recessed cedar sandbox sheltered beneath a louvered wooden pergola offers comfortable, shaded sensory play.
What This Idea Means
This design prioritizes sensory exploration, UV protection, and clean landscape boundaries. It elevates a simple sand box into a dedicated architectural play station.
How to Make It
- Excavation & Border: Dig a shallow sandbox pit and build a heavy-duty cedar timber perimeter box secured with corner brackets.
- Pergola Construction: Erect four cedar support posts around the sandbox perimeter, framing an overhead pergola with adjustable louvered slats.
- Sand Selection: Fill the pit with washed, non-staining, child-safe playground sand rather than abrasive builder’s sand.
- Cover Protection: Fit a breathable canvas or custom wooden cover over the sandbox when not in use to keep neighborhood cats and debris out.
Tips and Variations
- Tip: Mix a few drops of eucalyptus or lavender essential oil into the sand occasionally to keep it smelling fresh and clean.
- Variation: Build narrow bench seating ledges along the perimeter of the cedar sandbox frame so children can sit comfortably while building.
Needs to Make That Thing
- Heavy cedar perimeter timbers and structural posts
- Overhead pergola framing lumber and adjustable louvers
- Washed child-safe playground sand (several tons)
- Breathable canvas protective sandbox cover


8. Backyard Mud Kitchen & Sensory Water Station
Introduction
Messy sensory play is essential for childhood development. A bespoke backyard mud kitchen crafted from reclaimed wood, stainless steel bowls, and a working vintage water pump encourages hours of imaginative culinary concoctions.
What This Idea Means
This concept celebrates sensory engagement, tactile creativity, and sustainable repurposing. It provides a dedicated outdoor zone where getting messy is not only allowed, but encouraged.
How to Make It
- Base Station: Build or repurpose an old wooden potting bench featuring lower shelving and a wide countertop work surface.
- Sink Inserts: Cut circular holes into the wooden countertop and drop in stainless steel mixing bowls or vintage washbasins to serve as sinks.
- Water Integration: Mount a rustic hand pump connected to a rain barrel or hook up a weather-resistant outdoor spigot with flexible tubing.
- Accessory Collection: Hang metal utensils, wooden spoons, galvanized buckets, and ceramic teacups from hooks along a backboard shelf.
Tips and Variations
- Tip: Place a bed of smooth river stones or gravel beneath the mud kitchen station to ensure muddy splash water drains quickly away from shoes.
- Variation: Include a chalkboard menu panel mounted on the backboard so little chefs can write out daily mud-pie specials.
Needs to Make That Thing
- Reclaimed wooden potting bench or framing lumber
- Stainless steel mixing bowls and inset basins
- Vintage hand pump or outdoor spigot attachment
- Metal hanging hooks, pots, pans, and utensils
9. Custom Rock Climbing Wall & Boulder Mound
Introduction
Turn a sloping backyard retaining wall or a custom poured concrete mound into an exciting vertical climbing playground equipped with professional colorful climbing holds.
What This Idea Means
This design champions athletic challenge, strength building, and bold architectural landscaping. It transforms a dead slope into an engaging vertical adventure zone.
How to Make It
- Wall or Mound Construction: Pour a reinforced concrete retaining wall or construct a sturdy outdoor plywood climbing panel treated with waterproof exterior sealer.
- T-Nut Installation: Drill a dense grid of holes across the panel backside, hammering threaded T-nuts securely into each hole before mounting.
- Attaching Holds: Bolt colorful, textured resin climbing holds onto the front of the wall in varied difficulty routes (routesetting).
- Safety Surfacing: Install a thick, impact-absorbing layer of rubber playground mulch or poured-in-place rubber safety surfacing beneath the climbing wall base.
Tips and Variations
- Tip: Keep the maximum climbing height low (under 6 feet) for younger children, or install safety netting if building a taller climbing structure.
- Variation: Design the climbing wall with a slight negative overhang for older children seeking a more advanced upper-body challenge.
Needs to Make That Thing
- Exterior-grade waterproof plywood panels or concrete wall
- Thread-locking T-nuts and heavy-duty socket bolts
- Textured resin rock-climbing holds (various shapes)
- Thick rubber mulch or safety surfacing base
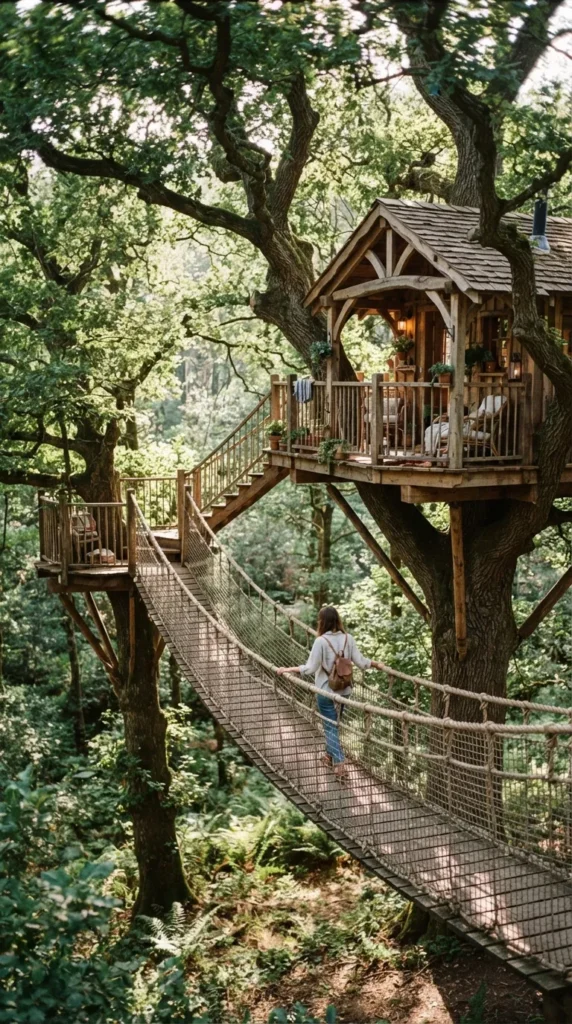
10. Elevated Treehouse Platform with Rope Bridge
Introduction
The ultimate childhood fantasy brought to life with mature architectural design. An elevated treehouse platform nestled securely among mature branches, connected by a swaying rope bridge, creates an unmatched adventure zone.
What This Idea Means
This concept celebrates high-altitude adventure, architectural tree integration, and classic childhood daydreams. It turns ordinary backyard trees into a soaring forest fortress.
How to Make It
- Arborist Assessment: Consult a certified arborist to select healthy, mature trees capable of supporting structural platform loads without harming tree health.
- Floating Bracket System: Install specialized tree attachment bolts (TABs) and floating brackets that allow the trees to sway naturally in the wind without tearing framing.
- Platform Framing: Build a sturdy triangular or rectangular wooden floor platform secured to the tree brackets, finished with horizontal vertical railing slats.
- Rope Bridge Access: Construct a swaying rope and wood-slat suspension bridge connecting the main treehouse platform to a secondary landing post or smaller tree.
Tips and Variations
- Tip: Wrap protective rubber guards around tree trunks where cabling or framing interacts with the bark to prevent constriction and damage.
- Variation: Add a concealed trap door in the treehouse floor connected to a heavy knotted climbing rope for a secret exit route.
Needs to Make That Thing
- Specialized tree attachment bolts (TABs) and floating brackets
- Structural framing lumber and cedar railing pickets
- Heavy-duty sisal or manila suspension ropes
- Weatherproof metal fasteners and hardware
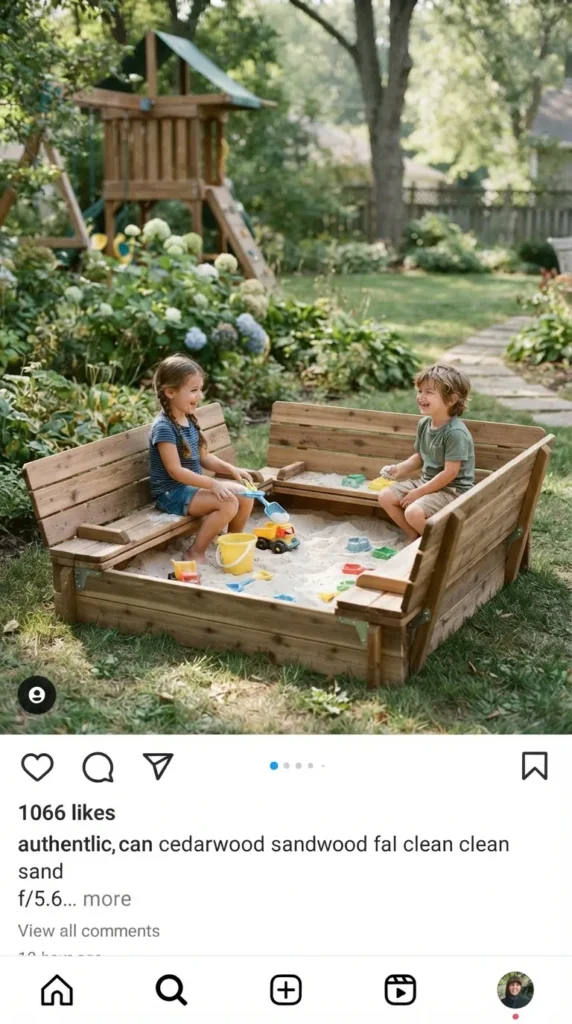
11. Artisanal Cedarwood Sandbox with Integrated Benches
Introduction
A refined take on the classic sandbox, this artisanal cedarwood design features fold-down wooden covers that transform into comfortable backrest benches when opened for play.
What This Idea Means
This design prioritizes clever engineering, clean storage, and comfortable parental supervision. It keeps sand pristine and critter-free while doubling as comfortable garden seating.
How to Make It
- Timber Cutting: Cut thick, decay-resistant western red cedar planks to your desired sandbox dimensions (e.g., 5×5 feet).
- Building the Box: Assemble the outer walls using exterior wood screws and metal corner brackets, lining the bottom with weed-barrier landscape fabric.
- Hinged Bench Covers: Construct two hinged wooden lid sections that fold outward and upward, resting on built-in support struts to form comfortable backrest benches.
- Filling with Sand: Fill the interior cavity with clean, washed, non-toxic playground sand.
Tips and Variations
- Tip: Apply a natural linseed oil finish to the cedar wood to protect it against weathering while highlighting its warm reddish grain.
- Variation: Install under-bench storage compartments within the bench bases to store sand toys, buckets, and shovels neatly out of sight.
Needs to Make That Thing
- Western red cedar boards (2×6 or 2×8 dimensions)
- Heavy-duty hinges, gas struts, and wood screws
- Weed-barrier landscape fabric and washed playground sand
- Natural linseed oil wood finish
12. Montessori-Inspired Outdoor Art & Easel Station
Introduction
Foster creativity in the fresh air with a dedicated outdoor art station. Featuring weather-resistant double-sided clear acrylic easels and integrated supply trays, children can paint directly onto transparent canvases while viewing the garden behind them.
What This Idea Means
This concept celebrates artistic expression, observational learning, and child-led autonomy. It brings Montessori education principles into the open-air backyard environment.
How to Make It
- Easel Frame Construction: Build a standing wooden frame from weather-resistant cedar or redwood timbers.
- Inserting Transparent Canvas: Secure a large sheet of clear, shatter-resistant polycarbonate or acrylic glass into the center of the wooden easel frame.
- Supply Storage: Mount a lower cedar shelf featuring holes cut out to hold paint cups, brushes, sponges, and spray bottles.
- Easy Cleanup: Position the art station near an outdoor garden hose spigot for quick, effortless cleanup after messy painting sessions.
Tips and Variations
- Tip: Children can paint on one side of the clear acrylic easel while looking at a friend or the garden through the glass on the opposite side.
- Variation: Replace the clear acrylic sheet with a large framed chalkboard or stainless steel magnetic art panel for varied creative mediums.
Needs to Make That Thing
- Cedar framing timbers and mounting brackets
- Shatter-resistant clear polycarbonate or acrylic sheet
- Paint cup holders, brushes, and washable tempera paints
- Outdoor garden hose for cleanup
13. Backyard Splash Pad with Natural Stone Coping
Introduction
Beat the summer heat in style. A custom backyard splash pad combines interactive pop-up water jets embedded in a textured concrete pad, framed by elegant natural stone coping and lush garden beds.
What This Idea Means
This design celebrates aquatic cooling, architectural elegance, and zero-depth water safety. It provides the refreshing fun of a swimming pool without the deep-water safety hazards for toddlers.
How to Make It
- Sub-Slab Plumbing: Trench and install a sub-surface PVC water distribution network connected to programmable solenoid valves and pump filters.
- Pouring the Pad: Pour a sloped concrete splash pad slab integrated with stainless steel flush floor spray nozzles and slip-resistant textured coatings.
- Surrounding Coping: Frame the perimeter of the splash pad in tumbled travertine or natural bluestone coping stones.
- Drainage Collection: Install a hidden perimeter trench drain to capture and recirculate or filter water efficiently.
Tips and Variations
- Tip: Connect your splash pad water system to a smart controller so you can program automated water spray sequences and conserve water.
- Variation: Surround the splash pad with comfortable loungers and sun umbrellas so parents can relax comfortably while supervising.
Needs to Make That Thing
- Sub-surface PVC plumbing, valves, and water pump
- Concrete splash pad slab and flush spray nozzles
- Slip-resistant textured surface coating
- Natural stone coping and perimeter trench drain
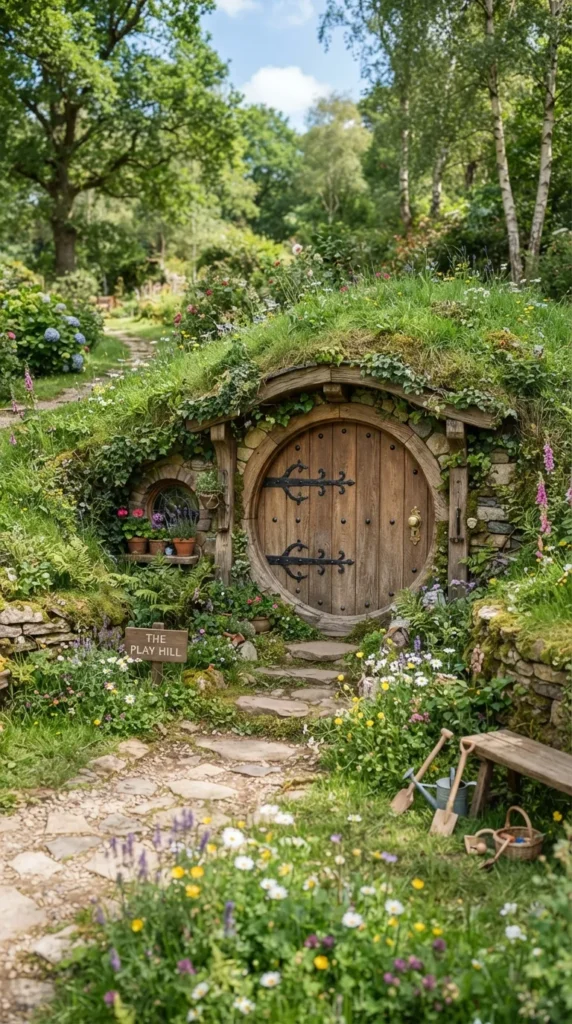
14. Fairy Tale Hobbit Hole Play Mound
Introduction
Ignite childhood folklore and imagination with a whimsical backyard “Hobbit Hole” play mound—a subterranean turf-covered playhouse featuring a round wooden door and a grassy arched roof.
What This Idea Means
This concept honors storybook enchantment, imaginative world-building, and organic landscape blending. It turns an ordinary backyard dirt mound into a magical portal to Middle-earth.
How to Make It
- Mound Formation: Import clean fill dirt to sculpt a prominent curved earthen hill in a quiet corner of the backyard.
- Structural Arch: Install a corrugated steel culvert pipe or reinforced wooden arch framework inside the mound to form the interior tunnel cavity.
- Round Door Installation: Craft a custom circular wooden door with iron strap hinges and a brass doorknob, fitted into the front entrance frame.
- Sod Landscaping: Cover the exterior earthen mound with lush turf grass sod and plant colorful wildflowers along the roof slopes.
Tips and Variations
- Tip: Plant cascading creeping thyme or moss over the earthen mound so it blankets the roof in fragrant, low-maintenance greenery.
- Variation: Install a small round porthole window on the side of the mound to let natural light filter inside the cozy play cave.
Needs to Make That Thing
- Clean fill dirt and structural culvert pipe/arch
- Custom circular wooden door with iron hardware
- Fresh turf grass sod and wildflower seeds
- Interior battery-operated lanterns and cozy rugs

15. Sustainable Recycled Rubber-Mulch Play Zone
Introduction
Safety surfacing is critical beneath play structures, but brown wood mulch can look messy. A sustainable recycled rubber-mulch play zone provides superior shock absorption, zero splinters, and a polished appearance.
What This Idea Means
This design focuses on uncompromising safety, low maintenance, and environmental recycling. It cushions falls while maintaining a tidy, weed-free perimeter year-round.
How to Make It
- Excavation & Edging: Dig out a 4-to-6-inch depth beneath your play structure footprint and install heavy-duty steel or stone landscape edging.
- Weed Barrier: Lay down a commercial-grade woven weed-barrier geotextile fabric across the excavated earth to prevent weed growth from underneath.
- Spreading Rubber Mulch: Pour and rake vibrantly colored or natural earth-toned recycled rubber mulch nuggets across the play zone until level.
- Compacting: Lightly tamp the rubber mulch layer to lock the nuggets together securely.
Tips and Variations
- Tip: Choose earth-toned rubber mulch (such as deep forest brown or dark charcoal) rather than bright primary colors to keep the play zone looking sophisticated.
- Variation: Pour a seamless poured-in-place (PIP) rubber safety surface featuring custom geometric or animal shapes for an even sleeker athletic look.
Needs to Make That Thing
- Heavy-duty steel or stone landscape edging
- Commercial-grade woven weed-barrier geotextile fabric
- Recycled rubber mulch nuggets (earth-toned)
- Rake and hand tamper tool
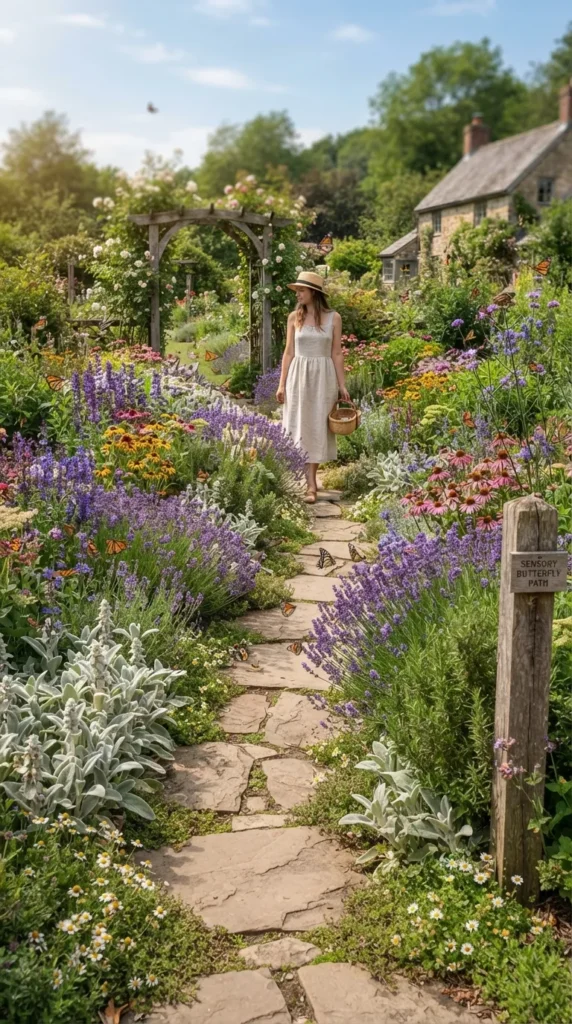
16. Sensory Herb & Butterfly Exploration Garden Path
Introduction
Engage all five senses with a winding sensory garden path. Flanked by fragrant lavender, edible strawberries, soft lamb’s ear, and butterfly-attracting milkweed, this pathway turns botany into a playful journey.
What This Idea Means
This concept celebrates biophilic education, tactile gardening, and pollinator conservation. It teaches children to appreciate nature through touch, scent, and taste.
How to Make It
- Path Layout: Design a winding flagstone or crushed granite pathway weaving through your backyard garden beds.
- Plant Selection: Plant fragrant and tactile plants along the path edges—silvery soft lamb’s ear, aromatic rosemary, sweet strawberries, and purple lavender.
- Butterfly Stations: Include bright flowering perennials like echinacea and butterfly weed to attract local pollinators and caterpillars.
- Interactive Signage: Place charming hand-painted slate plant markers or magnifying glass stations along the path for curious explorers.
Tips and Variations
- Tip: Plant creeping thyme directly between flagstone pavers so every footstep releases a delightful herbal aroma into the air.
- Variation: Add a shallow birdbath and a butterfly puddling stone station near the center of the sensory garden path.
Needs to Make That Thing
- Flagstone pavers or crushed granite pathway materials
- Assorted sensory plants (lavender, lamb’s ear, strawberries)
- Flowering pollinator perennials and potting soil
- Hand-painted slate plant markers and magnifying glasses
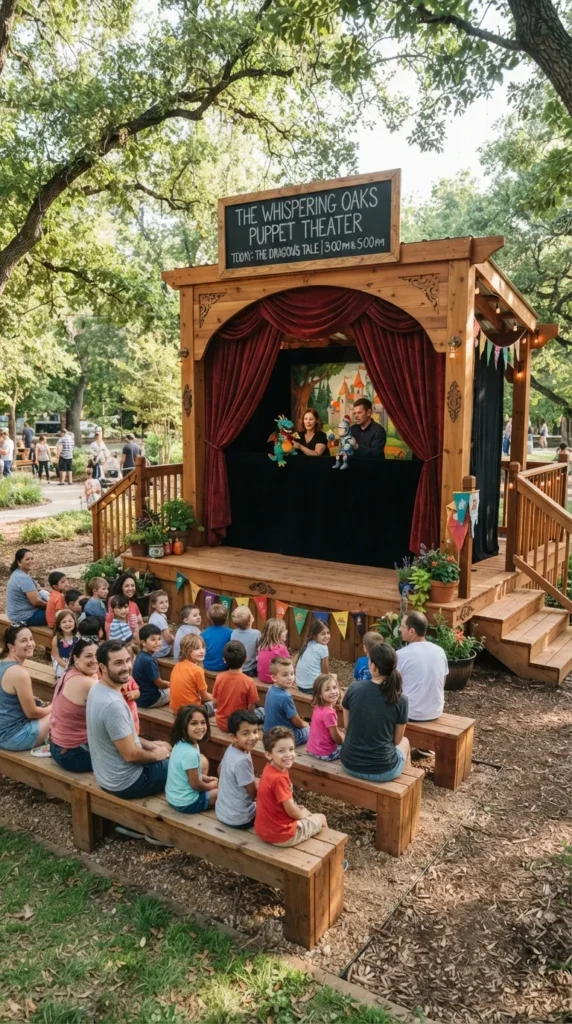
17. Custom Outdoor Stage & Puppet Theater
Introduction
Every child is a star. A custom outdoor wooden stage featuring velvet curtain drapes, a chalkboard marquee, and tiered cedar spectator seating encourages theatrical performance, storytelling, and public speaking confidence.
What This Idea Means
This design philosophy champions performance arts, self-expression, and community gathering. It creates a dedicated artistic venue for family talent shows and backyard plays.
How to Make It
- Stage Construction: Build a raised wooden deck platform using pressure-treated framing and smooth cedar floorboards.
- Curtain Rigging: Install overhead curtain rods and hang heavy outdoor velvet curtains that can pull open and closed smoothly.
- Marquee Signage: Mount a framed chalkboard sign above the stage proscenium so children can write the title of today’s performance.
- Audience Seating: Arrange tiered wooden benches or weather-resistant outdoor cushions in front of the stage for family spectators.
Tips and Variations
- Tip: Install solar-powered fairy lights along the front edge of the stage floor to create a magical footlight glow during evening performances.
- Variation: Include a chest of dress-up costumes, feather boas, and animal masks stored inside a waterproof bench next to the stage.
Needs to Make That Thing
- Pressure-treated stage framing and cedar decking boards
- Outdoor velvet curtain drapes and adjustable curtain rods
- Framed chalkboard marquee sign
- Tiered wooden audience benches
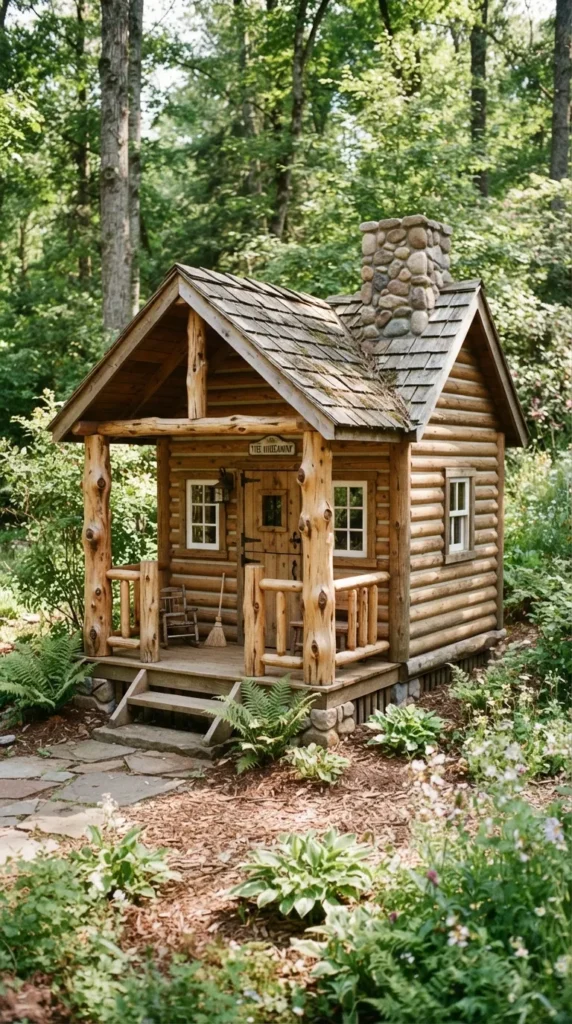
18. Rustic Log Cabin Playhouse with Veranda
Introduction
Step back in time with a charming rustic log cabin playhouse. Built with rounded log siding, a covered front veranda, and a stone chimney detail, this playhouse looks like a miniature pioneer homestead.
What This Idea Means
This concept celebrates historical nostalgia, rustic craftsmanship, and timeless fairytale aesthetics. It provides an immersive setting for frontier adventures and cozy pretend play.
How to Make It
- Foundation Setup: Pour a concrete slab or build a solid timber floor frame elevated on brick piers.
- Wall Assembly: Frame the walls using half-round log siding panels to simulate authentic pioneer log cabin construction.
- Veranda Construction: Build a covered front porch veranda supported by peeled cedar trunk posts and a small railing.
- Roofing & Details: Install cedar shingle roofing and attach a decorative faux stone chimney stack to the gable roof peak.
Tips and Variations
- Tip: Stain the log siding in a rich, warm amber pine tone to highlight the authentic wood grain texture.
- Variation: Hang a miniature dinner bell on the front veranda post so little pioneers can announce when dinner is ready.
Needs to Make That Thing
- Half-round log siding panels and framing lumber
- Peeled cedar trunk posts for porch veranda support
- Cedar shingle roofing materials and faux stone chimney
- Exterior wood stain and hardware
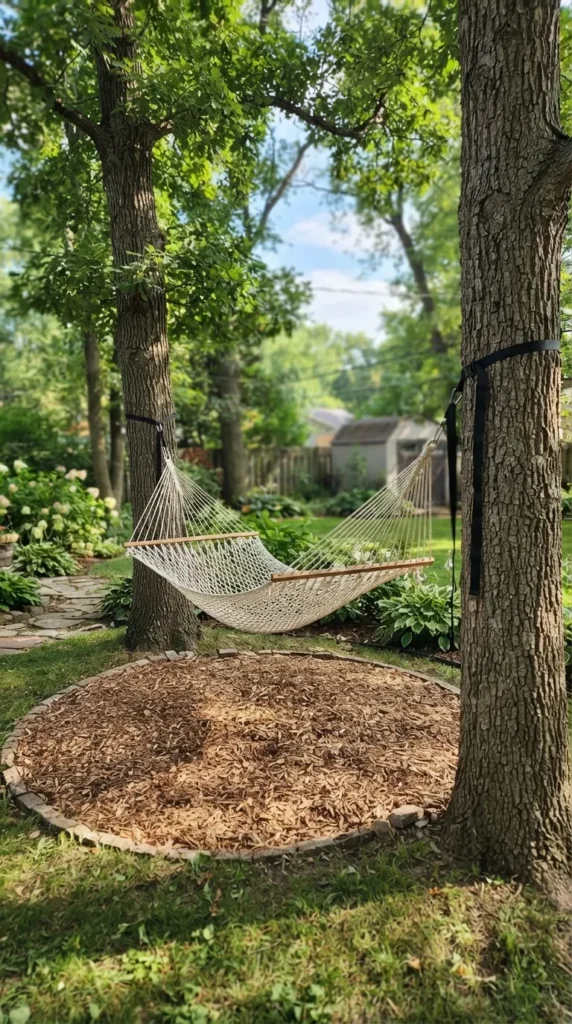
19. Classic Rope Hammock & Reading Grove
Introduction
Sometimes the best play is no play at all—just pure relaxation. A classic woven rope hammock strung between two mature trees creates a serene outdoor resting grove for reading and napping.
What This Idea Means
This design focuses on mental wellness, peaceful deceleration, and restorative downtime. It offers a gentle swinging sanctuary away from high-energy games.
How to Make It
- Tree Selection: Identify two healthy, mature trees spaced at an appropriate distance (usually 10 to 15 feet apart) to accommodate your hammock span.
- Hanging Straps: Wrap heavy-duty, tree-friendly nylon suspension straps around the tree trunks at the correct height to protect the bark from friction damage.
- Hammock Attachment: Clip a classic hand-woven cotton rope hammock or quilted fabric hammock securely onto the tree straps using locking carabiners.
- Surrounding Ground: Lay down a circular bed of smooth wood chips and place a low wooden side table nearby for resting books and drinks.
Tips and Variations
- Tip: Take the hammock down during winter months or extended rainy periods to protect the woven ropes from weather wear.
- Variation: Hang a double-sized quilted fabric hammock so parents and children can cuddle together while reading outdoors.
Needs to Make That Thing
- Classic woven cotton rope or quilted fabric hammock
- Heavy-duty, tree-friendly nylon suspension straps
- Locking steel carabiners
- Low wooden side table and wood-chip ground cover
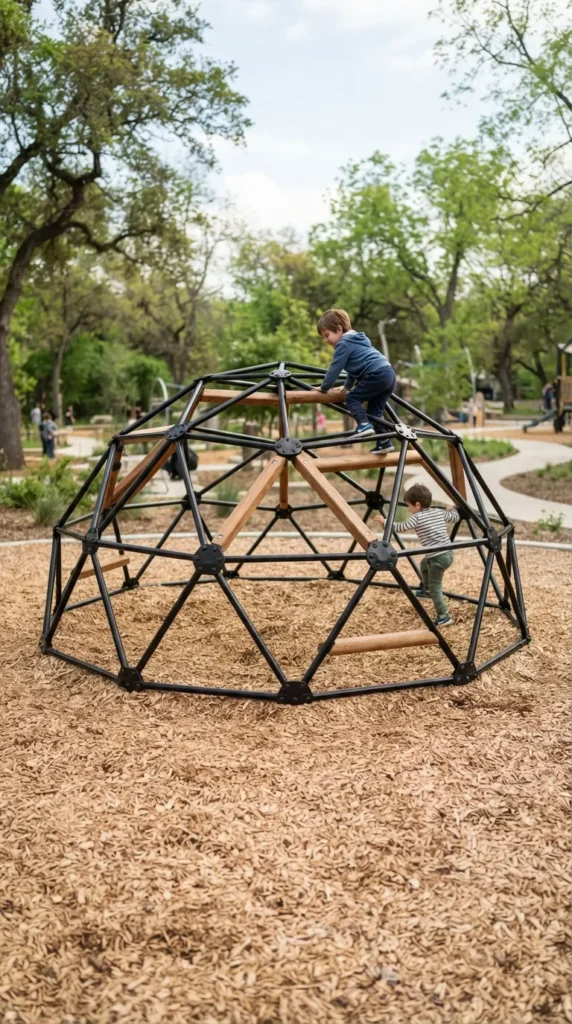
20. Modern Steel & Wood Geometric Climbing Dome
Introduction
A stunning synthesis of art and athletics, a modern geometric climbing dome constructed from powder-coated black steel tubes and natural wood hand-holds combines jungle gym fun with modern sculpture.
What This Idea Means
This concept celebrates geometric art, 3D spatial agility, and contemporary industrial design. It transforms a traditional playground climbing dome into a striking backyard art installation.
How to Make It
- Kit Sourcing: Acquire a modular geometric climbing dome kit featuring precision-engineered metal struts.
- Powder Coating: Finish all structural steel struts in a sleek matte black or dark bronze exterior powder coat.
- Ground Anchoring: Secure the climbing dome frame firmly to the ground using heavy-duty ground anchor stakes.
- Safety Surfacing: Center the climbing dome over a thick, generous bed of engineered wood fiber mulch or rubber safety tiles.
Tips and Variations
- Tip: Place the climbing dome where it can be viewed from indoor living room windows so parents can supervise easily from inside.
- Variation: Drape outdoor canvas sunshades over half of the climbing dome to provide cool shade during hot summer climbing sessions.
Needs to Make That Thing
- Modular geometric metal climbing dome framework
- Matte black exterior powder-coat finish
- Heavy-duty ground anchor stakes
- Engineered wood fiber mulch safety surfacing