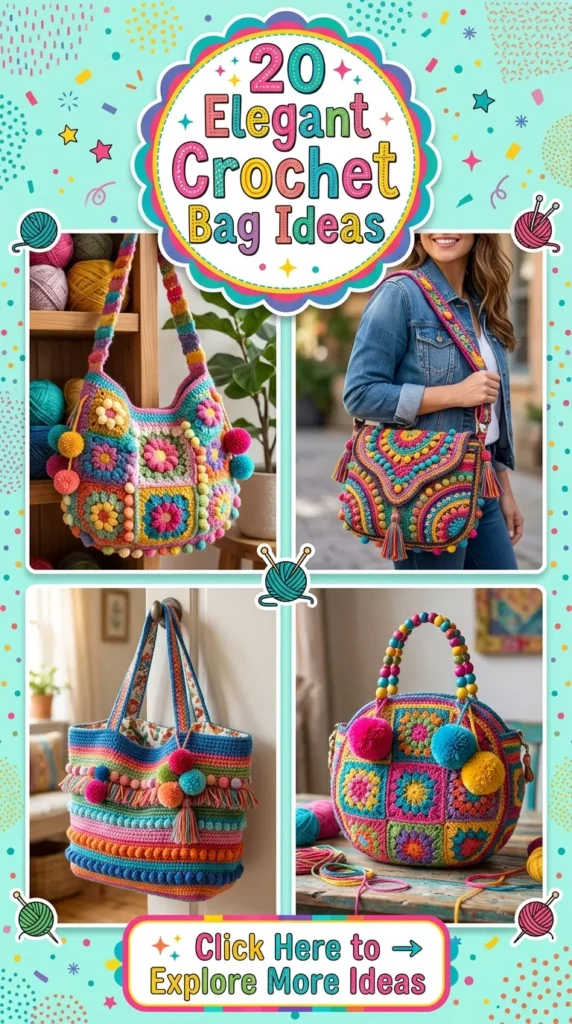
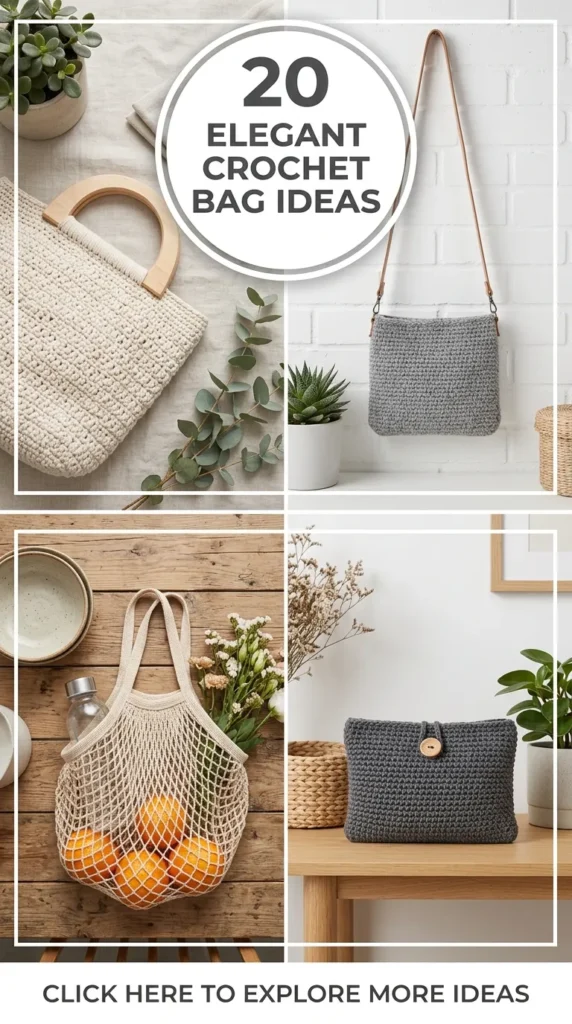
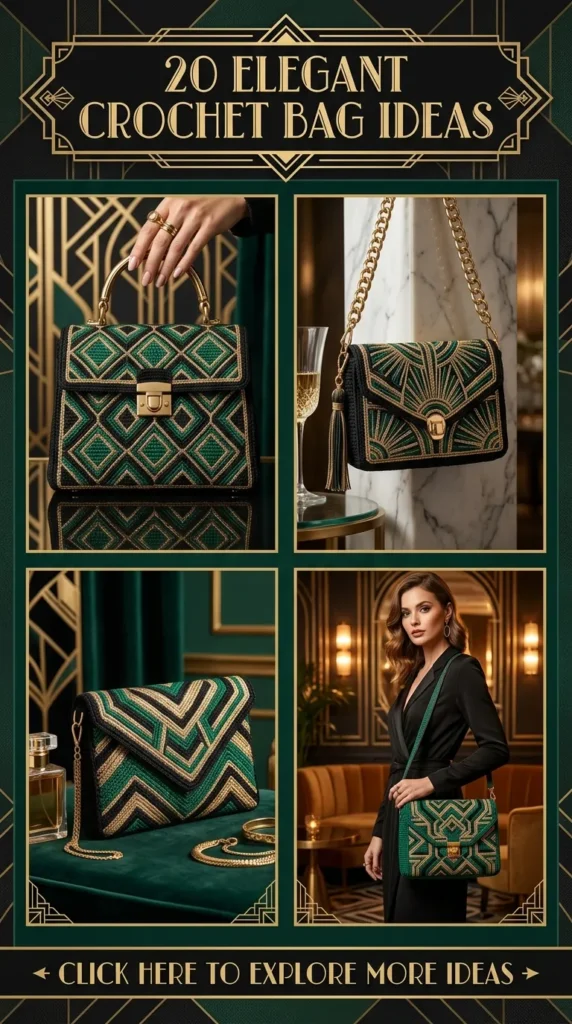
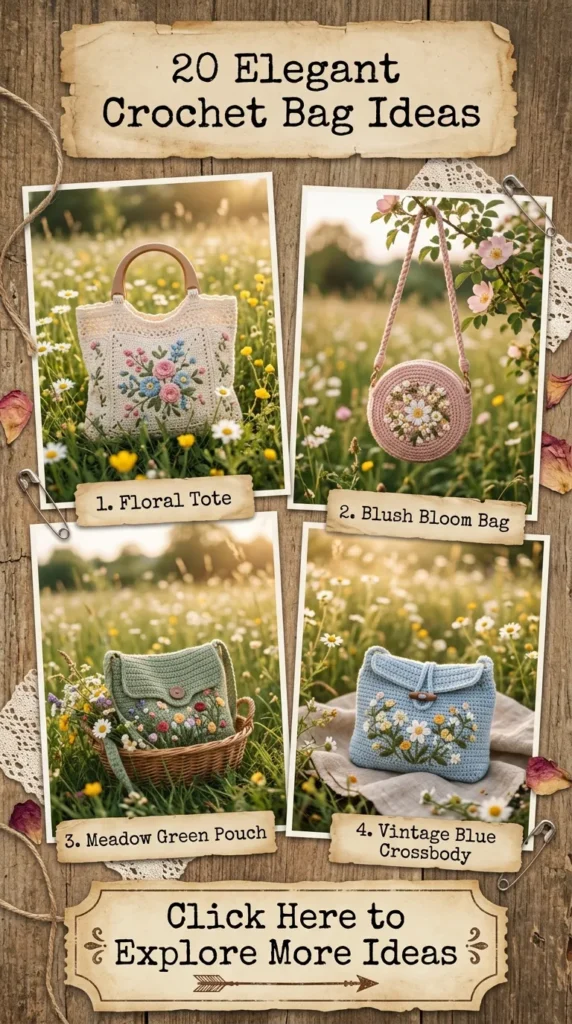
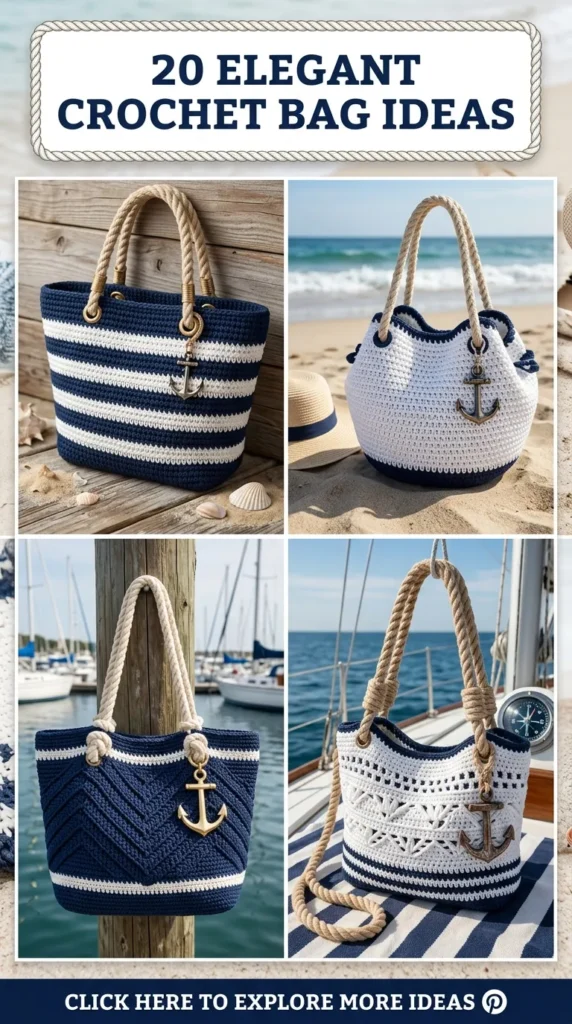
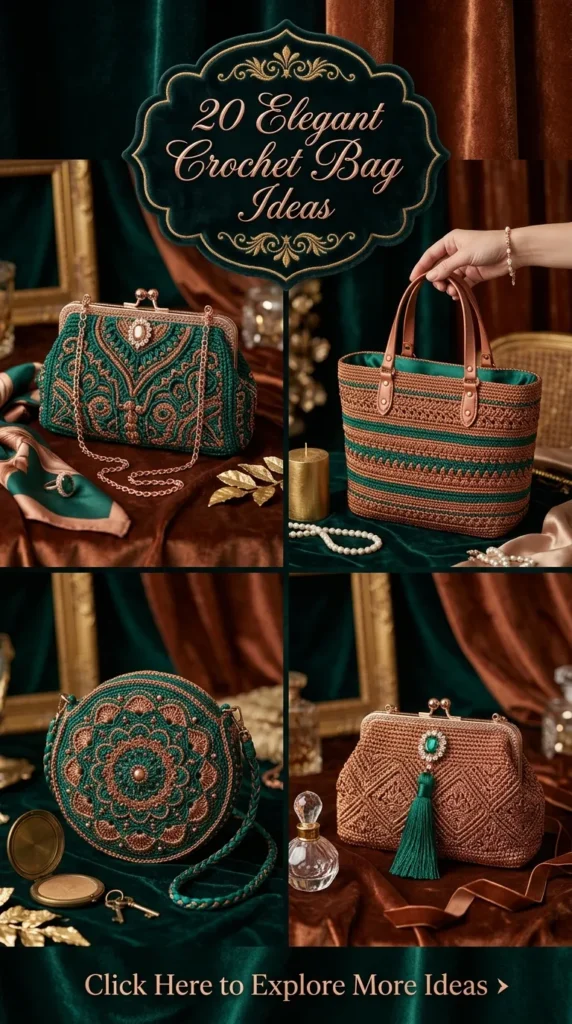
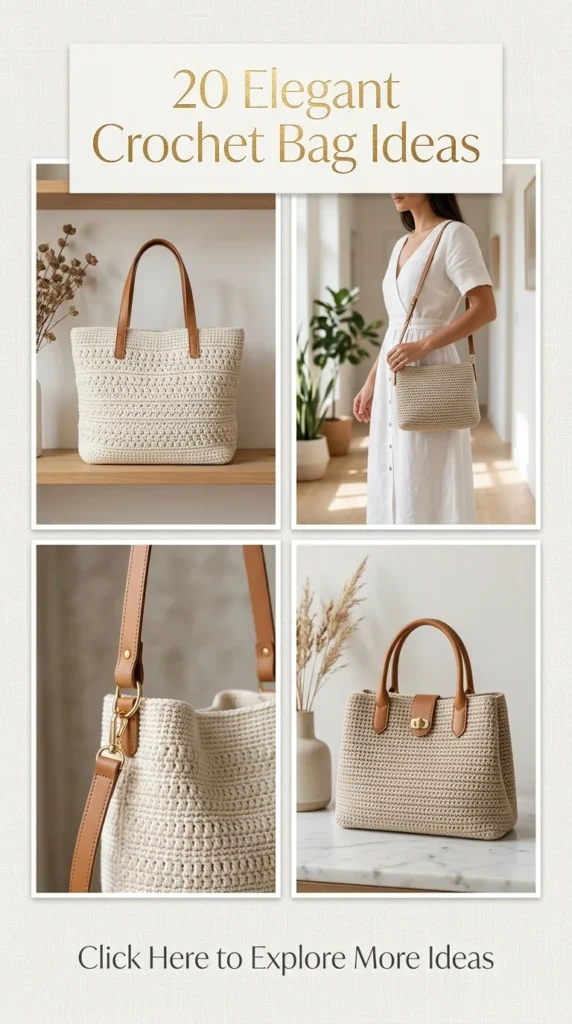
Crocheting a bag is one of the most rewarding fiber arts projects you can undertake. It bridges the gap between functional utility and high-end fashion, allowing you to curate a wardrobe accessory that is entirely unique, sustainable, and tailored to your personal aesthetic. Whether you are strolling through a vibrant farmers market, attending an evening soirée, or heading to the office, a handmade crochet bag adds an undeniable touch of artisanal elegance.
This comprehensive guide explores 20 exquisite crochet bag designs, complete with detailed breakdowns of what each idea means, step-by-step guidance on how to make them, essential tips and variations, and the exact materials you will need. At the end of this guide, you will find a curated collection of high-resolution visual prompts to inspire your next creative photoshoot.


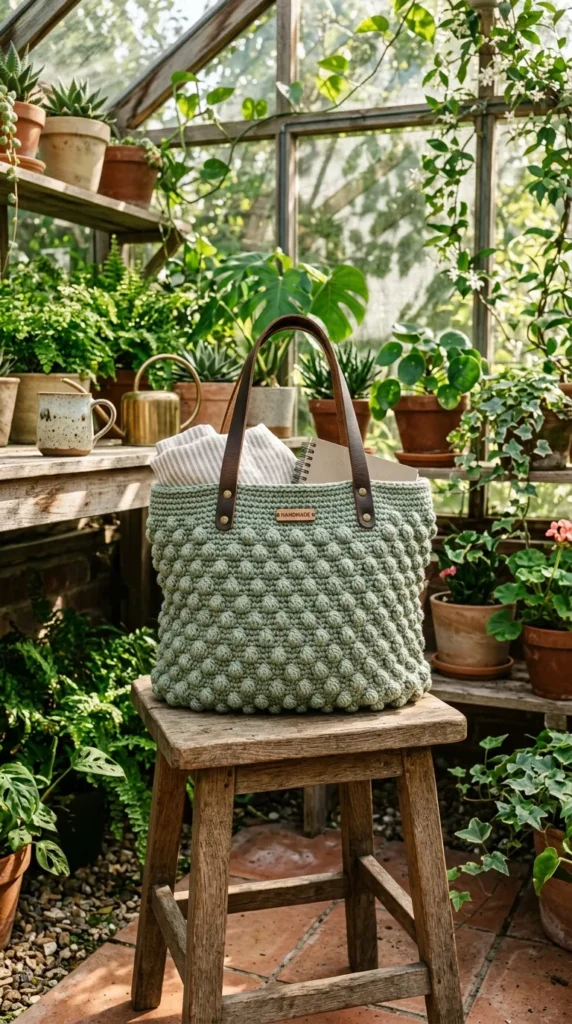
1. Classic French Market Tote
Introduction
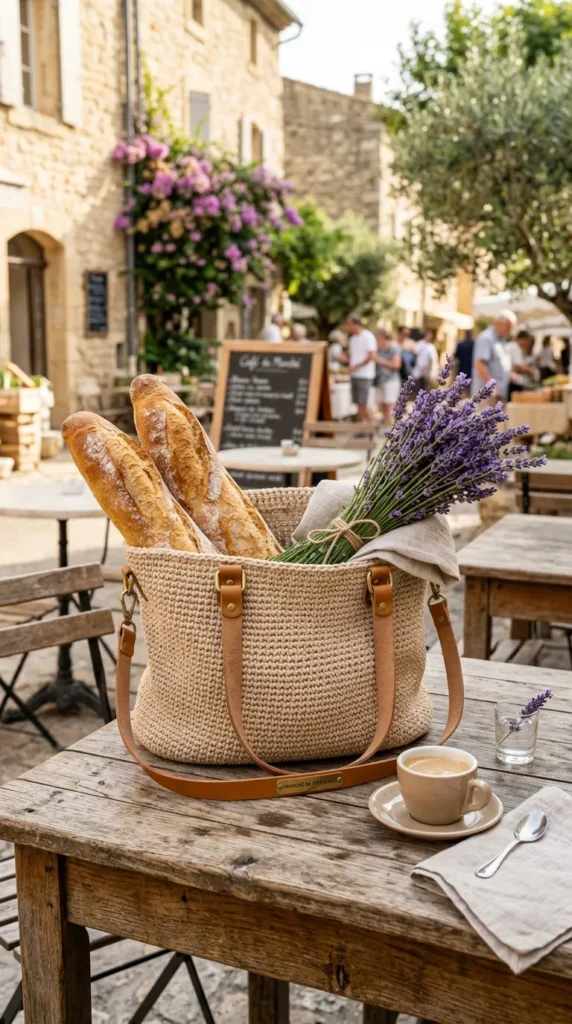
The Classic French Market Tote is a timeless staple that seamlessly blends effortless European charm with everyday practicality. Known for its stretchy, breathable mesh stitch, this bag expands to accommodate everything from fresh baguettes and organic produce to your favorite beach reads.
What This Idea Means
This concept centers on lightweight, open-work construction using durable plant-based fibers. It represents a zero-waste lifestyle choice that does not compromise on chic, minimalist style.
How to Make It
- The Base: Start by crocheting a flat, oval base using single crochet stitches in the round to ensure durability. Increase evenly across the rounds until your oval reaches the desired width and length.
- The Body: Transition from the solid base to the mesh body by working a series of chain spaces (e.g., chain 5, skip 3 stitches, single crochet in the next stitch) repeated around the perimeter. Continue this mesh pattern for the desired height of the bag.
- The Edging: Finish the upper rim with several rounds of sturdy single crochet stitches or a decorative crab stitch (reverse single crochet) to prevent stretching out of shape.
- The Straps: Work long, reinforced handles by crocheting wide strips of single or half-double crochet, anchoring them securely to opposing sides of the bag interior.
Tips and Variations
- Tip: Line the base of the bag with a piece of matching fabric or thin plastic mesh hidden between two crochet layers to prevent smaller items from falling through.
- Variation: Experiment with contrasting colors for the rim and handles to create a sophisticated two-tone French Riviera look.
Needs to Make That Thing
- Yarn: 3–4 skeins of mercerized cotton yarn or linen yarn (Sport or DK weight).
- Hook: 3.5mm or 4mm crochet hook.
- Notions: Tapestry needle, stitch markers, measuring tape.
2. Minimalist Leather-Trimmed Bucket Bag
Introduction
Marrying the organic texture of yarn with the structured sophistication of genuine leather, the Minimalist Leather-Trimmed Bucket Bag is a masterclass in modern accessory design. It looks like a high-end boutique purchase yet carries the soulful warmth of handmade craftsmanship.
What This Idea Means
This design focuses on contrasting textures—soft, dense crochet fabric paired with rigid, polished leather hardware. It communicates understated luxury and a refined urban aesthetic.
How to Make It
- The Base: Begin with a pre-punched leather bag bottom or crochet a dense, thick circular base using waistcoat stitch (knit stitch) for maximum stiffness.
- The Body: Work in continuous spirals using the waistcoat stitch or tightly packed thermal stitch to mimic a woven leather texture. Continue upward until the cylinder reaches your target height.
- The Cinch Channel: Create eyelet holes near the top edge by working alternating chain stitches and skipped stitches in one round.
- The Finishing: Attach a pre-made leather drawstring, shoulder strap, and magnetic snap closure using heavy-duty upholstery thread and a leather-piercing needle.
Tips and Variations
- Tip: Use sturdy cotton-nylon blend yarn to ensure the body holds its cylindrical shape without slouching.
- Variation: Swap the drawstring closure for a structured leather flap with a twist-lock clasp.
Needs to Make That Thing
- Yarn: 2 skeins of thick cotton-nylon cord yarn.
- Hook: 5mm crochet hook.
- Notions: Pre-punched leather bag base, leather strap, leather drawstring, upholstery needle, strong waxed cord.
3. Boho Fringe Crossbody Bag
Introduction
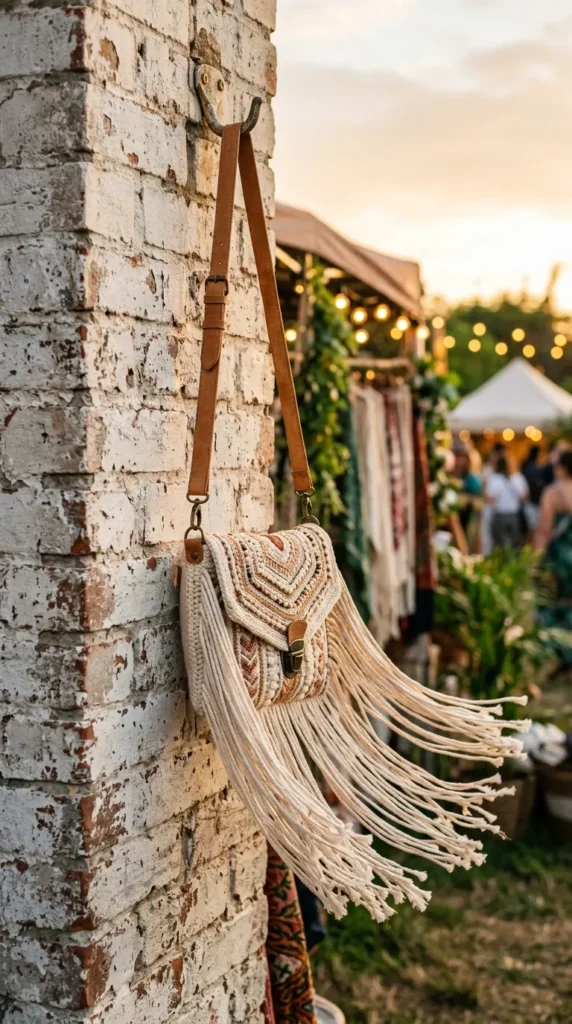
Free-spirited, expressive, and full of dynamic movement, the Boho Fringe Crossbody Bag is the ultimate companion for music festivals, weekend adventures, and casual coffee dates. The cascading fringe adds playful texture and undeniable bohemian flair.
What This Idea Means
This idea celebrates maximalist textile art, utilizing rich textures, earthy tones, and dangling embellishments to create a vibrant statement piece.
How to Make It
- The Panel: Crochet two identical rectangular panels using textured stitches like the seed stitch or linen stitch for a tight, durable fabric.
- Assembly: Seam the two panels along the bottom and sides, leaving the top open. Attach a long, sturdy crossbody strap formed by braiding multiple strands of yarn or working a reinforced Tunisian simple stitch strip.
- Adding Fringe: Cut uniform lengths of yarn (approximately twice your desired fringe length). Using a crochet hook, attach the strands using larkshead knots along the bottom edge and optionally down the side seams.
- Trim and Steam: Trim the bottom fringe evenly with sharp fabric scissors and lightly steam to relax the fibers.
Tips and Variations
- Tip: Comb out the fringe strands with a wire pet slicker brush if you prefer a fluffy, brushed-out bohemian texture.
- Variation: Incorporate wooden beads threaded onto the fringe strands for an extra touch of earthy detailing.
Needs to Make That Thing
- Yarn: 3 skeins of worsted weight boho-toned cotton yarn (terracotta, mustard, or cream).
- Hook: 4.5mm crochet hook.
- Notions: Tapestry needle, scissors, cardboard template for cutting uniform fringe.
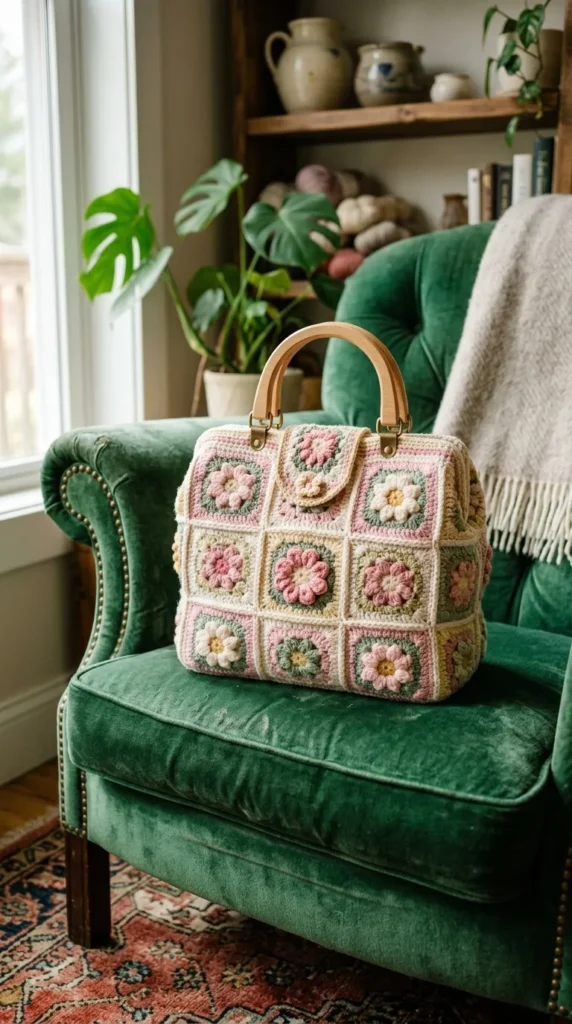
4. Structured Granny Square Handbag
Introduction
The iconic granny square gets a modern, architectural makeover in this structured handbag. By combining crisp geometric motifs with careful blocking and lining, the traditional blanket square transforms into a chic, contemporary carryall.
What This Idea Means
This design honors crochet heritage while embracing modern construction techniques. It is about modular creation—building a bag piece by piece before assembling a unified architectural marvel.
How to Make It
- The Motifs: Crochet 13 identical classic solid granny squares (or modern floral-center squares) using a precise color palette.
- Blocking: Wet-block every single square meticulously to ensure uniform dimensions, crisp corners, and flat edges.
- The Layout: Arrange the squares into a 3D box or tote formation (one for the front, one for the back, four for the base and sides, plus handles or gussets).
- Joining: Whipstitch or join-as-you-go the squares together with matching yarn, ensuring tight, invisible seams.
- Lining and Straps: Sew a custom fabric lining to the interior to support weight and prevent stretching, then attach leather or crocheted handles.
Tips and Variations
- Tip: Use a slip stitch join from the wrong side to create a raised, decorative grid texture on the exterior.
- Variation: Play with ombre yarn transitions across the squares for a sophisticated gradient effect.
Needs to Make That Thing
- Yarn: Assorted DK weight cotton yarns in 4 cohesive colorways.
- Hook: 4mm crochet hook.
- Notions: Cotton fabric for lining, sewing machine or needle and thread, stitch markers.
5. Sleek Evening Clutch with Metal Frame
Introduction
Elegance meets handmade artistry in the Sleek Evening Clutch. Designed for weddings, galas, and formal dinners, this sophisticated accessory proves that crochet can be refined, delicate, and entirely high fashion.
What This Idea Means
This concept elevates crochet from casual craft to evening couture, utilizing metallic threads, fine yarn, and professional hardware framing.
How to Make It
- The Body: Using fine mercerized cotton or silk-blend yarn, work a dense stitch pattern (such as the alpine stitch or waistcoat stitch) shaped to match the exact curve of your metal purse frame.
- Shaping: Decrease stitches gradually along the upper edges to create a trapezoidal or rounded silhouette that fits snugly into the metal channel.
- Attaching the Frame: Apply a thin layer of permanent fabric-and-metal glue inside the channel of the kiss-lock metal frame. Insert the upper edge of the crochet body into the channel.
- Securing: Using strong sewing thread matching your yarn, sew tightly through the pre-drilled holes on the metal frame and secure each stitch through the crochet fabric.
Tips and Variations
- Tip: Stuff the clutch with tissue paper while the glue dries to maintain its perfect puffed shape.
- Variation: Work tiny seed beads into your crochet stitches for a sparkling, light-catching evening finish.
Needs to Make That Thing
- Yarn: 1 skein of lace weight or fingering weight metallic thread-infused yarn.
- Hook: 2.5mm or 3mm crochet hook.
- Notions: Metal kiss-lock purse frame (8 inches), strong craft glue (e.g., E6000), upholstery thread, sewing needle.
6. Chunky Yarn Tote Bag
Introduction
For those who love instant gratification and ultra-plush textures, the Chunky Yarn Tote Bag is a dream project. Working with jumbo chenille or tube yarn creates a squishy, tactile statement piece that works up in just a few hours.
What This Idea Means
This project emphasizes tactile comfort, oversized proportions, and modern minimalist design. It is bold, cozy, and effortlessly stylish.
How to Make It
- The Foundation: Chain a wide foundation row using jumbo yarn and a massive crochet hook, maintaining loose, even tension.
- Working in Rounds: Work in continuous rounds of simple half-double crochet stitches. Because the yarn is so thick, the rows grow incredibly fast.
- Reinforced Handles: When reaching the desired height, create sturdy handles by chaining a loop and skipping stitches across the top edge, reinforcing the handle bases with extra slip stitches.
- Finishing: Fasten off securely, weaving in the thick yarn ends carefully using a large blunt tapestry needle or your fingers.
Tips and Variations
- Tip: Avoid pulling the yarn too tightly during construction; chenille yarn retains its plushness best when given room to breathe.
- Variation: Pair a neutral cream chunky body with rich tan vegan leather handles for a luxury designer look.
Needs to Make That Thing
- Yarn: 2–3 skeins of jumbo chenille or cotton tube yarn (Super Bulky / Category 7).
- Hook: 12mm or 15mm ergonomic crochet hook.
- Notions: Jumbo tapestry needle, locking stitch markers.
7. Raffia Summer Beach Bag
Introduction
The Raffia Summer Beach Bag is the quintessential resort-wear accessory. Lightweight, water-resistant, and effortlessly chic, it is designed to hold your oversized sunglasses, sunscreen, and paperback novels while looking stunning against sand and sea.
What This Idea Means
This idea celebrates natural textures and sustainable crafting, utilizing plant-derived raffia yarn to mimic high-end designer beach totes.
How to Make It
- Base Construction: Start with a flat circular or rectangular base using single crochet stitches worked in continuous spirals.
- Body Texture: Switch to a sturdy stitch like the thermal stitch or modified moss stitch to give the paper-like raffia structural integrity.
- Shaping and Height: Continue working upward until the bag reaches a generous, slouchy beach tote size (roughly 14×16 inches).
- Strap Integration: Crochet thick, reinforced shoulder straps directly into the body or attach sturdy bamboo ring handles through secure crochet tabs.
Tips and Variations
- Tip: Raffia can be abrasive on hands while working; use an ergonomic hook and take breaks to maintain even tension without strain.
- Variation: Add a playful striped color block in natural tan and crisp optic white for a nautical aesthetic.
Needs to Make That Thing
- Yarn: 3–4 spools of natural paper raffia yarn.
- Hook: 4mm or 4.5mm crochet hook.
- Notions: Tapestry needle, optional bamboo bag handles.
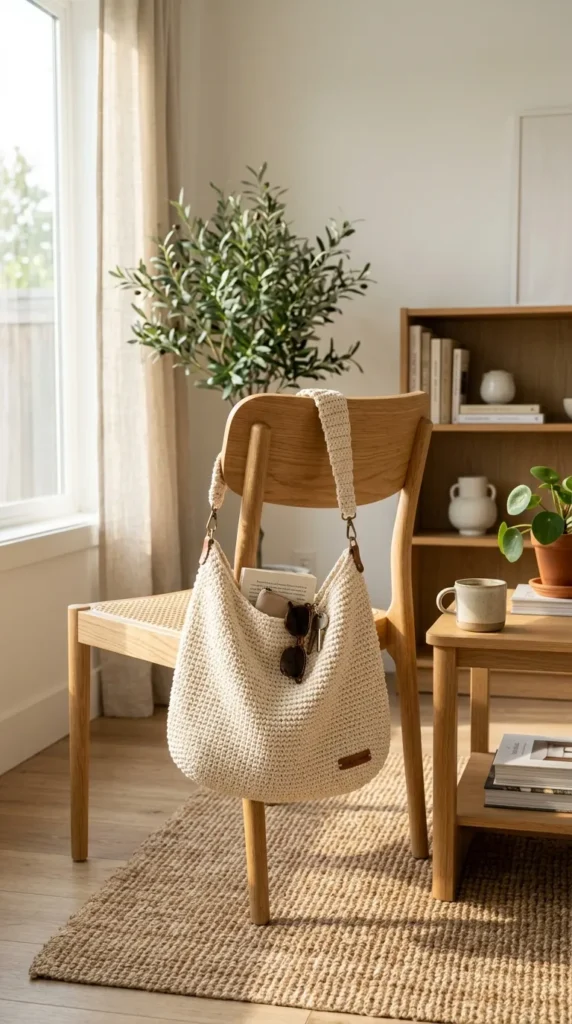


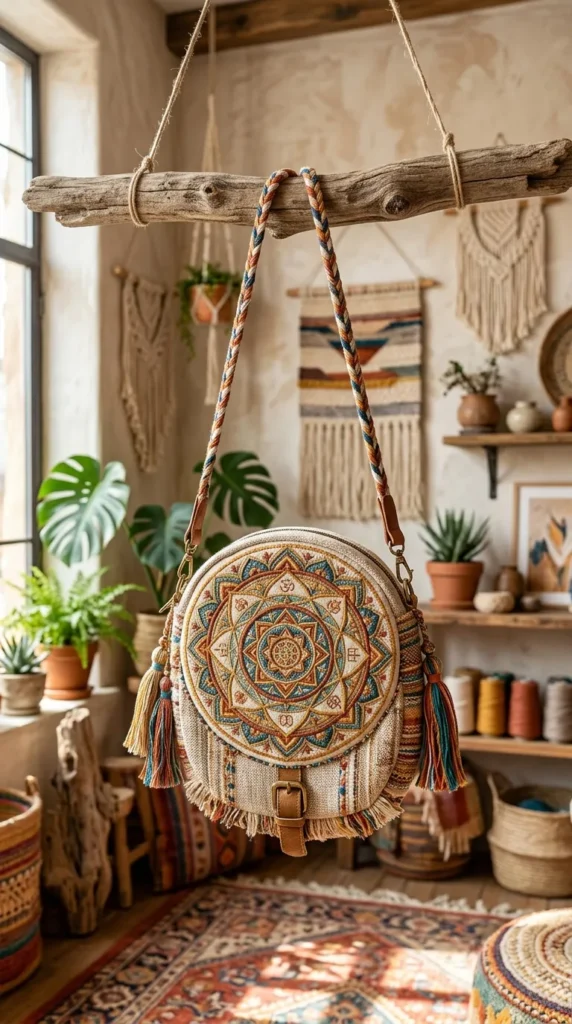

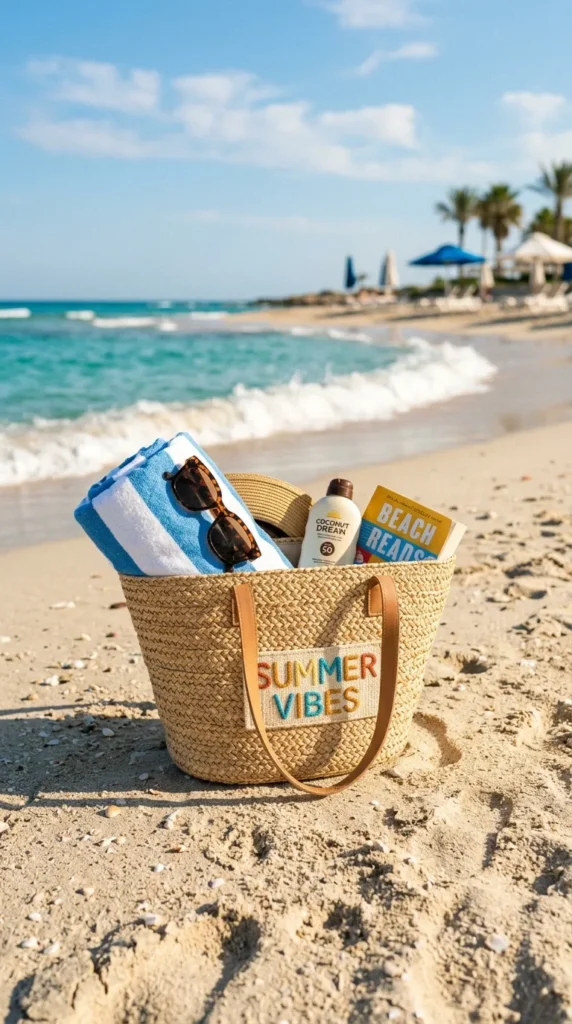
8. Modern Block-Color Shopper
Introduction
Clean lines, bold geometry, and striking color combinations define the Modern Block-Color Shopper. This roomy everyday bag is designed for the urban commuter and market enthusiast who appreciates graphic design translated into fiber art.
What This Idea Means
This project explores color theory and symmetry, using crisp transitions between contrasting hues to create a striking visual impact.
How to Make It
- The Panels: Crochet two large rectangular panels working flat in rows, changing yarn colors at designated rows to create clean horizontal or vertical color blocks.
- Tapestry Crochet Technique: If incorporating vertical color blocks, carry the unused yarn neatly inside your stitches to ensure a clean interior and exterior.
- Seaming: Sew the sides and bottom together using an invisible mattress stitch.
- Strap Construction: Work durable double-thick straps in the dominant accent color, attaching them securely across the top opening.
Tips and Variations
- Tip: Block your panels with steam before assembly to ensure your color block lines meet with absolute mathematical precision.
- Variation: Use monochromatic shades (e.g., charcoal, slate gray, and crisp white) for a sophisticated architectural vibe.
Needs to Make That Thing
- Yarn: Worsted weight cotton yarn in 3 distinct colors (e.g., Rust, Blush, and Cream).
- Hook: 4.5mm crochet hook.
- Notions: Tapestry needle, blocking pins, steam iron.
9. Delicate Lace Drawstring Pouch
Introduction
Charming, dainty, and endlessly versatile, the Delicate Lace Drawstring Pouch is perfect for holding crystals, makeup essentials, or acting as a luxurious gift bag. Its intricate openwork lace pattern resembles vintage heirloom textiles.
What This Idea Means
This concept highlights intricate stitch anatomy, fine gauge work, and delicate feminine styling. It is an exercise in patience and precision.
How to Make It
- The Base: Start with a small magic ring, working outward in rounds of double crochet until the circular base is roughly 4 inches in diameter.
- The Lace Body: Transition to an intricate lace pattern—such as the Solomon’s Knot (Love Knot) or fan stitch—working in rounds until the pouch reaches the desired height.
- Drawstring Casing: Create a secure casing row by working alternating double crochets and chain-2 spaces around the rim.
- The Cord: Crochet a sturdy chain cord threaded with tiny wooden beads, weaving it in and out of the casing eyelets.
Tips and Variations
- Tip: Use bamboo or mercerized cotton thread to ensure the lace stitch definition pops sharply.
- Variation: Create a set of three in varying sizes (small, medium, large) for an organized handbag pouch collection.
Needs to Make That Thing
- Yarn: 1 ball of size 3 crochet cotton thread or fingering weight bamboo yarn.
- Hook: 2.5mm crochet hook.
- Notions: Small wooden beads, tapestry needle, small satin lining pouch (optional).
10. Chic Chevron Pattern Shoulder Bag
Introduction
The classic chevron (or ripple) stitch gets a sophisticated upgrade in this stylish shoulder bag. With dynamic zigzag waves of color, this design brings retro 1970s energy into a polished, contemporary silhouette.
What This Idea Means
This design focuses on rhythmic stitching and vibrant wave patterns, creating optical movement and rich textural interest across a functional accessory.
How to Make It
- Foundation Chain: Chain a multiple of your chevron stitch repeat plus turning chains, matching the desired width of your bag.
- The Ripple Pattern: Work rows of the chevron stitch (incorporating precise increases at the peaks and decreases at the valleys) while changing colors every two rows for a neat striped wave effect.
- Tubular Construction: Continue working in the round or fold your long chevron panel in half, seaming the sides to form a structured pouch.
- Strap Attachment: Securely attach a sturdy braided shoulder strap or a sleek chain strap with crochet attachment tabs.
Tips and Variations
- Tip: Count your stitches meticulously at the end of every single row to ensure your peaks and valleys align perfectly.
- Variation: Use earthy gradient yarns (sunset oranges, ochres, and deep browns) for a stunning vintage bohemian look.
Needs to Make That Thing
- Yarn: DK weight cotton yarn in 4 harmonizing shades.
- Hook: 4mm crochet hook.
- Notions: Tapestry needle, stitch markers, matching fabric lining.
11. Circular Mandala Crossbody Bag
Introduction
Turn heads wherever you go with the Circular Mandala Crossbody Bag. Featuring a mesmerizing, symmetrical mandala centerpiece on both sides, this artistic bag is a celebration of sacred geometry and colorful fiber artistry.
What This Idea Means
This concept treats textile crafting as meditation, building outward from a central point into a complex, harmonious circular masterpiece.
How to Make It
- The Mandala Panels: Crochet two identical flat circular mandalas, following a pattern that transitions from a tight center flower into intricate textured rounds (using popcorn stitches, front post stitches, and puff stitches).
- The Gusset: Create a long, rectangular gusset strip in matching solid color using single crochet or half-double crochet to bridge the front and back circular panels.
- Assembly: Pin the long gusset strip around the perimeter of both circular mandalas and join them seamlessly using a slip stitch seam or neat whipstitch.
- Strap and Hardware: Attach D-rings to the gusset sides and clip on a matching adjustable leather crossbody strap.
Tips and Variations
- Tip: Block the circular mandala panels flat with pins before attaching the gusset to ensure the bag keeps a clean, symmetrical shape.
- Variation: Use monochromatic cream yarn for the entire mandala to achieve a high-end bohemian lace effect.
Needs to Make That Thing
- Yarn: Worsted weight mercerized cotton yarn in 3–5 coordinating colors.
- Hook: 4mm crochet hook.
- Notions: Two D-rings, adjustable leather strap, tapestry needle.
12. Tweed-Style Moss Stitch Handbag
Introduction
By carrying two contrasting strands of fine yarn together while working the simple moss stitch (granite stitch), you achieve a luxurious, high-end tweed effect. This sophisticated handbag looks like a bespoke designer piece straight from Paris.
What This Idea Means
This idea centers on color blending and rich, dense texture. It proves that simple stitches, when paired with thoughtful yarn combinations, can produce remarkably upscale results.
How to Make It
- Double Stranding: Hold two fingering-weight yarns together (e.g., a heathered gray wool and a sparkling silver thread or contrasting cream cotton) to create a custom tweed yarn blend.
- The Body: Work in continuous rounds using the moss stitch (single crochet, chain 1, skip 1 stitch), which nests beautifully into the previous row’s chain spaces.
- Shaping the Rim: Switch to firm half-double crochet stitches for the top 2 inches to create a stable, non-stretching opening.
- Handles: Crochet sturdy reinforced rolled handles and attach them with secure internal reinforcement patches.
Tips and Variations
- Tip: Keep your tension consistent so the tweed speckles blend evenly across the entire surface of the bag.
- Variation: Add a structured leather buckle flap closure across the front for an equestrian-chic aesthetic.
Needs to Make That Thing
- Yarn: Multiple cones of fingering-weight wool and cotton blend yarns.
- Hook: 4.5mm crochet hook.
- Notions: Tapestry needle, stitch markers, interior fabric lining.
13. Textured Bobble Stitch Tote
Introduction
Playful, tactile, and delightfully dimensional, the Textured Bobble Stitch Tote features raised, pillowy bobbles that create an engaging surface pattern. It is chic, modern, and impossible not to touch.
What This Idea Means
This project emphasizes tactile interaction and three-dimensional surface embellishment, elevating a standard tote into a sensory work of art.
How to Make It
- The Foundation: Crochet a sturdy rectangular base using tight single crochet stitches in durable cotton yarn.
- Incorporating Bobbles: Work alternating rows of plain single crochet and bobble rows (typically a 5-dc cluster worked into a single stitch), spacing them evenly to form a geometric polka-dot layout.
- Body Completion: Continue working upward until the bag reaches your preferred depth, maintaining even tension around the bobbles so they pop outward crisply.
- Strap Construction: Finish with thick, comfortable shoulder straps reinforced with a hidden nylon webbing core inside the crochet casing.
Tips and Variations
- Tip: Push all your bobbles out to the right side (front) of the work as you complete each bobble row to ensure a uniform appearance.
- Variation: Make the bag in a solid pastel shade (like soft sage green or lavender) for an ultra-sweet, modern aesthetic.
Needs to Make That Thing
- Yarn: 4 skeins of aran weight cotton yarn.
- Hook: 5mm crochet hook.
- Notions: Tapestry needle, nylon webbing for strap reinforcement (optional).
14. Everyday Slouchy Hobo Bag
Introduction
Relaxed, effortless, and infinitely practical, the Everyday Slouchy Hobo Bag molds to your body as you wear it. Its unstructured, fluid silhouette makes it the ultimate grab-and-go bag for running errands or casual weekend lounging.
What This Idea Means
This concept celebrates comfort and casual ease. It is about creating a soft, flexible accessory that holds all your daily essentials without feeling stiff or formal.
How to Make It
- Construction Method: Work the bag as one continuous piece starting from the bottom, or crochet two large trapezoidal panels that slope gracefully downward into a wide integrated strap.
- Stitch Selection: Use a flexible, drapey stitch like the half-double crochet in the back loop only (HDCCLO) to encourage slouch and natural drape.
- Seaming and Lining: Seam the sides securely. Because hobo bags stretch under weight, sewing a slippery cotton or satin lining inside is essential to maintain structural integrity.
- Closure: Install a hidden magnetic snap button near the center opening.
Tips and Variations
- Tip: Add a detachable tassel zipper pull or key leash inside to keep your keys from getting lost at the bottom of the slouchy interior.
- Variation: Use modal or bamboo yarn for maximum drape and a luxurious silky sheen.
Needs to Make That Thing
- Yarn: 3–4 skeins of bamboo-cotton blend yarn (DK or Worsted weight).
- Hook: 5mm crochet hook.
- Notions: Fabric lining, magnetic snap closure, tapestry needle.



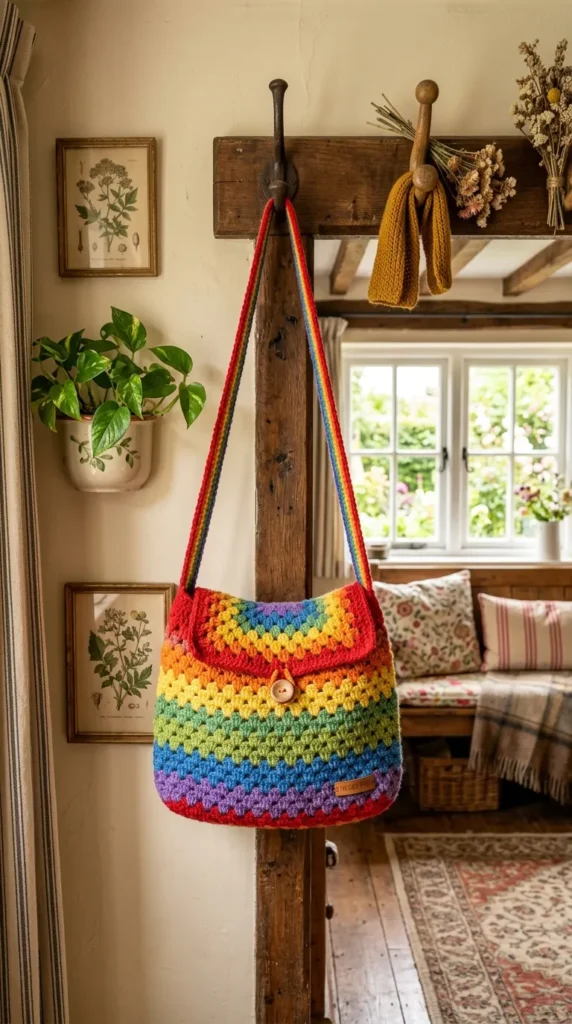
15. Vintage-Inspired Granny Stripe Bag
Introduction
Channel retro nostalgia with the Vintage-Inspired Granny Stripe Bag. Utilizing clusters of double crochet worked in colorful rolling rows, this design captures the cheerful warmth of classic mid-century crochet blankets adapted into a stylish handbag.
What This Idea Means
This idea is a joyful celebration of color blending and heritage stitch patterns. It brings a cheerful, handmade warmth to contemporary outfits.
How to Make It
- Foundation: Chain a long foundation row divisible by 3, joined in the round to form a continuous tube.
- The Stripe Pattern: Work rounds of 3-double-crochet clusters into the chain-1 spaces of the previous round, changing colors every two rounds to build a vibrant striped sequence.
- Bag Depth: Continue in the stripe pattern until the bag reaches roughly 12 inches in height.
- Handles: Divide the top round to create two handle openings, working several rows of single crochet around the rim and handles to reinforce them.
Tips and Variations
- Tip: Weave in your yarn ends as you go during color changes to save yourself hours of finishing work at the end.
- Variation: Use a self-striping cake yarn for an effortless, automatic color gradient without having to manage dozens of individual yarn tails.
Needs to Make That Thing
- Yarn: 4–5 mini-skeins or scrap yarn balls of worsted weight cotton.
- Hook: 4mm crochet hook.
- Notions: Tapestry needle, sharp scissors.
16. Geometric Hexagon Motif Bag
Introduction
Often referred to as African Flower or honeycomb motifs, geometric hexagon panels create a stunning, intricate mosaic handbag. When pieced together, these interlocking shapes form an eye-catching, high-design accessory.
What This Idea Means
This project focuses on modular geometry and color placement, transforming individual hexagonal tiles into a cohesive, sculptural bag.
How to Make It
- Crocheting Hexagons: Make 12 to 16 identical hexagon motifs using a 3-color scheme (e.g., center flower, petal layer, outer contrasting border).
- Blocking: Block every hexagon flat to ensure sharp 6-sided symmetry and clean joining edges.
- Assembly Diagram: Arrange the hexagons into a tote or bucket formation following a precise geometric layout map.
- Joining and Edging: Join the hexagons using a flat zip-line join or whip stitch from the wrong side, then add a sturdy solid border and handles.
Tips and Variations
- Tip: Keep a consistent color for the outer border of all hexagons so the overall geometric pattern pops with maximum clarity.
- Variation: Use neutral shades (cream, tan, and charcoal) for a sophisticated, earthy designer look.
Needs to Make That Thing
- Yarn: Worsted weight cotton yarn in 4 complementary colors.
- Hook: 4mm crochet hook.
- Notions: Tapestry needle, blocking board, pins.
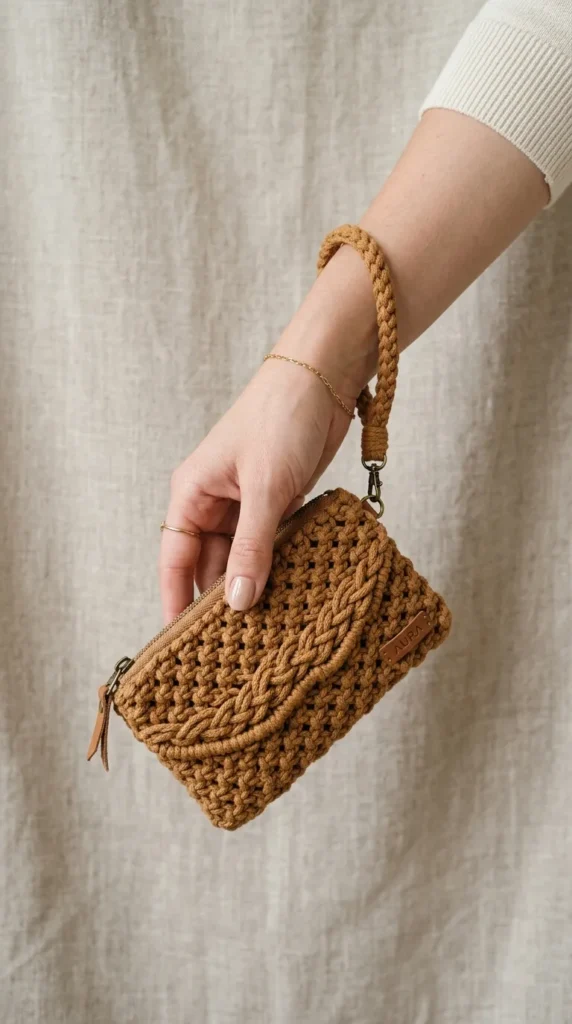
17. Dainty Wristlet Wallet Bag
Introduction
Compact, lightweight, and delightfully minimalist, the Dainty Wristlet Wallet Bag is designed for moments when you only want to carry your essentials—phone, cards, and keys. It slips easily over your wrist for hands-free convenience.
What This Idea Means
This concept emphasizes smart, functional miniaturization. It is about distilling crochet design down to its sleekest, most practical everyday format.
How to Make It
- The Body: Crochet a small rectangular piece using tight waistcoat stitch or thermal stitch, making it twice as long as your desired wallet height.
- Folding and Seaming: Fold the rectangle into a pocket shape, leaving a flap at the top, and seam the side edges securely.
- Wrist Strap: Crochet a short, sturdy strap loop, attaching one end permanently and securing the other with a swivel lobster clasp or rivet.
- Closure: Sew a magnetic snap or attach a decorative wooden toggle button to the front flap.
Tips and Variations
- Tip: Insert a thin plastic card sheet (like an old gift card) inside the base of the lining to give the small wallet a crisp, rigid structure.
- Variation: Add an internal card slot divider crocheted from contrasting fabric or yarn.
Needs to Make That Thing
- Yarn: 1 small skein of durable cotton yarn or nylon cord.
- Hook: 3.5mm crochet hook.
- Notions: Swivel lobster clasp, magnetic snap, tapestry needle.
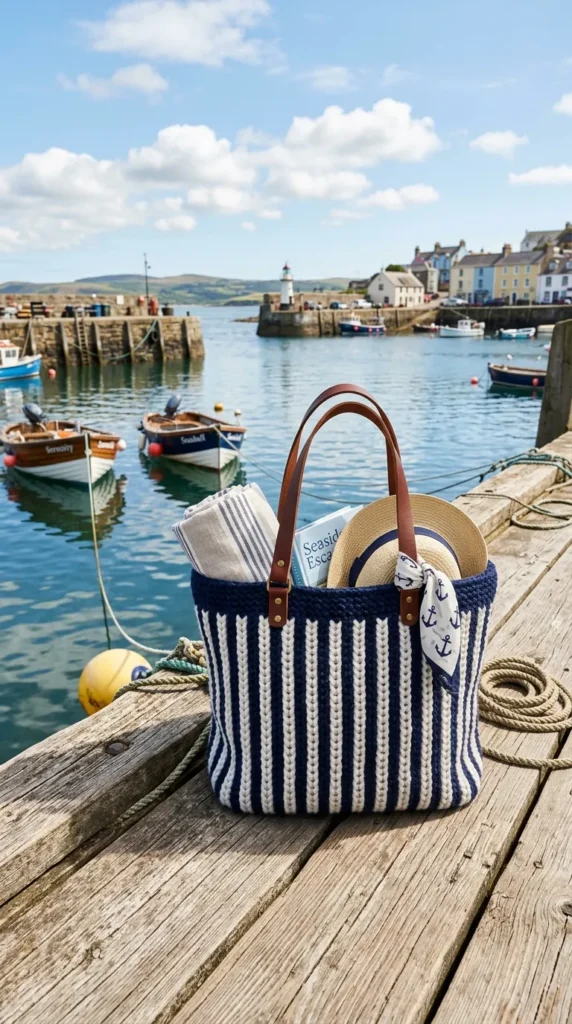
18. Two-Tone Fisherman’s Rib Tote
Introduction
Inspired by classic maritime sweaters, the Two-Tone Fisherman’s Rib Tote offers exceptional thickness, squishy warmth, and ribbed elasticity. It is rugged, handsome, and built to withstand heavy daily use.
What This Idea Means
This design celebrates deep, textured ribbed stitches that mimic knitwear, offering incredible structural stability and stretch resistance.
How to Make It
- Stitch Foundation: Learn the crochet equivalent of the brioche or fisherman’s rib (often created using alternating front post double crochets and slip stitches, or specialized ribbed half-double crochets).
- Working Flat Panels: Crochet two large rectangular panels in your chosen ribbed stitch, alternating two primary colors every few rows for a clean two-tone aesthetic.
- Assembly: Seam the bottom and sides together using a mattress stitch that preserves the ribbed alignment.
- Reinforced Top Edge: Finish the collar with 4 rounds of tight single crochet to prevent the ribbed mouth from sagging.
Tips and Variations
- Tip: Ribbed crochet stitches consume more yarn than flat stitches; make sure you purchase extra skeins to avoid running short.
- Variation: Use navy blue and crisp white for an authentic nautical fisherman aesthetic.
Needs to Make That Thing
- Yarn: 4 skeins of smooth wool or cotton blend yarn in two contrasting colors.
- Hook: 5mm crochet hook.
- Notions: Tapestry needle, locking stitch markers.
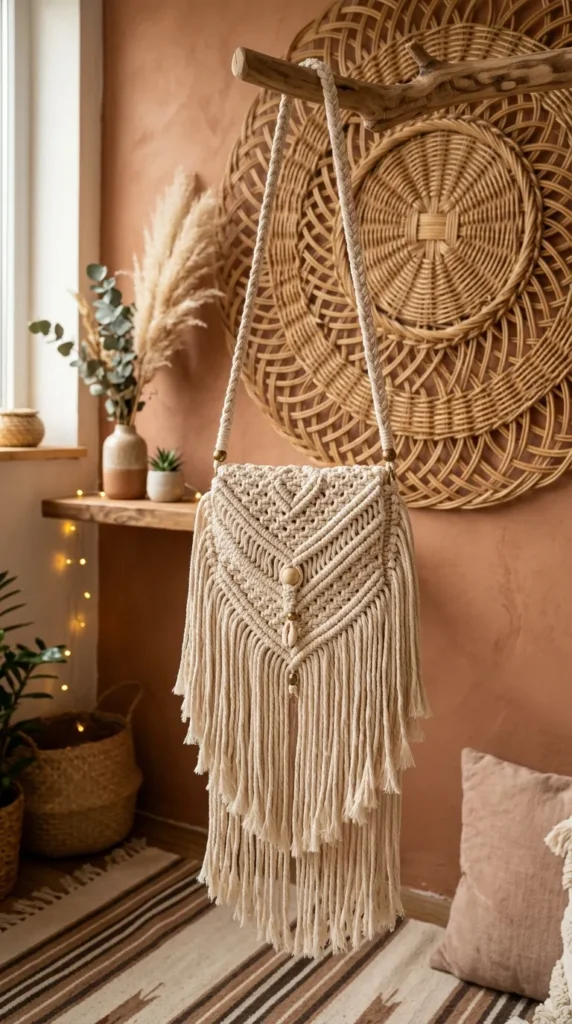
19. Bohemian Macrame-Accent Bag
Introduction
Combining the art of crochet with macrame fringe knots, the Bohemian Macrame-Accent Bag is a texture-lover’s dream. A clean, simple crochet base serves as the anchor for elaborate, knotted fringe panels that cascade down the front.
WhatThis Idea Means
This concept bridges two distinct fiber arts—crochet and macrame—resulting in a rich, artisanal statement piece with incredible depth and tactile appeal.
How to Make It
- The Crochet Base: Crochet a solid rectangular crossbody bag body and strap using sturdy single crochet stitches.
- Attaching Macrame Cords: Cut long lengths of cotton macrame cord and lark’s head knot them onto a front mounting bar or directly onto the front rows of the crochet bag.
- Knotting the Design: Work square knots and diagonal half-hitch knots to create an intricate diamond macrame pattern down the front of the bag.
- Fringe Trim: Leave the lower half of the cords unknotted to form a free-flowing fringe brush.
Tips and Variations
- Tip: Use masking tape on the ends of your macrame cords while knotting to prevent them from unraveling or fraying.
- Variation: Dye the macrame cord ends in an dip-dye ombre wash for a colorful artistic touch.
Needs to Make That Thing
- Yarn/Cord: 2 skeins of cotton yarn for the bag base, plus 3mm twisted cotton macrame cord for the accent panel.
- Hook: 4mm crochet hook.
- Notions: Scissors, pet slicker brush for fringe, tapestry needle.
20. Luxury Velvet Evening Bag
Introduction
Luxuriously soft to the touch and shimmering under evening lights, the Luxury Velvet Evening Bag brings plush elegance to your accessory collection. The velvety sheen elevates simple stitches into a high-end statement piece.
What This Idea Means
This design focuses on tactile opulence and rich, light-reflecting materials, transforming cozy yarn into glamorous evening wear.
How to Make It
- Working with Velvet: Use plush velvet yarn and work in continuous spiral rounds of half-double crochet to create a dense, squishy cylindrical pouch.
- Shaping: Add slight decreases near the top opening to create a tapered neck.
- Hardware Integration: Sew a metallic chain strap directly to reinforced side loops or thread a satin ribbon through eyelet holes for a drawstring closure.
- Lining: Because velvet yarn can stretch over time, insert a snug satin lining to support the weight of your belongings.
Tips and Variations
- Tip: Velvet yarn can slip easily; use stitch markers religiously and check your stitch count on every round.
- Variation: Pair rich emerald green velvet yarn with a gleaming gold chain strap for an unforgettable holiday party accessory.
Needs to Make That Thing
- Yarn: 2 skeins of plush velvet yarn (Bulky weight).
- Hook: 5.5mm crochet hook.
- Notions: Gold chain strap, satin fabric for lining, tapestry needle.