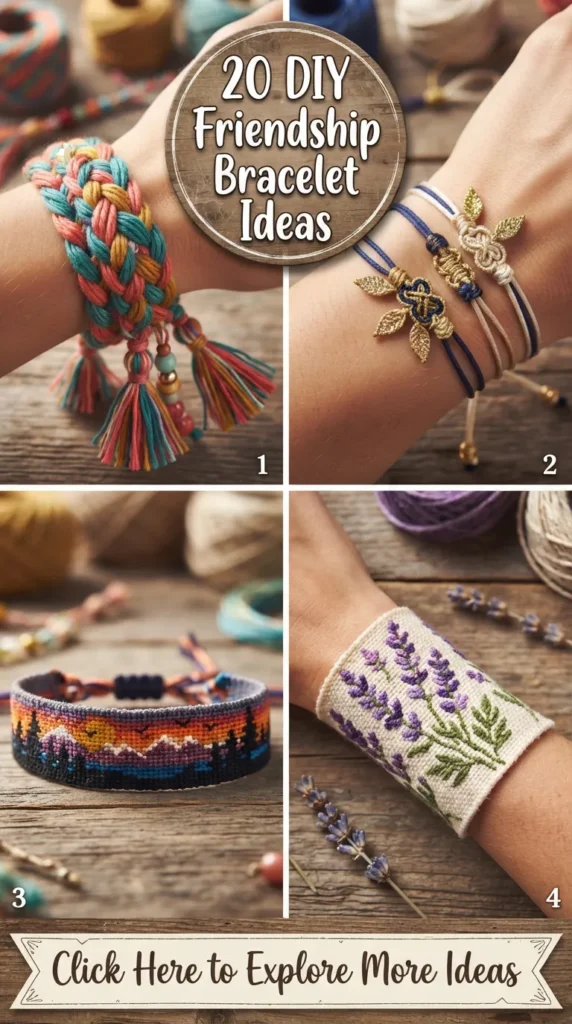
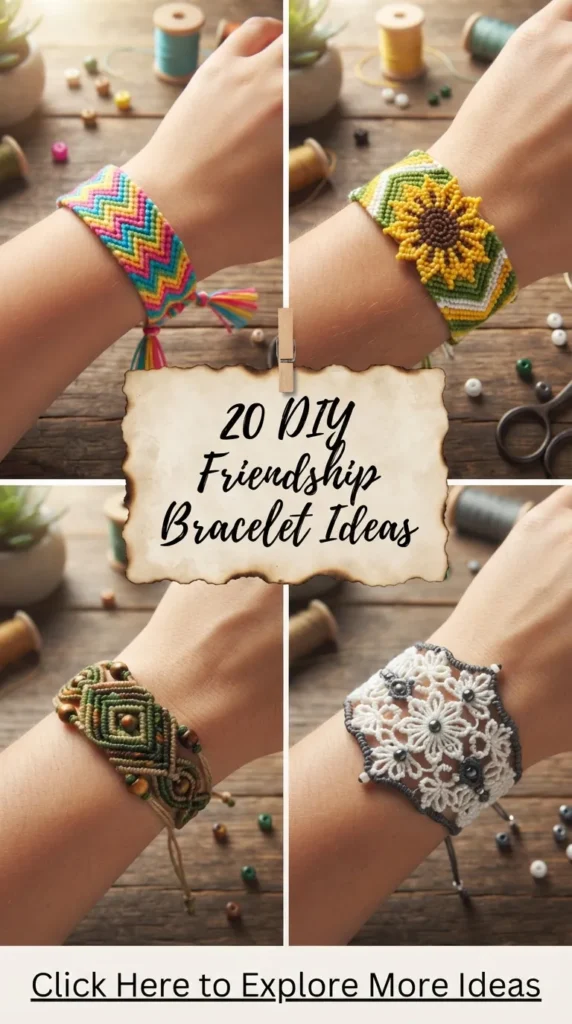
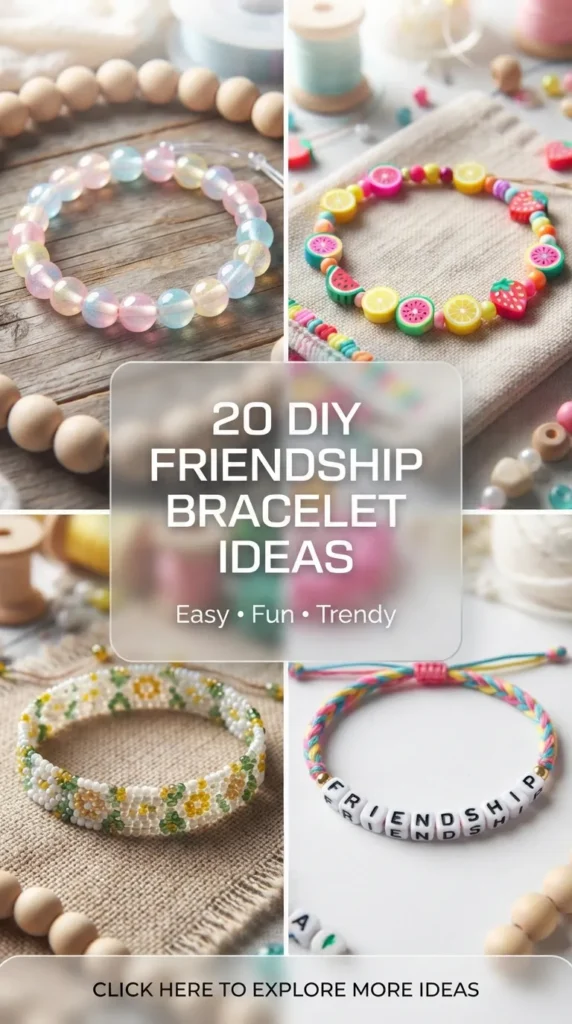
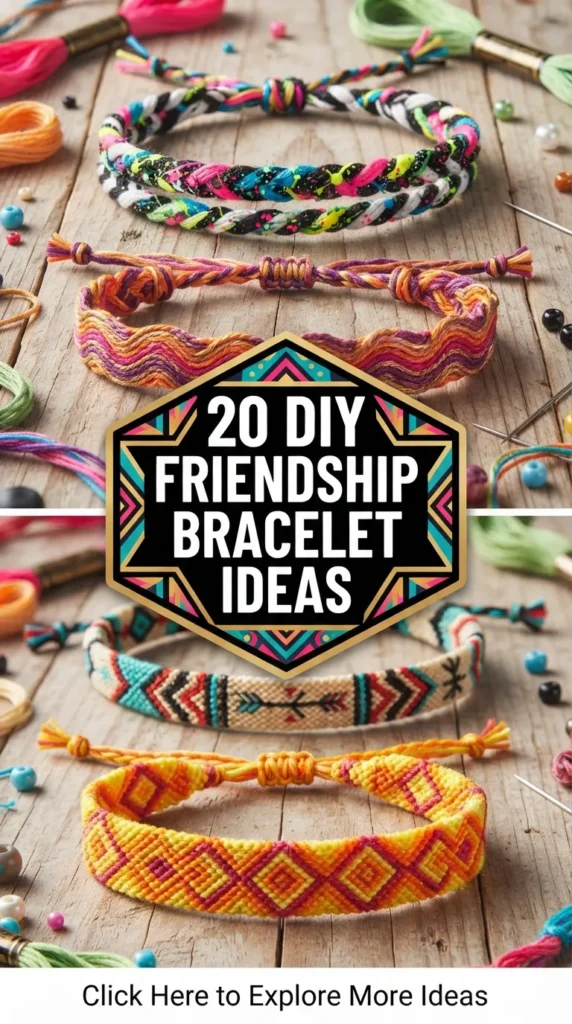
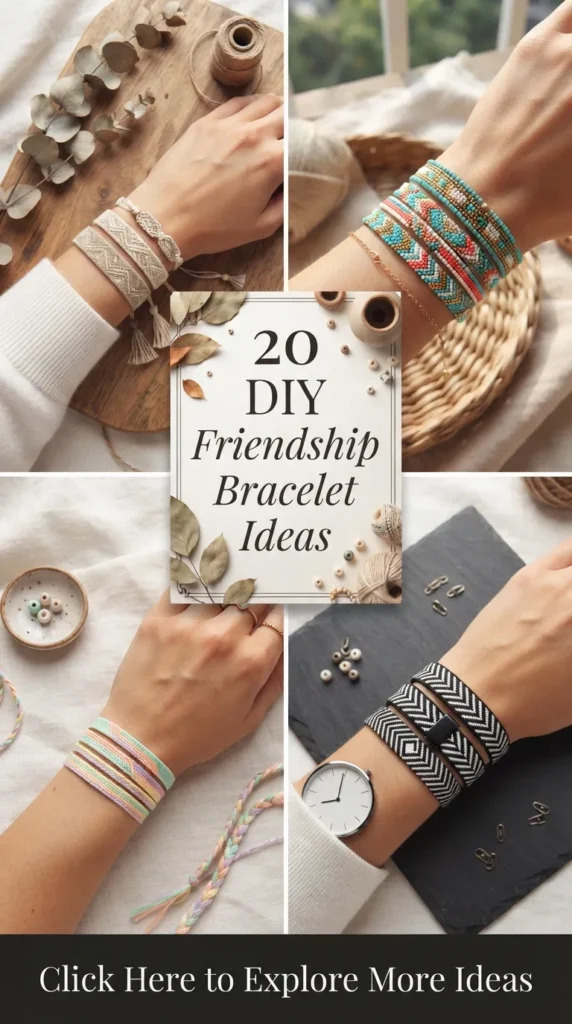
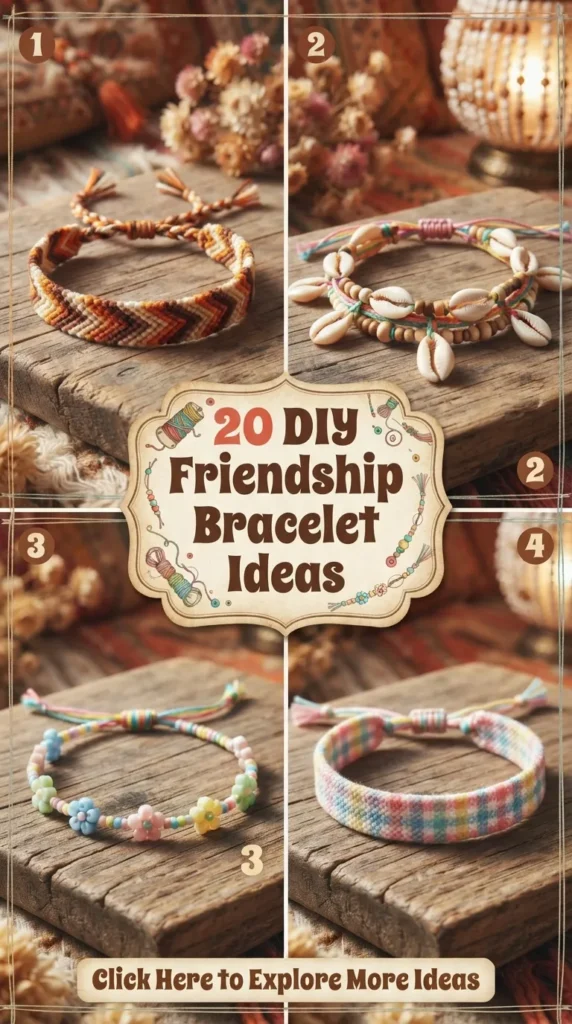
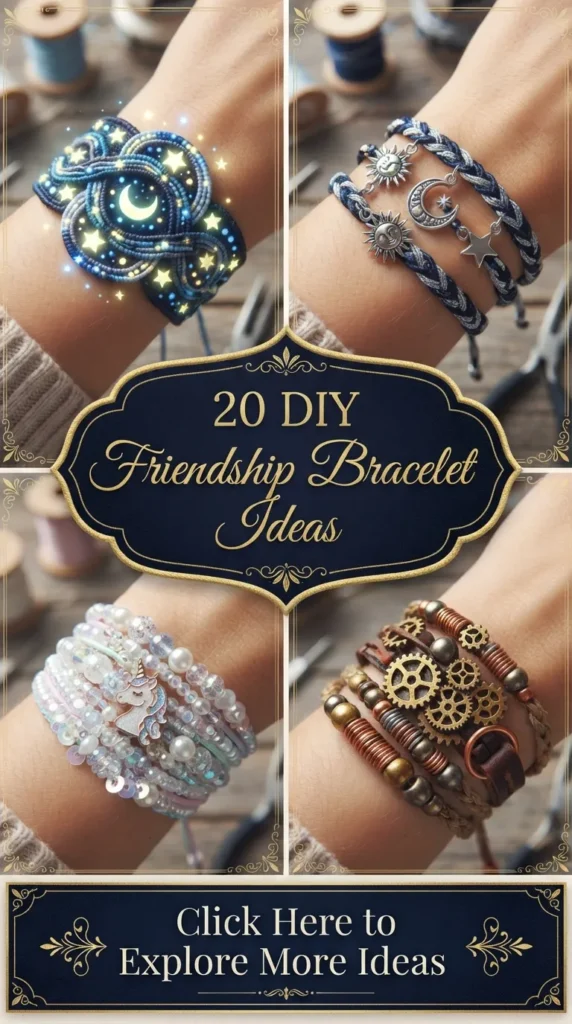
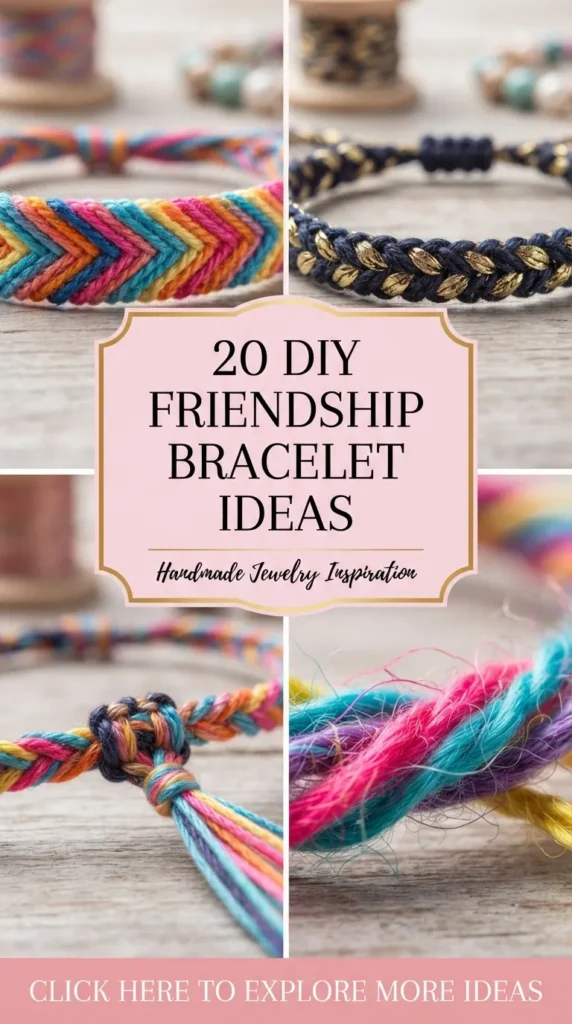
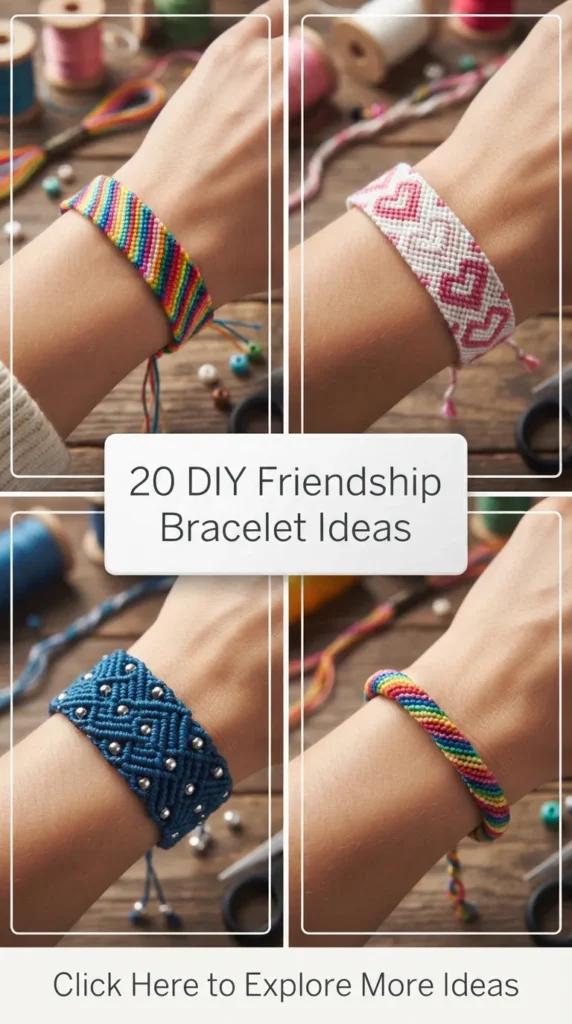
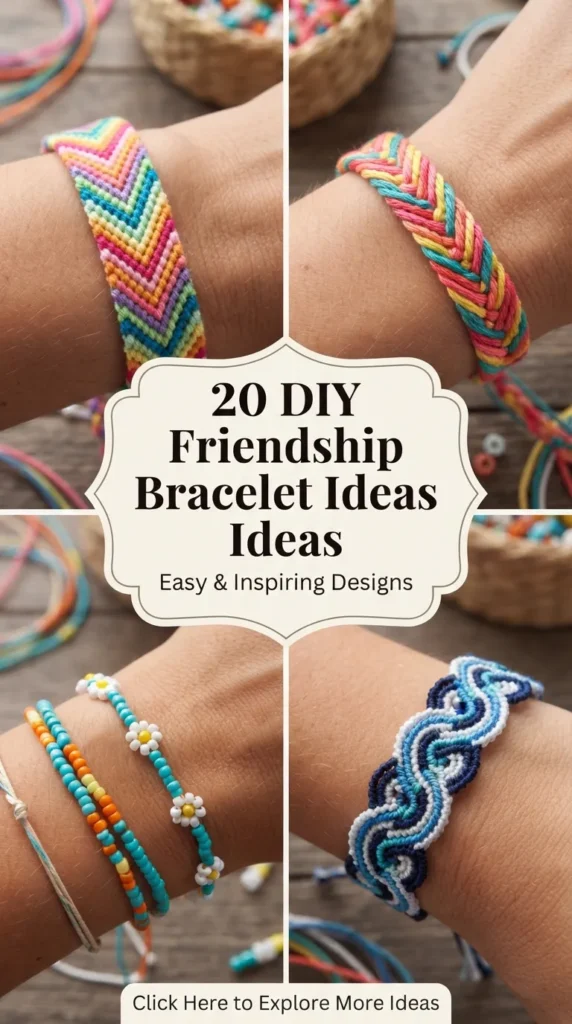
Friendship bracelets are far more than mere accessories; they are wearable symbols of connection, shared memories, and heartfelt affection. For generations, knotting, weaving, and stringing threads together has served as a personal and therapeutic way to honor the bonds we cherish most. Giving a handmade bracelet to a friend communicates time, intentionality, and love in a way that store-bought items simply cannot replicate.
Whether you are crafting for a lifelong best friend, a sibling, or a creative soulmate, making your own jewelry allows you to customize every detail—from color palettes and intricate patterns to personal charms and birthstones. From classic knotted chevron patterns to modern beaded leather wraps, here are 20 amazing, realistic, and Pinterest-friendly DIY friendship bracelet ideas designed to inspire your gift-making journey, complete with step-by-step instructions, helpful tips, creative variations, and material lists.
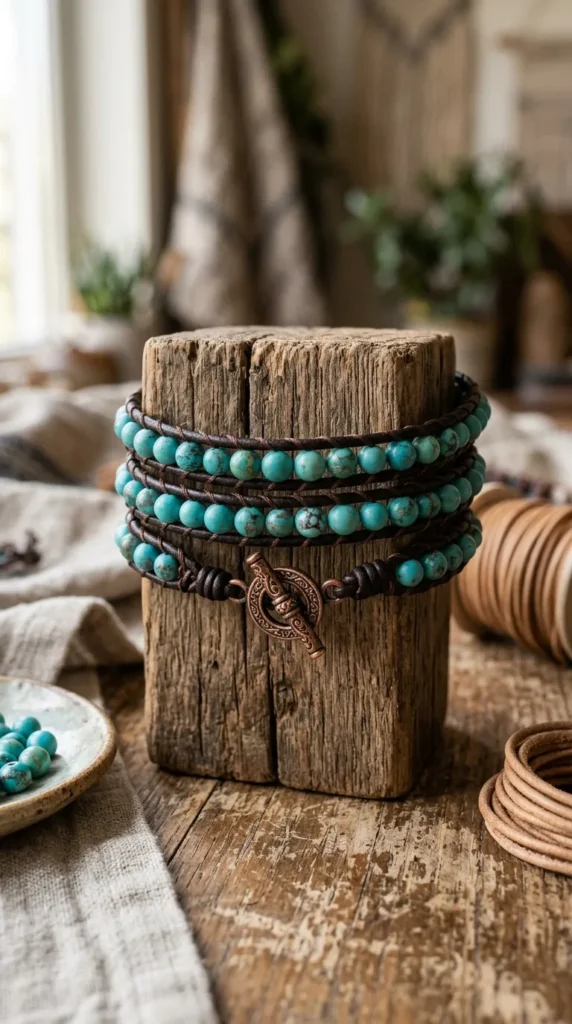
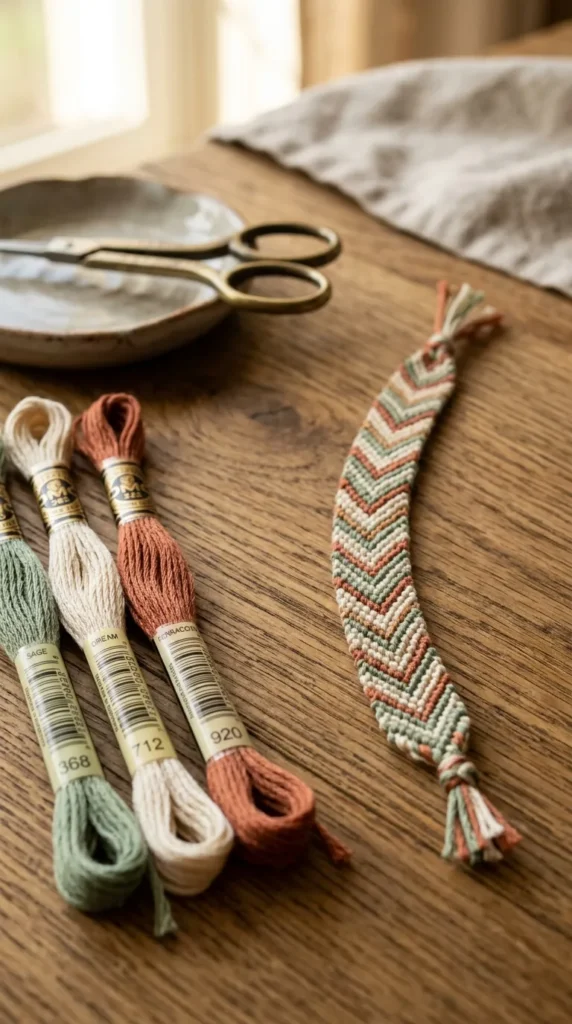
1. Classic Diagonal Chevron Embroidery Bracelet
What This Idea Means
The classic chevron friendship bracelet features a timeless V-shaped arrow pattern created through forward and backward knotting techniques. It represents paths that cross and intertwine, making it an ideal symbol for enduring friendships.
How to Make It
- Cut Threads: Cut 6 to 8 strands of embroidery floss in complementary colors (approx. 36 inches each).
- Anchor & Loop: Tie all strands together in a top knot, leaving a 2-inch loop for the clasp, and tape it securely to your work surface.
- Sort Colors: Arrange strands in a mirrored color sequence (e.g., A-B-C-D-D-C-B-A).
- Knot Left Side: Take the leftmost strand (A) and make forward knots over strands B, C, and D until it reaches the center.
- Knot Right Side: Take the rightmost strand (A) and make backward knots over strands B, C, and D until it meets the left strand in the center. Tie both A strands together in a center knot.
- Repeat Pattern: Repeat the process with the new outer strands until the bracelet reaches desired wrist length.
Tips and Variations
- Tips: Maintain consistent knot tension to keep the V-pattern straight and prevent the edges from curling upward.
- Variations: Add tiny seed beads onto the center strand before completing the middle knot for a sparkling chevron ridge.
Needs to Make That Thing
- 6–8 skeins of embroidery floss (assorted colors)
- Clipboard, safety pin, or masking tape
- Measuring tape
- Scissors
2. Personalized Alphabet Bead Name Bracelet
What This Idea Means
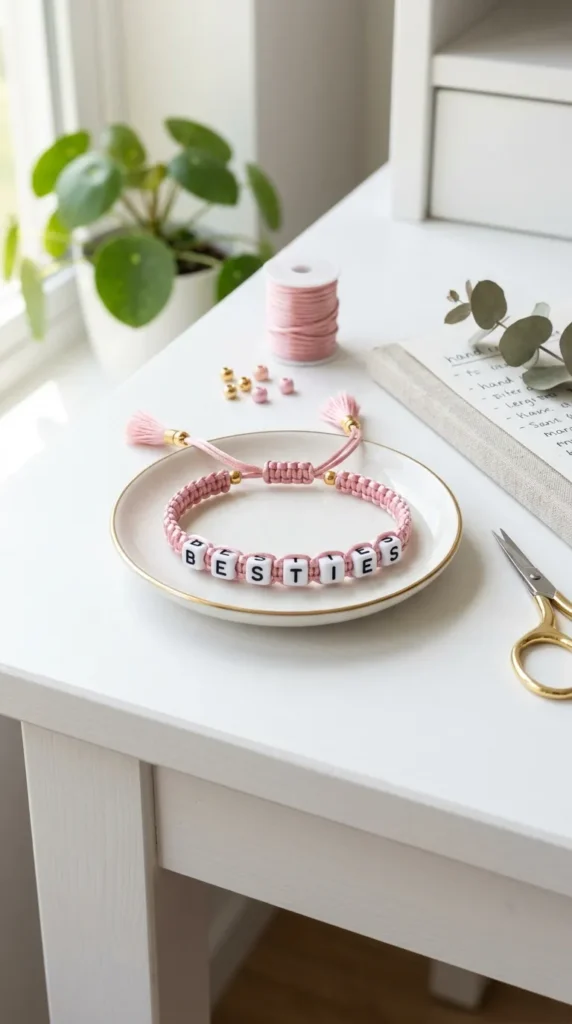
Incorporating acrylic or wooden alphabet letter beads into a woven cord bracelet turns simple string work into a personalized keepsake. Spelling out nickname jokes, secret words, or personal names adds deep sentimental value.
How to Make It
- Prepare Cord: Cut three 20-inch strands of satin cord or embroidery floss. Tie them together at the top, leaving a braid tail.
- Thread Letters: Thread white acrylic alphabet beads spelling your chosen word onto the central cord strand.
- Knot Between Letters: Tie simple square knots or overhand knots with the outer cords between each letter bead to lock them into place.
- Finish Ends: Braid the remaining cord ends and finish with an adjustable sliding macramé knot.
Tips and Variations
- Tips: Use a small piece of clear tape wrapped tightly around the cord end like an aglet to thread narrow bead holes effortlessly.
- Variations: Use metallic gold alphabet beads paired with natural linen cord for an elevated adult aesthetic.
Needs to Make That Thing
- Satin cord or thick embroidery floss
- Alphabet letter beads (acrylic, wooden, or metallic)
- Accent spacer beads
- Scissors
- Tape
3. Boho Wrapped Leather & Gemstone Wrap Bracelet
What This Idea Means
Inspired by artisan bohemian style, this project weaves natural stone beads between two parallel leather cords using nylon thread. It creates a rich, textured wrap bracelet that feels grounded, rustic, and sophisticated.
How to Make It
- Prepare Leather Frame: Fold a 40-inch leather cord in half to form a top button loop, securing it with an overhand knot.
- Anchor Thread: Tie a length of strong nylon or beaded thread near the top knot of the left leather strand.
- Weave Beads: Thread a gemstone bead onto the needle, pass the thread OVER the right leather cord, UNDER and back through the bead hole, and OVER the left leather cord.
- Repeat Process: Continue weaving beads continuously down between the two leather cords until reaching the desired wrist wrap length.
- Attach Button: Tie a metal button to the end of the leather cords to catch into the top loop clasp.
Tips and Variations
- Tips: Choose uniform 4mm or 6mm natural stone beads (like turquoise, jasper, or quartz) for a smooth, even wrap line.
- Variations: Wrap the leather long enough to double or triple around the wrist for a multi-layered stackable cuff look.
Needs to Make That Thing
- 1.5mm to 2mm round leather cord
- 4mm natural gemstone beads
- Beading thread and thin needle
- Metal closure button
- Scissors and craft glue
4. Macramé Square Knot Adjustable Sliding Bracelet
What This Idea Means
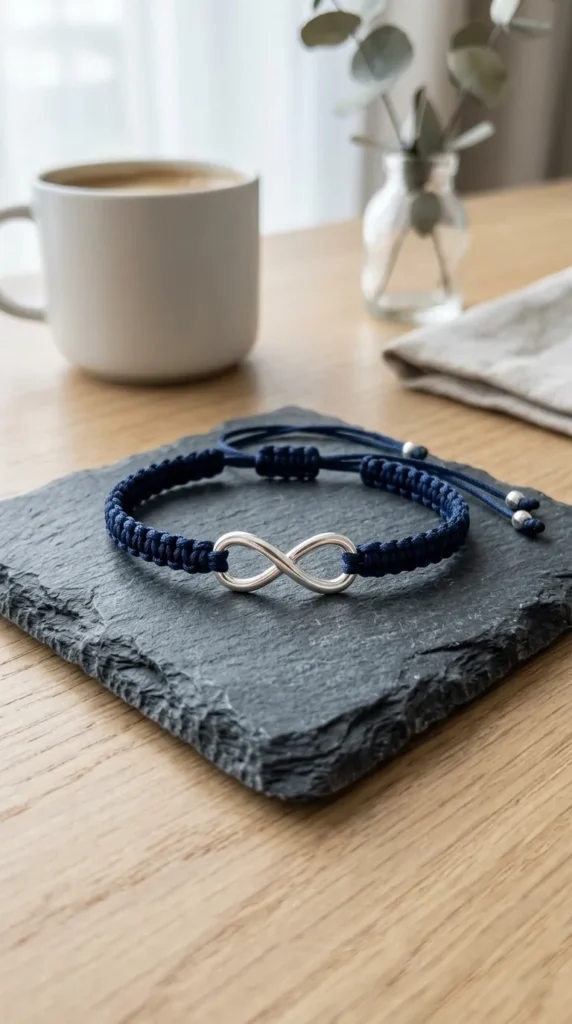
Macramé square knot bracelets feature a sleek, repetitive woven ridge pattern with an adjustable sliding knot closure. It is a versatile unisex design that allows the recipient to adjust the fit seamlessly.
How to Make It
- Set Up Base: Cut one 15-inch center cord (filler) and one 40-inch working cord. Tape the center cord flat onto your desk.
- Form Square Knots: Fold the working cord in half behind the center cord. Take the left working strand, cross over the center cord, lay the right strand over it, loop under the center, and pull through the left loop.
- Alternate Sides: Repeat the process starting with the right working strand to complete one full square knot.
- Continue Weaving: Continue alternating left and right square knots down the length of the center cord.
- Create Sliding Closure: Cross the two loose end cords and tie a short series of square knots over both combined ends using a scrap piece of cord.
Tips and Variations
- Tips: Melt the synthetic cord tips lightly with a lighter (with adult supervision) to seal end knots permanently without glue.
- Variations: Thread a single central charm or crystal connector ring onto the middle cord before starting your knots.
Needs to Make That Thing
- 1mm nylon knotting cord or Paracord
- Center charm connector (optional)
- Masking tape
- Scissors and lighter (or craft glue)
5. Delicate Braided Thread & Brass Chain Bracelet
What This Idea Means
This hybrid craft weaves soft colorful embroidery thread directly through the links of a dainty metal brass or silver curb chain. It combines the industrial shine of metal with the soft warmth of hand-braided textiles.
How to Make It
- Measure Chain: Cut a length of metal curb chain to fit comfortably around the wrist.
- Prepare Thread Groups: Cut two sets of embroidery floss (6 strands each) in complementary tones, roughly double the chain length.
- Weave Through Links: Tie thread ends to the first chain link. Using a safety pin or bobby pin, weave Thread Group A OVER the first link and UNDER the second link.
- Weave Second Thread: Weave Thread Group B in opposition through the same links, wrapping the metal edge in a braided pattern.
- Attach Clasp: Knot thread ends securely, apply a dab of clear jewelry glue, and attach jump rings and a lobster clasp.
Tips and Variations
- Tips: Use a curb chain with wide, open flat links so the embroidery thread glides through smoothly without shredding.
- Variations: Weave tiny seed beads along with the thread to give the metal chain an extra layer of sparkle.
Needs to Make That Thing
- Metal curb chain
- Embroidery floss (2 contrasting colors)
- Jump rings and lobster clasp
- Jewelry pliers
- Clear craft glue and scissors
6. Minimalist Silk Cord & Birthstone Crystal Bracelet
What This Idea Means
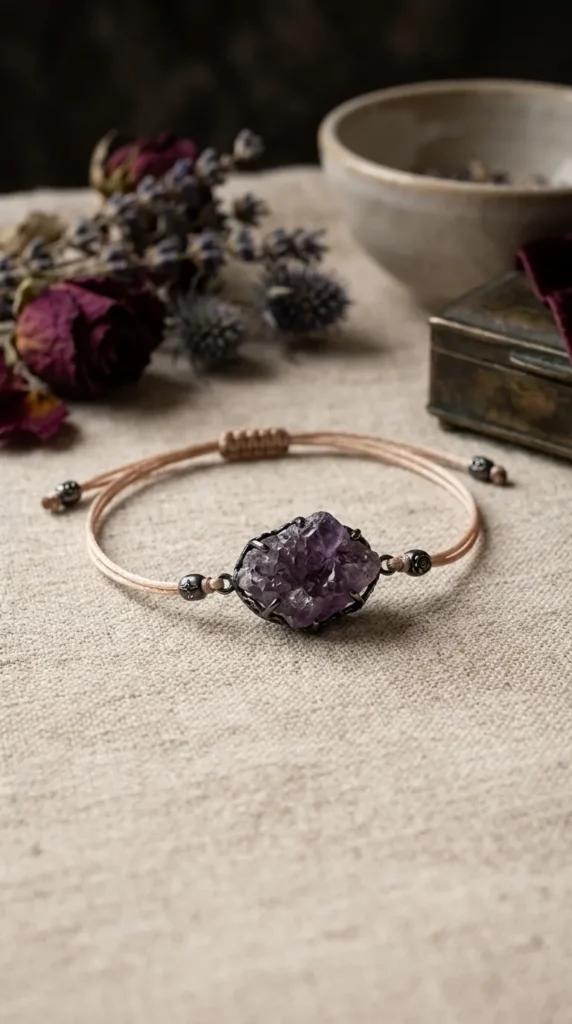
A minimalist silk cord bracelet focuses on refined simplicity. A single faceted natural birthstone crystal suspended on a ultra-thin pure silk thread represents subtle elegance and personal astrological connection.
How to Make It
- Select Silk Cord: Cut a 12-inch piece of fine 100% silk cord in a neutral tone (blush, nude, or grey).
- Center Crystal: Slide a small faceted birthstone crystal pendant or wire-wrapped stone bead onto the middle of the silk cord.
- Anchor Crystal: Tie tiny, neat overhand knots on either side of the crystal to hold it securely in the middle.
- Add End Beads: Slide tiny gold-filled spacer beads onto the loose ends.
- Finish Clasp: Finish with an adjustable sliding gold stopper bead or delicate spring-ring clasp.
Tips and Variations
- Tips: Silk cord is soft yet strong; stretch it gently before knotting to prevent sagging over time.
- Variations: Swap birthstone crystals for small sterling silver initial discs or lucky horseshoe charms.
Needs to Make That Thing
- Fine 100% silk bead cord
- Faceted birthstone crystal pendant or bead
- Gold-filled or silver spacer beads
- Jewelry pliers
- Scissors
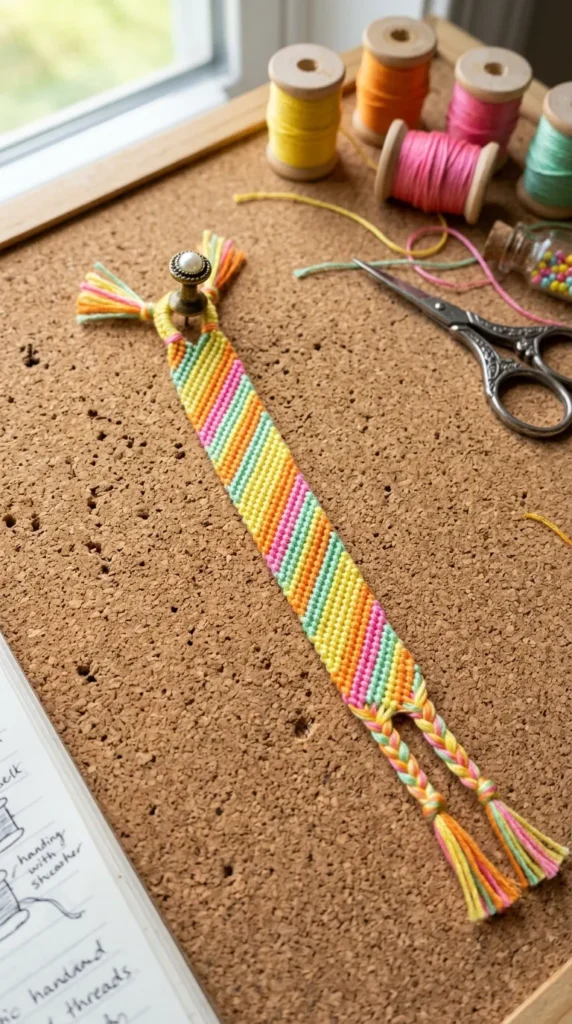
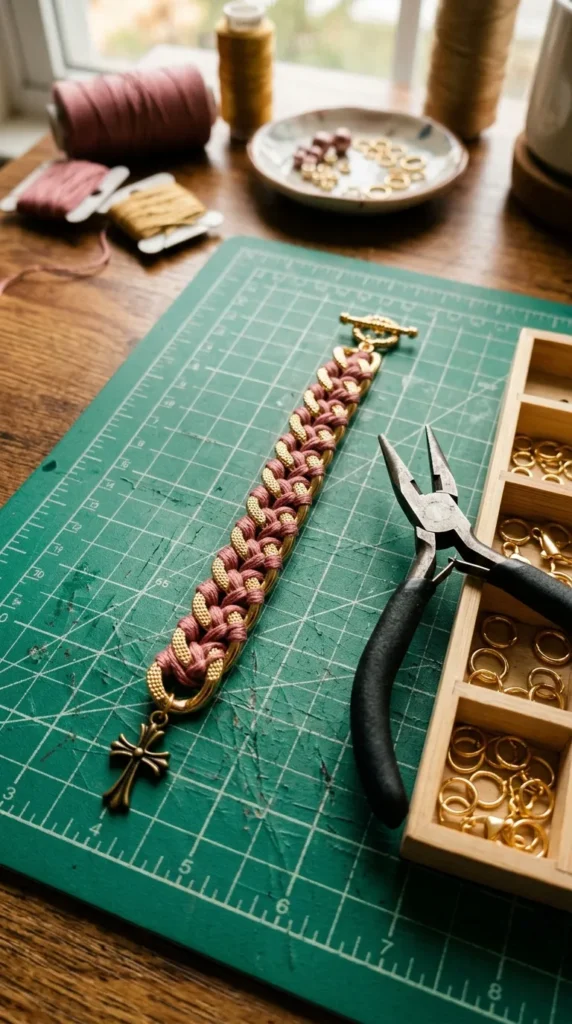
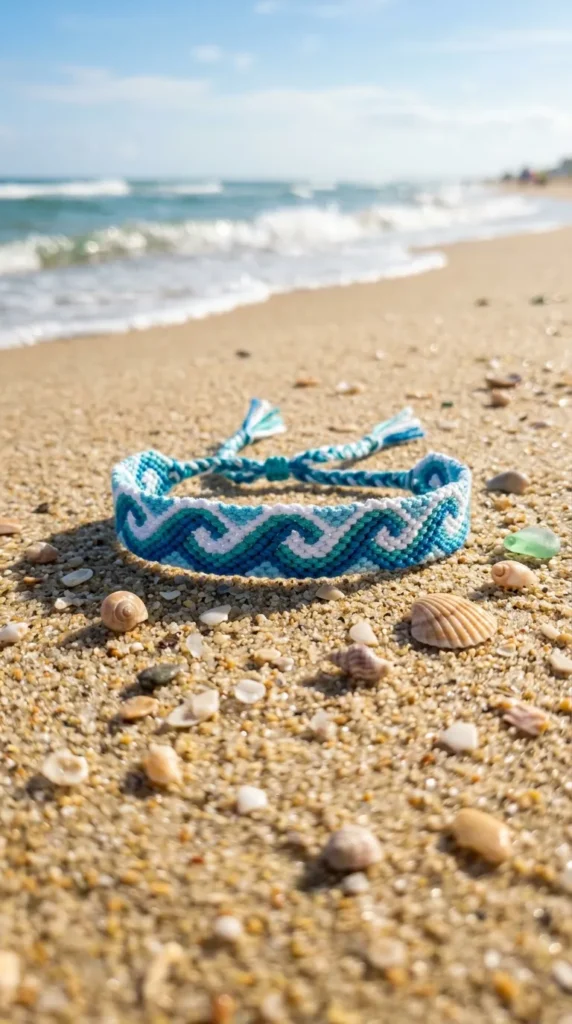
7. Vintage Wave Pattern Friendship Bracelet
What This Idea Means
The wave pattern (or ocean wave) friendship bracelet uses diagonal knotting variations to create flowing, rhythmic crests that resemble breaking sea waves. It is a symbolic gift for friends who share memories by the ocean.
How to Make It
- Set Up Threads: Cut 5 strands of blue shades and 3 strands of foam-white embroidery floss. Anchor at the top.
- Knot Background: Use dark blue threads to knot diagonal lines across the lighter background.
- Curve the Wave: Change knotting direction from forward knots to forward-backward knots at the edge to curve the thread back, forming the wave peak.
- Outline Foam: Use the white thread to outline the curved wave crest with tight knots.
- Repeat Sequence: Repeat the wave cycle down the bracelet length and finish with braided ends.
Tips and Variations
- Tips: Follow a printed knotting pattern grid if you are new to direction-changing knots (forward-backward knots).
- Variations: Use sunset colors (orange, pink, gold) to transform ocean waves into rolling mountain silhouettes.
Needs to Make That Thing
- Embroidery floss (navy, cyan, white, light blue)
- Clipboard or tape
- Printout pattern grid (optional)
- Scissors
8. Sparkling Seed Bead Chevron Loom Bracelet
What This Idea Means
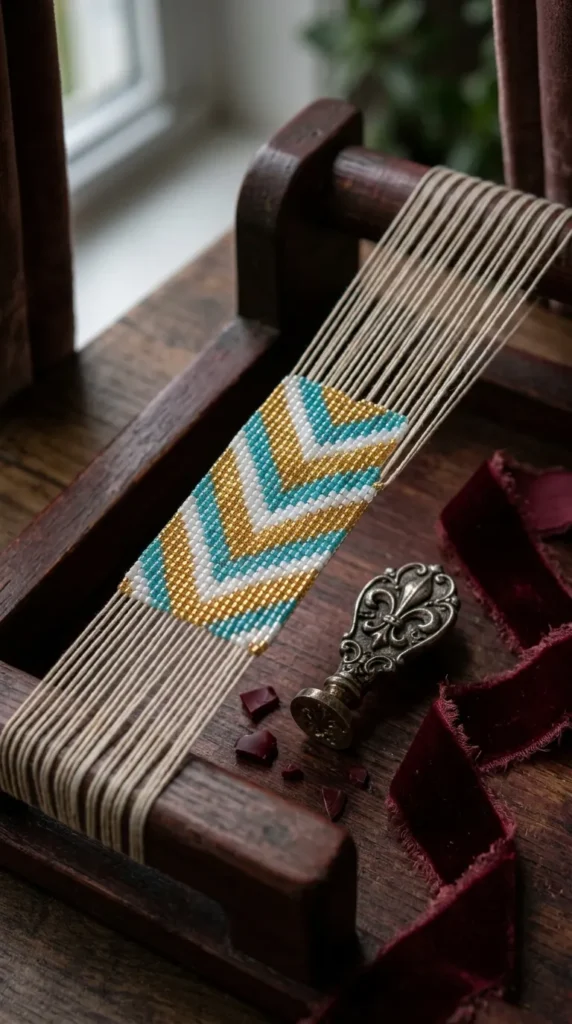
Using a simple bead loom or cardstock loom setup, tiny glass seed beads are woven into intricate geometric chevron patterns. The result is a shimmering, tapestry-like beaded cuff that feels silky and weightless on the wrist.
How to Make It
- Warp Loom: String 8 parallel warp threads across a bead loom or notched cardboard frame under tight tension.
- Thread Seed Beads: Thread 7 glass seed beads onto a long needle attached to a separate weft thread.
- Position Beads: Push the beads UP between the warp threads from underneath.
- Pass Needle Back: Pass the needle BACK through the bead holes on TOP of the warp threads to lock them in place.
- Follow Chevron Pattern: Change bead colors row by row following a chevron pattern matrix until complete.
Tips and Variations
- Tips: Use uniform Japanese Miyuki Delica seed beads for perfectly flat, professional beadwork rows.
- Variations: Glue finished beadwork onto a flat leather backing band for a sturdy cuff bracelet structure.
Needs to Make That Thing
- Bead loom or notched cardboard card
- Size 11/0 glass seed beads (assorted colors)
- Beading thread and fine bead needle
- Jewelry glue
- Ribbon end clamps and clasp
9. Cozy Wrapped Yarn & Washer Cuff
What This Idea Means
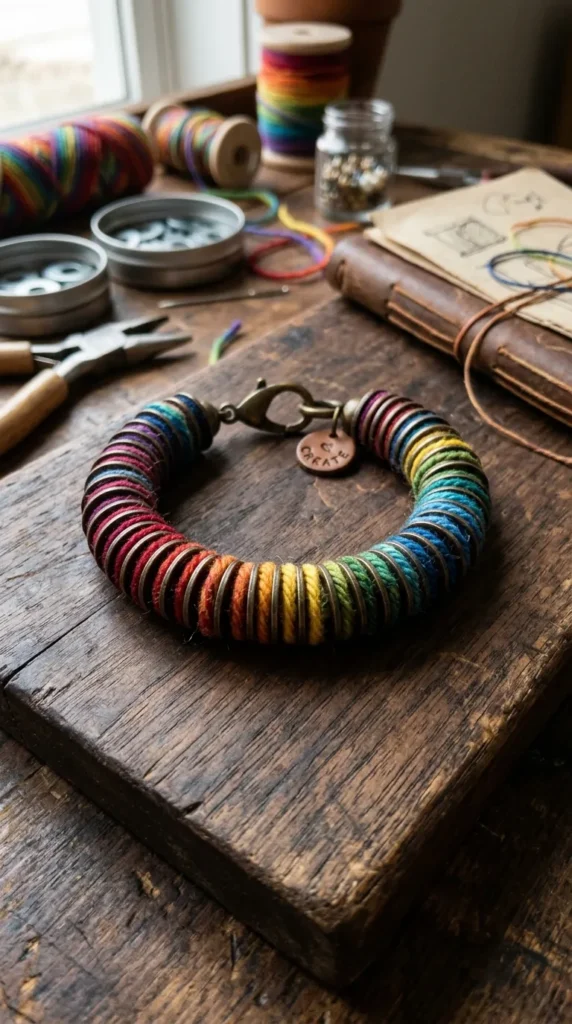
This upcycled craft wraps colorful yarn or embroidery floss around simple metal hardware washers linked together. It turns basic utility parts into an artistic, colorful industrial-style bracelet.
How to Make It
- Link Washers: Lay 5 to 7 small metallic flat washers in a row, slightly overlapping their edges.
- Wrap Thread: Wrap colorful yarn or embroidery thread tightly through the overlapping holes of two adjacent washers to bind them together.
- Cover Metal: Continue wrapping thread around the outer metal frames until all washers are fully wrapped and connected in a flexible metal chain.
- Attach Ties: Tie braided yarn tails to the end washers to tie the cuff around the wrist.
Tips and Variations
- Tips: Use variegated rainbow yarn to achieve automatic multi-tone color transitions as you wrap without changing threads.
- Variations: Leave raw silver or brass metal exposed between wrapped thread bands for a modern industrial contrast.
Needs to Make That Thing
- Small metal flat washers
- Colorful yarn or embroidery thread
- Tapestry needle
- Scissors
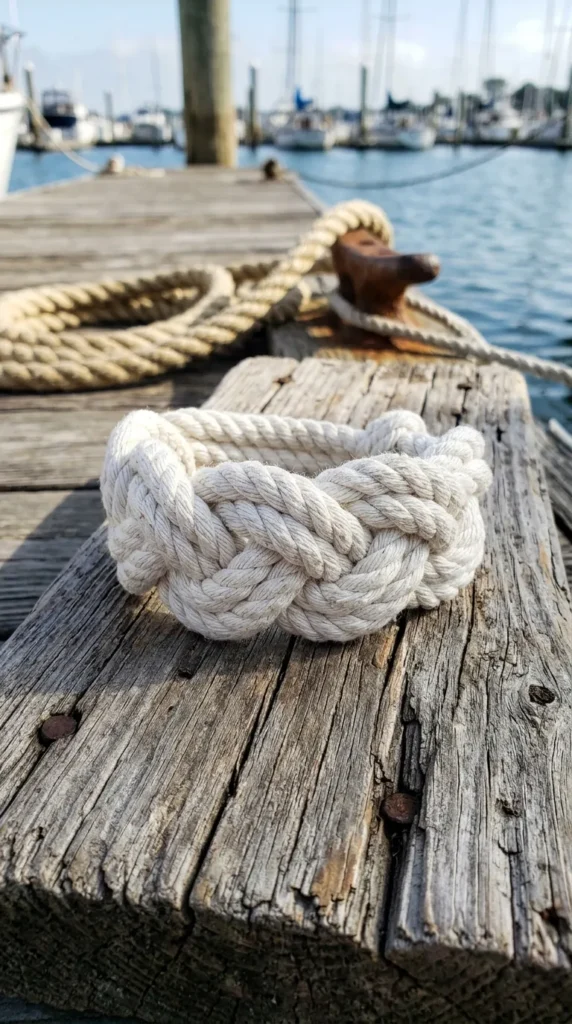
10. Nautical Sailor’s Turk’s Head Knot Bracelet
What This Idea Means
The Turk’s Head knot is a traditional nautical woven cuff crafted from a single continuous strand of cotton rope. Symbolizing smooth sailing and unbreakable bonds, it is a classic coastal gift.
How to Make It
- Form First Loop: Wrap a 3mm cotton cord around your hand, weaving a continuous interlocking 3-bight or 4-bight loop matrix using a traditional Turk’s head knot pattern.
- Follow the Lead: Follow the original cord path with a second parallel pass of the cord, doubling the knot width.
- Triple the Strand: Make a third pass following the lead cord so the cuff becomes thick and structured.
- Tighten Evenly: Work around the woven cylinder, pulling slack out loop by loop until it fits your wrist width comfortably.
- Secure Ends: Tuck loose ends inside the inner weave and secure with a small dab of fabric glue.
Tips and Variations
- Tips: Keep the knot loose on your hand while weaving the initial pattern; only tighten it after all three strand passes are complete.
- Variations: Dye the finished white cotton knot cuff in pastel liquid fabric dye for an ombre dip-dyed look.
Needs to Make That Thing
- 3mm braided cotton cord or sailor’s twine
- Turk’s head knot instruction diagram
- Fabric glue
- Scissors
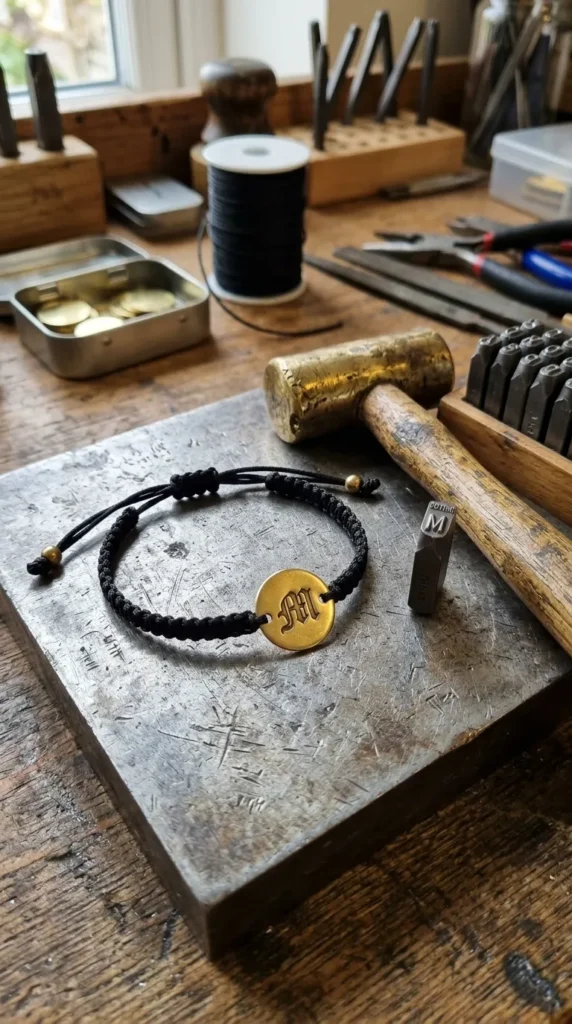
11. Stamped Metal Initial & Braided Cord Bracelet
What This Idea Means
A stamped metal initial bracelet combines personalized metalworking with handmade cord braiding. Stamping a meaningful letter onto a metal blank creates a modern customized piece.
How to Make It
- Stamp Metal Blank: Place a small brass or silver washer/disc blank onto a steel bench block. Strike a steel letter stamp firmly with a brass mallet to impress an initial.
- Highlight Impression: Rub black permanent marker into the stamped letter groove and wipe away surface excess to make the letter pop.
- Braided Cord Arms: Cut two sets of nylon cord strands. Braid one cord set onto the left side ring hole and one cord set onto the right side ring hole.
- Finish Clasp: Finish open cord ends with an adjustable macramé sliding square knot.
Tips and Variations
- Tips: Strike the steel stamp once with a firm, confident hammer blow; double-striking causes double impressions.
- Variations: Stamp small symbols like heart icons, suns, or stars instead of alphabet initials.
Needs to Make That Thing
- Metal disc blanks with two side holes
- Steel letter stamp set and brass mallet
- Steel bench block
- Nylon cord or embroidery thread
- Permanent black marker and cloth
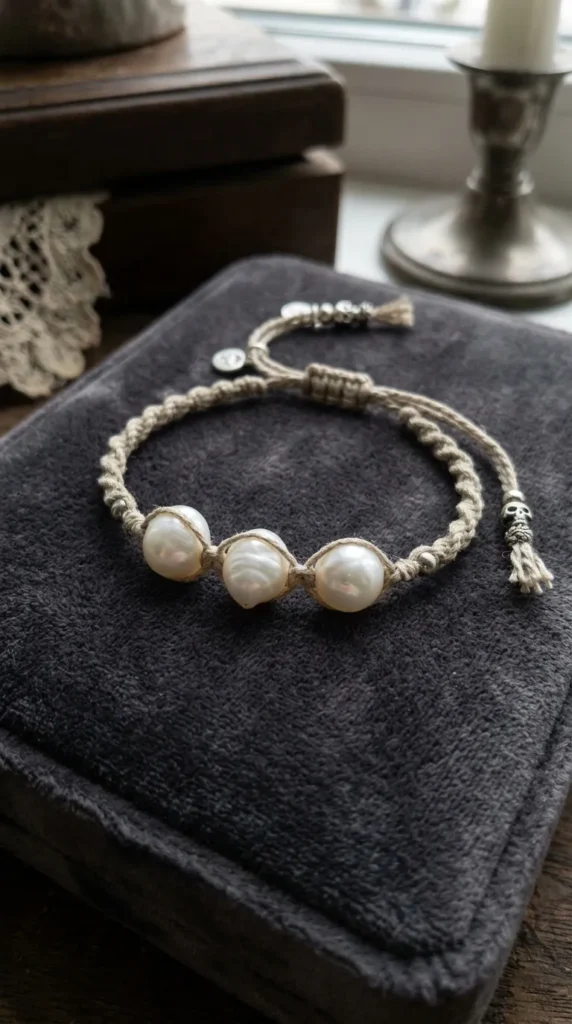
12. Floating Pearl & Twisted Linen Thread Bracelet
What This Idea Means
Combining organic freshwater cultured pearls with raw twisted linen thread blends natural luxury with understated rustic charm. It is an elegant handmade gift suitable for weddings or milestones.
How to Make It
- Prep Linen Thread: Cut three 18-inch pieces of natural beige linen thread.
- Twist Cords: Twist threads together tightly to form a durable, textured cord strand.
- Knot Pearls: Thread a genuine freshwater baroque pearl onto the middle cord. Tie delicate overhand knots directly against both sides of the pearl to float it in position.
- Add Flanking Pearls: Repeat by floating two smaller pearls 1 inch away on either side of the center pearl.
- Attach Clasp: Finish cord ends with sterling silver crimp ends and a delicate spring ring clasp.
Tips and Variations
- Tips: Use irregular baroque freshwater pearls for an organic, one-of-a-kind handmade aesthetic.
- Variations: Swap natural cream pearls for iridescent dark peacock pearls paired with black silk thread.
Needs to Make That Thing
- Natural freshwater baroque pearls
- Natural linen thread or silk cord
- Silver crimp ends and clasp
- Beading pliers
- Scissors
13. Retro Candy Stripe Friendship Bracelet
What This Idea Means
The candy stripe is the foundational diagonal knotted friendship bracelet pattern. Featuring clean parallel color stripes, it is easy to learn and offers a nostalgic, retro aesthetic.
How to Make It
- Cut Strands: Cut 5 to 6 strands of embroidery floss in vibrant retro colors (pink, yellow, orange, mint, cream).
- Anchor Top: Tie all strands together in a knot, secure to a clipboard, and arrange threads in desired color order.
- Forward Knots: Take the leftmost strand and tie forward double knots over every strand across to the right edge.
- Repeat Sequence: The original second strand now becomes the new leftmost strand. Repeat forward knots across to the right edge continuously.
- Finish: Continue until reaching wrist length, then finish with simple end braids.
Tips and Variations
- Tips: Always make TWO half-hitches for every knot step to ensure the diagonal stripe line stays tight and thick.
- Variations: Double the number of strands to make a thick, heavy-duty candy stripe cuff.
Needs to Make That Thing
- 5–6 colors of embroidery floss
- Clipboard or safety pin
- Scissors
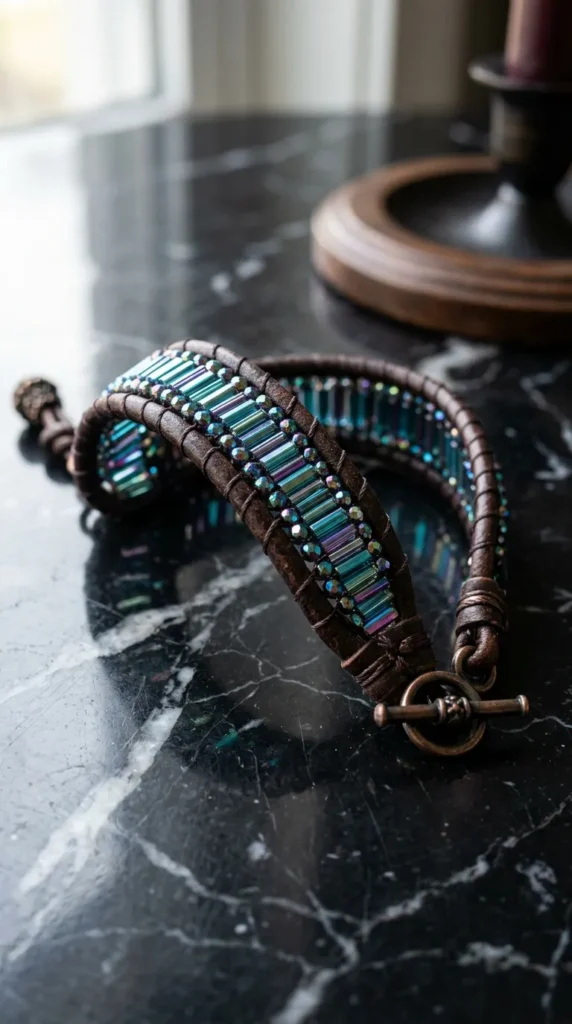
14. Iridescent Bugle Bead & Leather Ladder Cuff
What This Idea Means
Using long cylindrical bugle beads stacked vertically between leather cords produces a sleek, geometric ladder design. The shimmering bugle surfaces reflect light like modern metallic wrist armor.
How to Make It
- Prepare Frame: Fold a length of dark brown leather cord in half, forming a top button loop.
- Thread Needle: Thread a long needle with strong nylon beading thread and attach to the left leather strand.
- Ladder Bugle Beads: Slide one long glass bugle bead onto the needle. Lay the bead horizontally between the two leather cords.
- Weave Figure-8: Pass the thread over and around the right leather cord, back through the bugle bead interior, and over the left leather cord.
- Repeat & Finish: Repeat laddering bugle beads down the frame and finish with a metallic end button.
Tips and Variations
- Tips: Smooth the inner edges of your bugle beads before weaving to ensure they do not cut the nylon thread under tension.
- Variations: Alternate rows of bugle beads with rows of round seed beads to create varied geometric textures.
Needs to Make That Thing
- 1.5mm round leather cord
- Glass bugle beads (iridescent or metallic)
- Beading thread and long needle
- Closure button
- Scissors
15. Friendship Promise Ring & Bracelet Combo
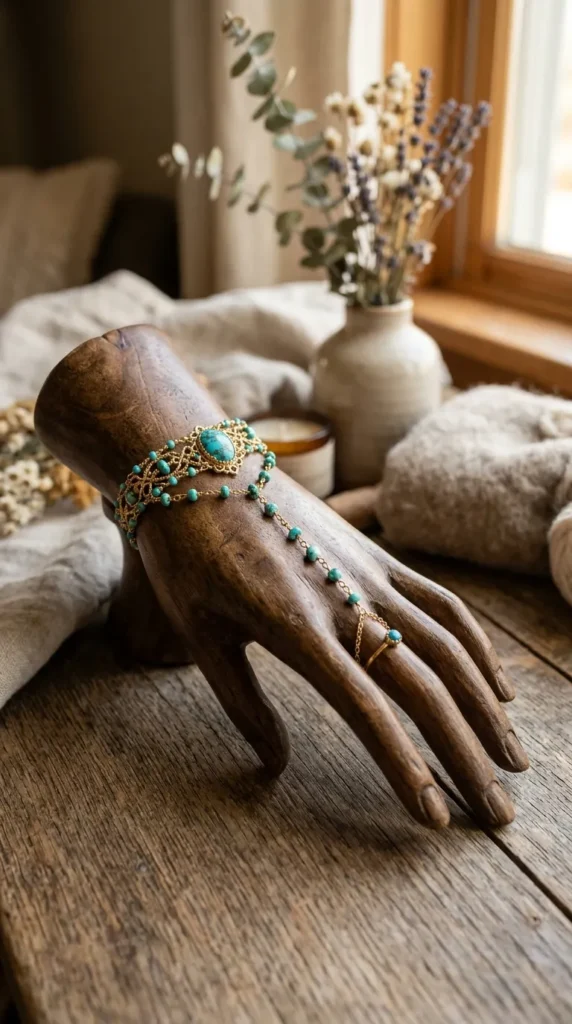
What This Idea Means
This connected bohemian hand harness craft combines a delicate cord friendship bracelet with a matching finger ring connected by a central beaded chain running down the back of the hand.
How to Make It
- Craft Ring Loop: Braid a thin 3-strand cord loop that fits comfortably around the middle finger.
- Connect Hand Strand: Attach a beaded thread or thin chain to the ring loop, running down the top of the hand toward the wrist.
- Craft Wrist Bracelet: Craft a simple macramé or braided bracelet for the wrist.
- Join Together: Attach the central hand strand to the middle point of the wrist bracelet using a small jump ring.
- Secure Clasp: Attach an adjustable sliding knot or clasp to the back of the wrist bracelet.
Tips and Variations
- Tips: Measure the back-of-hand distance carefully while the hand is lying flat so the harness doesn’t pull tight when bending fingers.
- Variations: Use dainty gold-filled chain instead of cord for a formal jewelry look.
Needs to Make That Thing
- Satin cord or jewelry chain
- Tiny accent beads
- Jump rings and lobster clasp
- Jewelry pliers
- Scissors
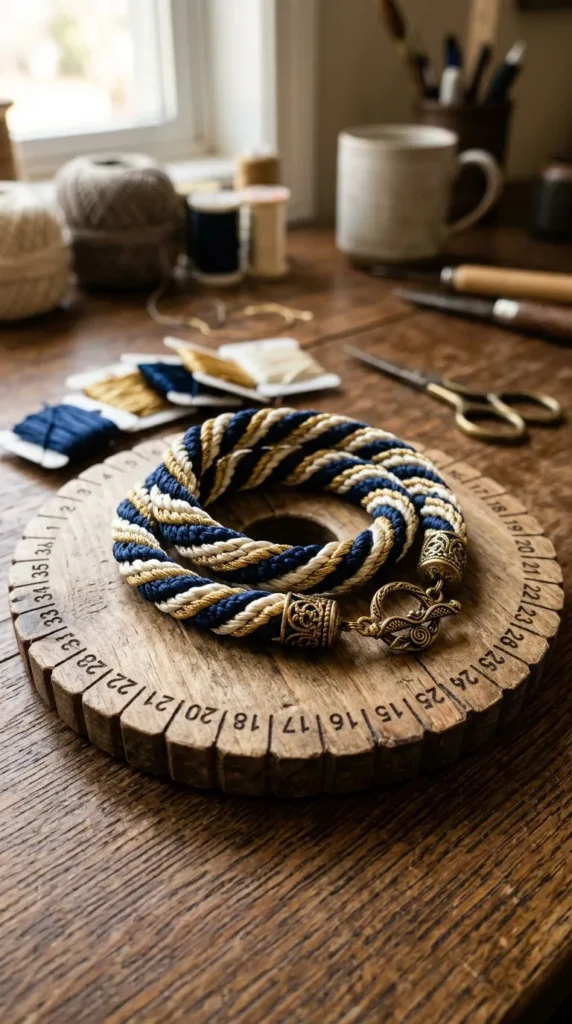
16. Chunky Kumihimo Japanese Braided Cord
What This Idea Means
Kumihimo is a traditional Japanese technique of weaving threads using a round foam disk. It creates a round, hollow woven cord with spiral patterns that feels plush and substantial.
How to Make It
- Set Up Foam Disk: Thread 8 strands of thick embroidery thread through the center hole of a round Kumihimo foam disk.
- Slot Strands: Secure strands into numbered outer slots around the disk in pairs (top, bottom, left, right).
- Move Strands: Move the top-right strand down to the bottom-right slot. Move the bottom-left strand up to the top-left slot.
- Rotate Disk: Rotate the disk 90 degrees counterclockwise and repeat the strand moves continuously.
- Finish Cord: As you rotate and swap strands, a thick braided rope emerges underneath the disk center hole. Attach metal end caps and a clasp.
Tips and Variations
- Tips: Keep light, even downward weight on the center hanging braid tail to ensure uniform braid tightness.
- Variations: Thread seed beads onto all 8 strands before braiding to create a sparkling Kumihimo beaded rope.
Needs to Make That Thing
- Round foam Kumihimo disk
- 8 strands of embroidery floss or satin rattail cord
- Glue-in metal end caps and clasp
- Jewelry glue and scissors
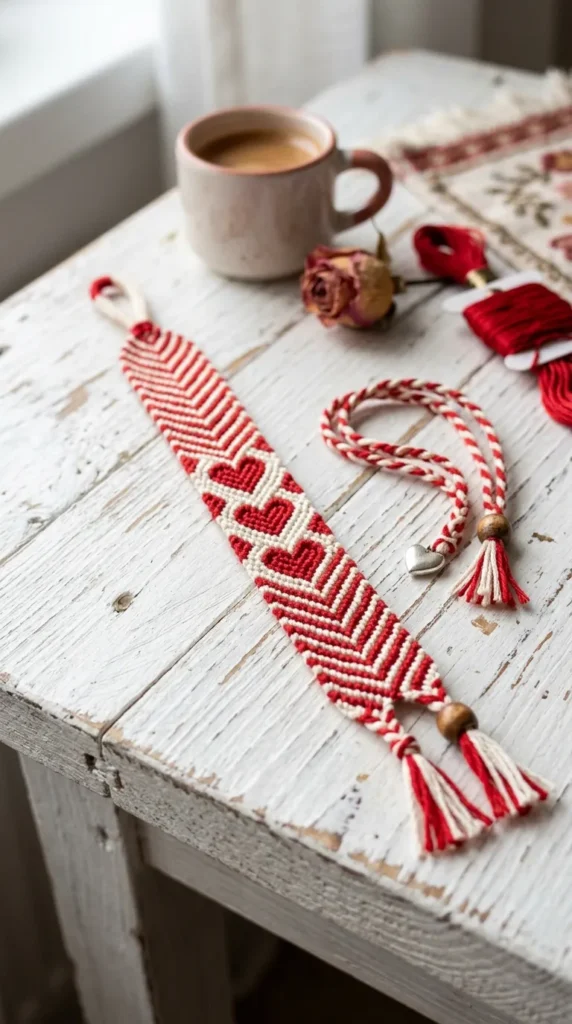
17. Chevron Heart Pattern Friendship Bracelet
What This Idea Means
An advanced variation of the chevron knotting technique, this pattern uses precise directional forward and backward knots to form a repeating row of tiny woven hearts down the bracelet center.
How to Make It
- Set Up Threads: Cut 8 strands of floss (4 dark pink, 4 white). Arrange symmetric strands: Pink-White-Pink-White-White-Pink-White-Pink.
- Knot Top Chevron: Complete two standard chevron row cycles.
- Form Heart Arches: Knot the inner white strands outward over the pink strands using backward knots to form curved heart top arches.
- Close Heart Base: Bring outer pink strands inward using forward knots to meet in the center, closing the bottom point of the heart.
- Repeat Row Sequence: Repeat the heart cycle continuously down the bracelet.
Tips and Variations
- Tips: Follow a step-by-step color diagram closely for the heart transition rows to avoid misplacing directional knots.
- Variations: Use red and white threads for a classic Valentine’s day look, or pastel tones for a subtle motif.
Needs to Make That Thing
- Embroidery floss (2 high-contrast colors)
- Heart pattern knotting diagram
- Clipboard or tape
- Scissors
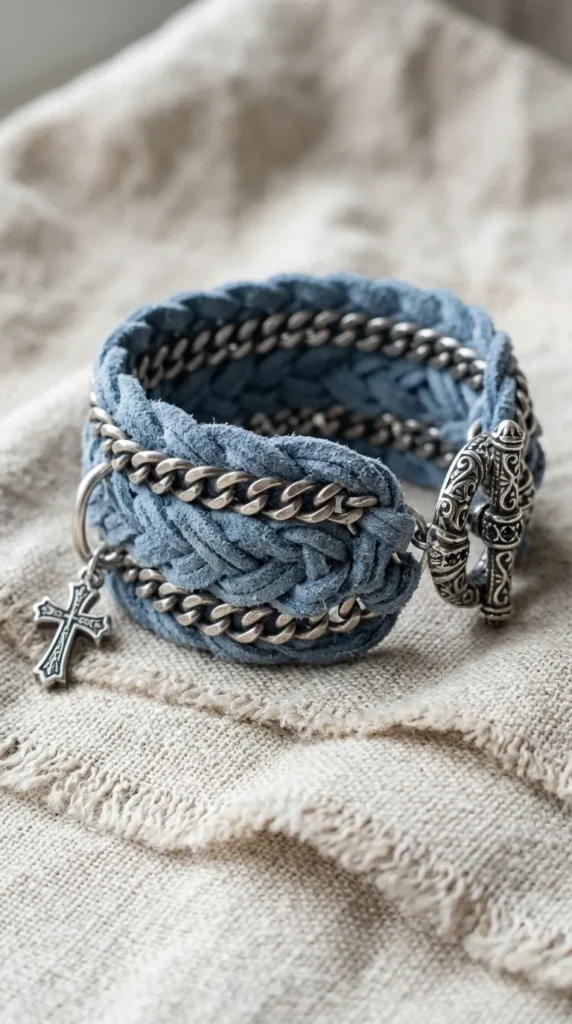
18. Braided Suede & Metallic Chain Cuff
What This Idea Means
Plaiting soft faux-suede lace strands directly together with a heavy metallic curb chain produces a broad, comfortable cuff bracelet that balances edgy metal hardware with soft velvet textures.
How to Make It
- Prepare Suede Strips: Cut three 18-inch strips of soft faux-suede lace.
- Anchor Side Chain: Align a length of metal chain alongside one suede strip.
- Braid Together: Braid the three suede strips normally, catching a metal chain link into the outer braid loop on every twist.
- Flatten & Secure: Keep the braid flat as you work down to the end. Tie ends securely with thread.
- Attach Clasp: Clamp wide ribbon end crimps over the flat braided ends and attach a toggle clasp.
Tips and Variations
- Tips: Use flat ribbon crimp ends wide enough to cover all three braided suede strands for a clean finish.
- Variations: Braid two different colors of suede lace together with a rose gold chain.
Needs to Make That Thing
- Flat faux-suede cord lace
- Medium metal curb chain
- Wide metal ribbon crimp ends
- Toggle clasp and jump rings
- Jewelry pliers and scissors
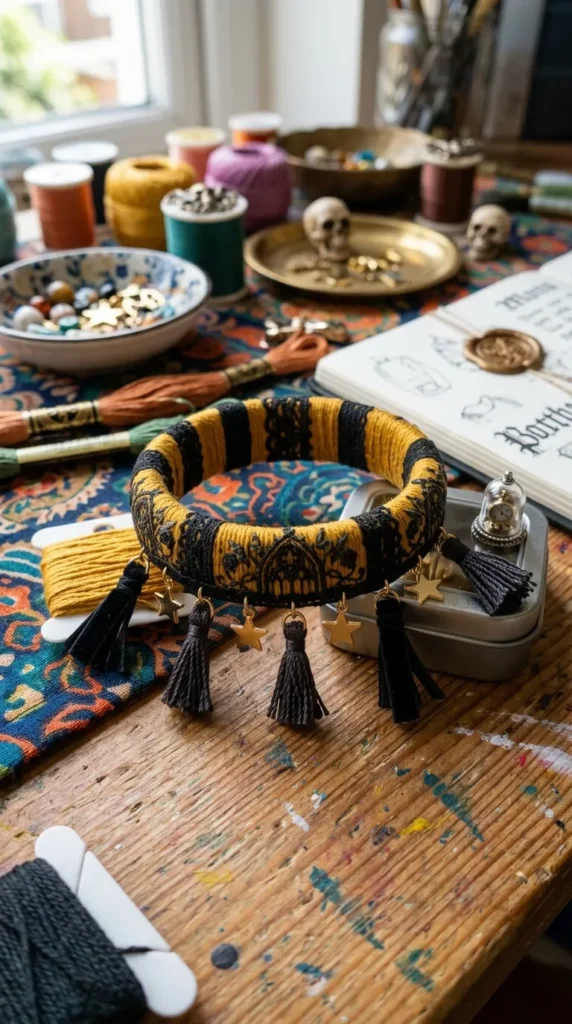
19. Tassel & Charm Wrap Friendship Bangle
What This Idea Means
Wrapping colorful embroidery floss around a rigid metal or plastic bangle blank creates a vibrant base. Adding small handmade thread tassels and charms turns it into a playful, jingling arm candy piece.
How to Make It
- Wrap Bangle Base: Apply a dab of jewelry glue onto a plain wire or plastic bangle blank. Wrap colorful embroidery floss tightly around the ring until covered.
- Make Mini Tassels: Wrap thread around a 1-inch piece of cardstock 15 times, tie top fold, cut bottom loops, and wrap neck to create mini tassels.
- Attach Charms: Attach mini tassels, metal star charms, or crystal drops onto jump rings.
- Secure to Bangle: Slip jump rings directly onto the wrapped bangle frame, letting them hang freely.
Tips and Variations
- Tips: Wrap the thread very tightly so the underlying bangle blank doesn’t show through when stretched.
- Variations: Wrap different color sections along the bangle frame to create a striped rainbow base.
Needs to Make That Thing
- Plain metal or plastic bangle blanks
- Embroidery floss (assorted colors)
- Mini charms and jump rings
- Cardstock (for tassel making)
- Jewelry glue and pliers
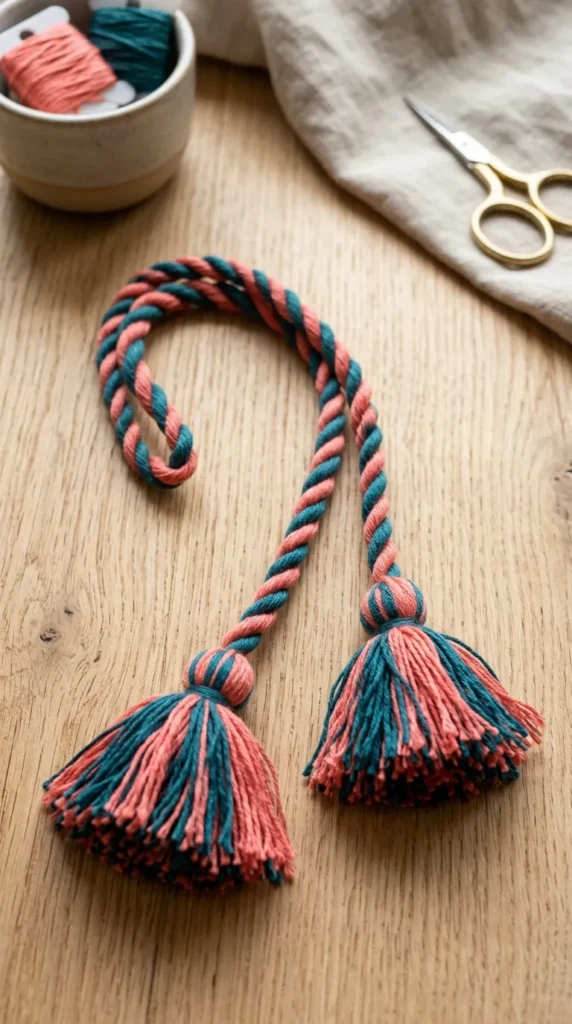
20. Simple Twisted Rope Cord with Tassel Tie
What This Idea Means
The twisted cord (or rope braid) is the fastest, simplest friendship bracelet technique. Twisting two groups of thread in opposite directions creates a durable spiral rope finished with playful fringe tassels.
How to Make It
- Cut Threads: Cut two thick bundles of embroidery floss (approx. 40 inches long).
- Tie & Twist: Tie top ends together. Have a friend hold one end (or anchor to a door hook) while you twist the other end continuously clockwise until tight.
- Fold in Half: Keep tension on the twisted thread, grab the exact middle point, and fold the strand in half.
- Allow to Counter-Twist: Release tension slowly—the two halves will automatically twist around each other into a smooth, tight 2-ply rope!
- Knot Ends: Tie overhand knots at both ends, leaving frayed thread ends as tassels.
Tips and Variations
- Tips: Twist the initial strand until it starts to kink back on itself before folding to ensure a tight, dense rope cord.
- Variations: Combine two contrasting neon colors for a high-energy sport cord look.
Needs to Make That Thing
- Embroidery floss (2 colors)
- Tape or a helper’s hand
- Scissors