A classic grid or grid-and-stile wall adds sophisticated rhythm, turning an ordinary bedroom or office into a high-end designer space reminiscent of a boutique hotel.
- Materials Needed: 1×2 primed MDF boards, a miter saw, construction adhesive, a brad nail gun, a laser level, wood filler, caulk, and paint.
- How to Make It: Calculate the dimensions of your wall to ensure your squares or rectangles are evenly proportioned. Install the perimeter frame first, leveling carefully. Measure and cut your interior horizontal and vertical dividers to create a symmetrical grid pattern. Secure each piece with adhesive and nails. Caulk all joints meticulously for a seamless, built-in look.
- Tips: Map your grid out digitally using a simple room planner or sketch tool beforehand to avoid awkward, narrow rectangles at the edges of the wall.
- Variations: Go for a taller vertical rectangle grid for high-ceiling rooms, or a wide, low square grid for a more grounded, cozy lounge aesthetic.
8. Peel-and-Stick Architectural Mural Wallpaper
Mural wallpapers offer instant drama, storytelling, and high-end artistic flair without the permanent commitment or messy cleanup of traditional paste wallpaper.
- Materials Needed: Peel-and-stick mural wallpaper panels, a plastic smoothing tool, a sharp utility knife, a metal ruler, and a microfiber cloth.
- How to Make It: Clean your wall thoroughly and let it dry completely. Start on the left side of the wall, using a plumb line to ensure your first panel is perfectly vertical. Peel away the backing paper a foot at a time, smoothing the vinyl onto the wall from the center outward using your smoothing tool to eliminate air bubbles. Trim excess material at the top and bottom with a sharp utility knife against a metal straightedge.
- Tips: Order about 10% extra material to account for pattern matching and cutting errors, and enlist a friend to help hold the panels taut during installation.
- Variations: Choose a vintage botanical etching for a moody study, or a misty mountain watercolor landscape for a serene, restorative bedroom retreat.
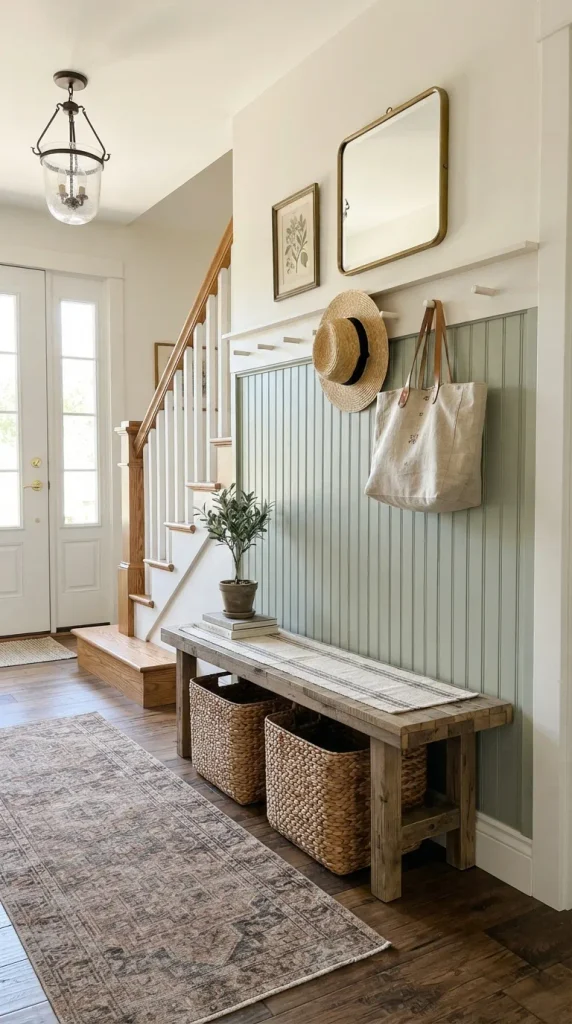
9. Stately Wainscoting with Picture Frame Molding
Picture frame molding brings timeless, traditional elegance and classic charm to dining rooms, hallways, and formal living spaces.
- Materials Needed: Pre-cut or custom-mitered lightweight polyurethane or wood picture frame moldings, construction adhesive, a tape measure, a chalk line, a nail gun, and paint.
- How to Make It: Measure your wall and map out your frame boxes, ensuring equal spacing between boxes and the outer edges of the wall (typically 3 to 4 inches apart). Mark your layout with chalk. Apply construction adhesive to the back of each pre-mitered frame piece, press onto the wall, and secure with a few brad nails. Fill nail holes, caulk the inner and outer edges, and paint the entire wall in a glossy or satin finish.
- Tips: Use lightweight polyurethane moldings instead of heavy wood; they are easier to handle, less prone to warping, and stick easily with construction adhesive alone.
- Variations: Paint the molding and lower wall in a deep heritage color like charcoal grey or hunter green while keeping the upper wall crisp white.
10. Vertical Slat Acoustic Wood Wall
Acoustic wood slat panels offer a double benefit: they dampen sound echo in hard-surface rooms while delivering an ultra-modern, warm architectural aesthetic.
- Materials Needed: Felt-backed wood slat acoustic panels, black drywall screws or heavy-duty construction adhesive, a circular saw or jigsaw, and a level.
- How to Make It: Measure your wall height. Cut your acoustic panels to size using a fine-toothed saw or utility knife to cut through the heavy felt backing. If your wall is painted black, you can simply apply construction adhesive directly to the back of the felt and press it against the wall. Alternatively, screw through the black felt backing directly into wall studs for a secure, flush fit.
- Tips: Align the tongue-and-groove or seamless interlocking edges carefully so the gaps between the wood slats remain completely uniform across the entire wall.
- Variations: Pair walnut acoustic slats with minimalist floating shelves and warm LED strip backlighting for a breathtaking home office or media room wall.
11. Dramatic Dark Moody Color Drenching
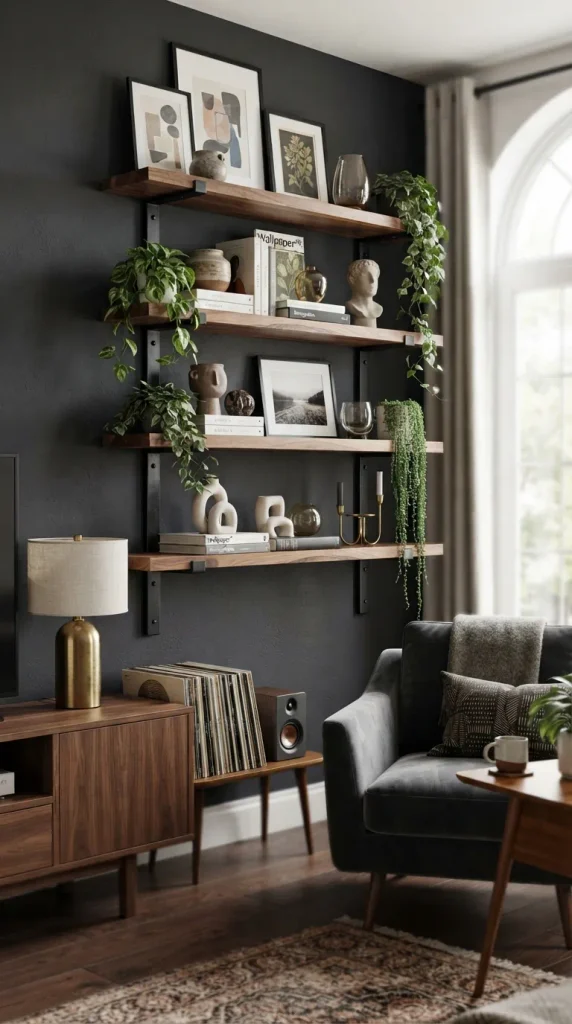
Color drenching—painting the walls, baseboards, trim, crown molding, and doors in the exact same saturated, deep hue—creates a cocoon-like, enveloping atmosphere that feels intensely luxurious.
- Materials Needed: Premium matte or eggshell wall paint, matching semi-gloss trim paint, rollers, brushes, painter’s tape, and drop cloths.
- How to Make It: Prep your wall by patching any holes and sanding smooth. Apply a tinted primer if transitioning from a very light to a very dark color. Paint all trim, doors, and baseboards first using the appropriate formulation, then roll out the walls. Apply two generous coats for a velvety, rich, flawless finish that wraps the entire space in color.
- Tips: Choose a color with rich undertones, such as deep plum, midnight navy, or dark olive, rather than a flat black, to ensure the room feels cozy rather than cave-like.
- Variations: Add subtle contrast by keeping the ceiling stark white to preserve vertical height, or paint the ceiling the same dark color for total immersive drama.
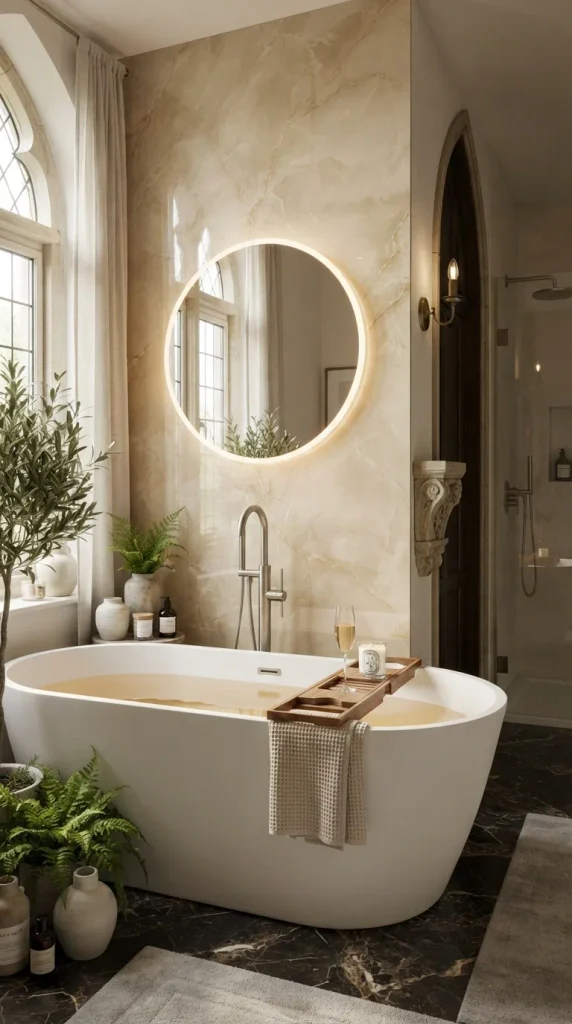
12. Textured Venetian Plaster
Venetian plaster creates a high-polish, marble-like sheen with translucent layers of depth. It reflects light gorgeously, adding an understated, luxurious Italian villa feel to any modern space.
- Materials Needed: Ready-mixed Venetian plaster, a specialized stainless steel hawk and trowel, fine sandpaper (400-grit or higher), and a protective wax coat.
- How to Make It: Apply a thin, even base coat of plaster across the wall with your trowel and let it dry completely. Apply a second thin coat, holding your trowel at a low angle and burnishing the edge against the wall to create smooth, compressed patches. Once dry, buff the wall lightly with fine sandpaper or burnish with the edge of your trowel to bring out the signature glossy sheen. Apply a protective wax finish if desired.
- Tips: Practice your trowel technique on a piece of scrap drywall before tackling your main wall; hand pressure and angle dictate the final polished pattern.
- Variations: Opt for a soft pearl grey or warm champagne tone to keep the room feeling bright while enjoying the luxurious, tactile stone finish.
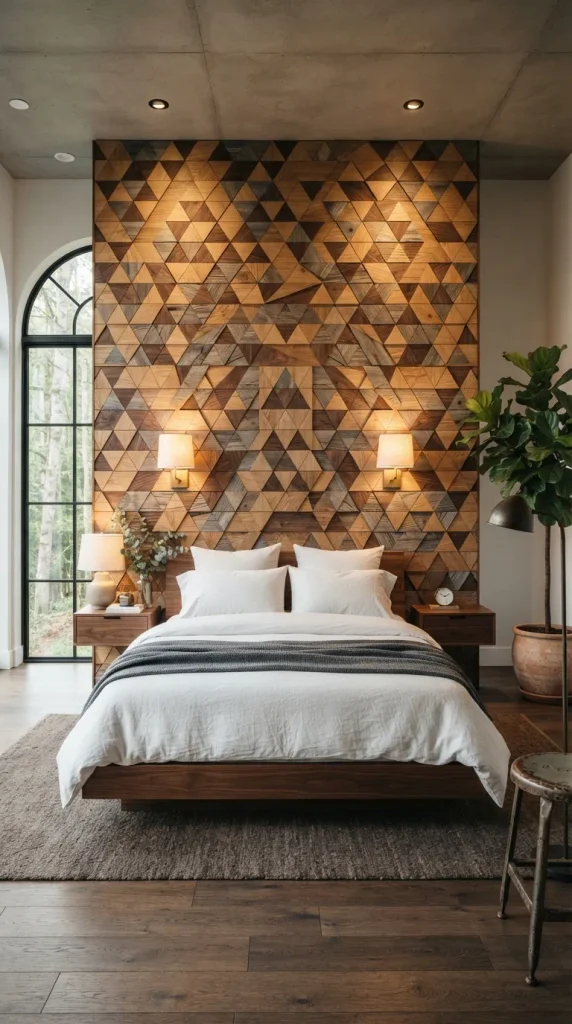
13. Chevron or Herringbone Wood Plank Wall
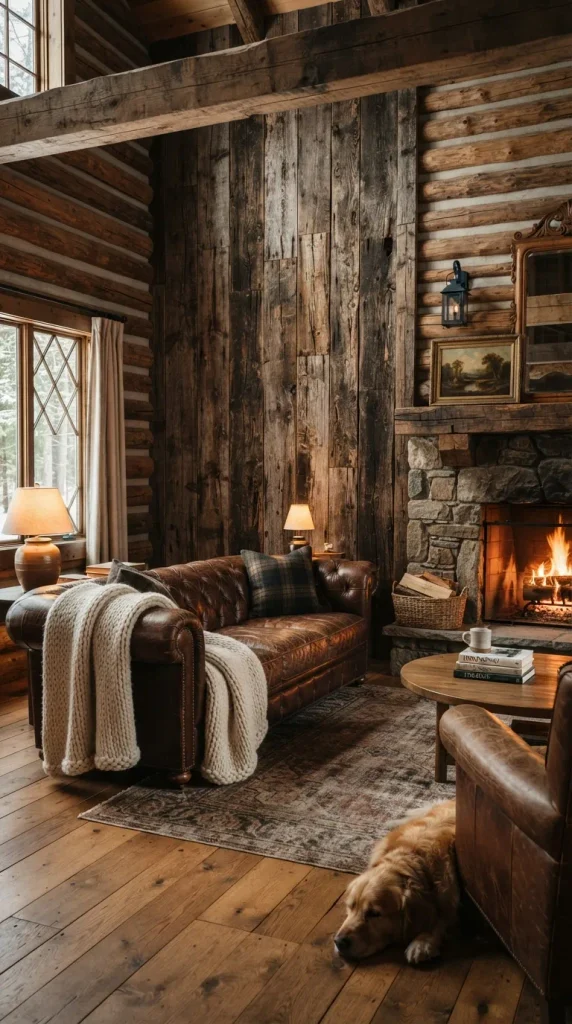
A herringbone or chevron wood accent wall introduces dynamic pattern and rustic charm, elevating a plain drywall surface into a custom-crafted focal point.
- Materials Needed: Thin wood planks (such as pallet wood, cedar shims, or engineered flooring planks), a miter saw set to 45 degrees, construction adhesive, a brad nail gun, and wood stain or clear sealer.
- How to Make It: Find the absolute center of your wall and snap a vertical plumb line as your master guide. Cut your wood planks with 45-degree angle ends. Apply adhesive to the back of the first pieces and arrange them in a continuous V-shape (herringbone or chevron) starting from the center line and working your way outward and upward. Use a level frequently to keep the pattern true.
- Tips: Dry-fit a section of your pattern on the floor before nailing it to the wall to understand how the angles lock together and avoid awkward cuts later.
- Variations: Use reclaimed weathered wood for an industrial farmhouse look, or clean, uniform white oak planks for a chic modern Scandinavian aesthetic.
14. Hand-Painted Organic Color Block Mural
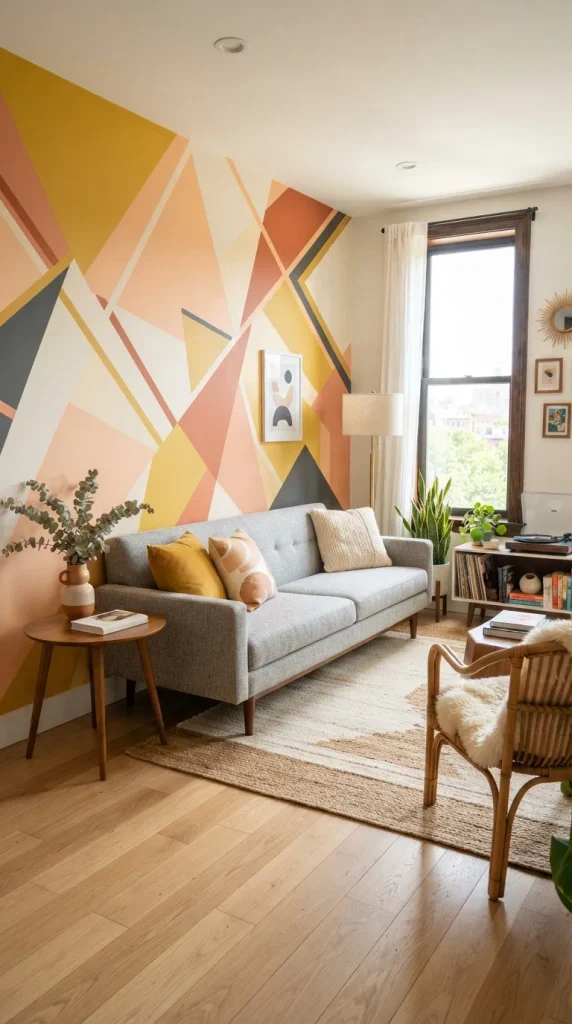
An organic color block mural breaks up standard boxy room geometries with soft, flowing, abstract shapes, adding artistic playfulness and contemporary flair.
- Materials Needed: Pencil, assorted interior paint samples in complementary tones, various sized artist brushes, and small foam rollers.
- How to Make It: Sketch your organic shapes directly onto the wall with a pencil, stepping back frequently to check the balance and flow of the composition. Paint the outer borders of each shape carefully with a small brush, then fill in the interior spaces with a roller. Layer overlapping shapes with different opacity or tones for a dimensional, modern art look.
- Tips: Stick to a cohesive color palette of three to four muted, earthy tones (such as cream, terracotta, rust, and dusty olive) to keep the look harmonious rather than chaotic.
- Variations: Create oversized sweeping abstract curves behind a minimalist sofa, or playful stacked pill shapes in a nursery or creative studio space.
15. Faux Concrete Microcement Wall